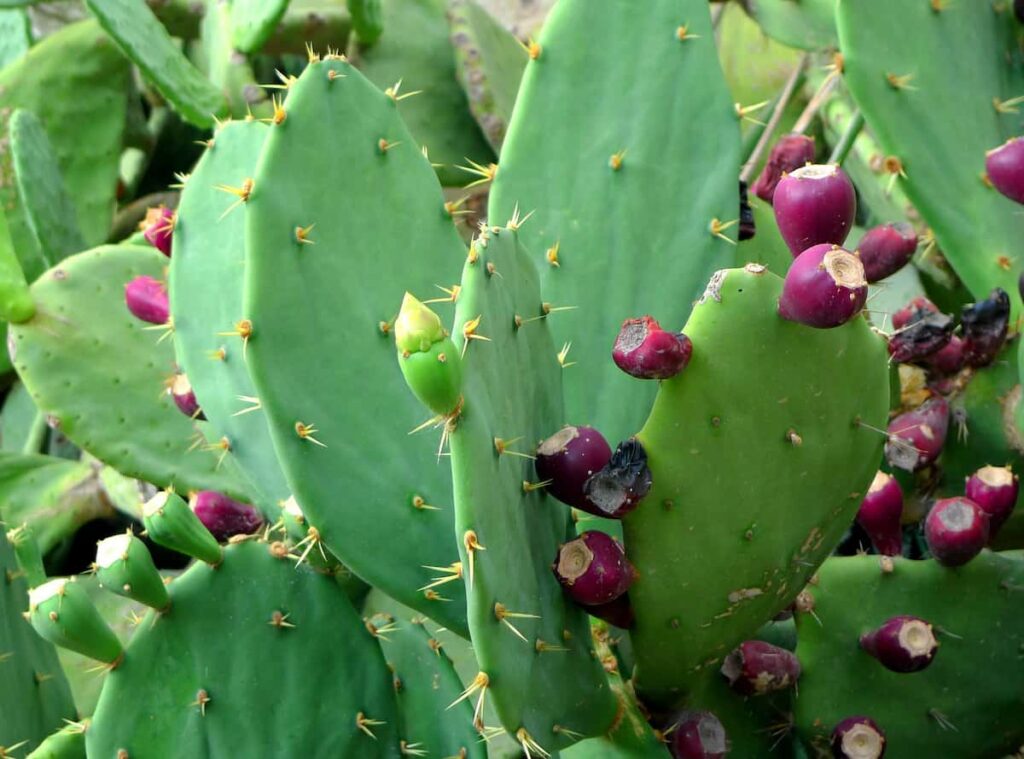
An upside-down pear-shaped pad or segment easily distinguishes a Prickly pear cactus. It is an easy-to-care-for cactus that desert dwellers and cool-weather gardeners favor. A blue tint is seen on the stems, divided into paddle-like segments approximately two to seven inches long. The wedge-shaped spines are tipped with a brilliant yellow flower, which blooms mid-summer.
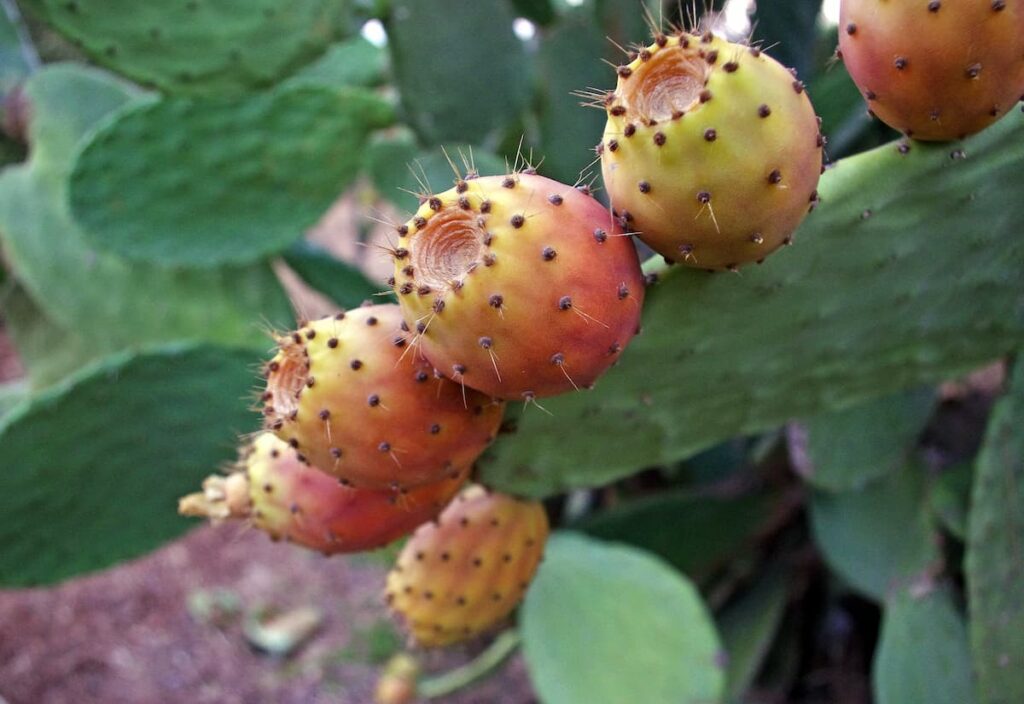
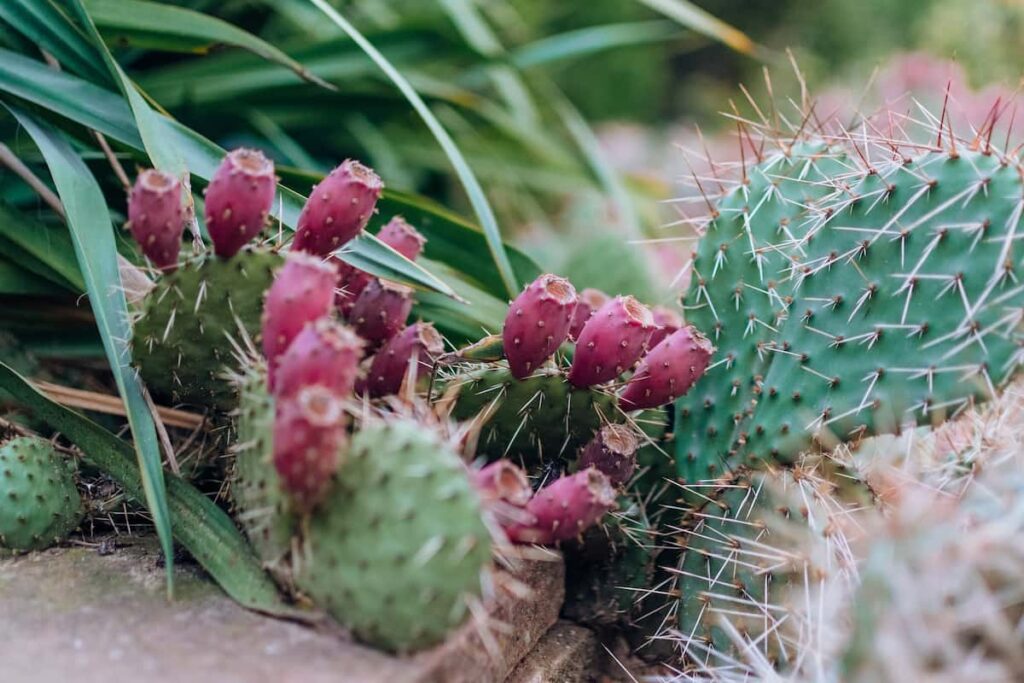
As they bloom in the spring, their gray-green fleshy pads produce large, showy flowers that become red, spiny fruits as they mature. It is typical for flowers east of the Appalachian Mountains to have an orange or red center. Tunas are edible purple or red fruits that follow the flowers. Approximately 150 varieties of prickly pear cacti exist, all of which are hardy. It is a low-maintenance houseplant that adds a bit of Southwestern flair to a room, and these plants are drought-tolerant.
How to propagate Prickly pear cactus from cuttings, and seeds
Types of Prickly pear cactus
From small groundcovers to tree-sized specimens, Prickly pear cactus varieties bear bright yellow to red flowers. In general, the cacti of this genus are more tolerant of cool weather than other genera.
Indian fig Prickly pear
The Indian fig is perhaps the best-known and most widely used species of prickly pears. Arid regions grow it for its large sweet fruits, sometimes called tunas, which are used as a commercial crop. The fruits are available in yellow, red, and pink and can be eaten fresh, used to make refreshing drinks, or made into jellies and candies. In addition to being used in the Southwest cattle industry as forage, the pads are also essential to Mexican cuisine. Canada is one of the northernmost places where the Indian fig can be found.
Spineless Prickly Pears
It is primarily used as an ornamental plant outside its usual growing environment because of its spinelessness. Despite being spineless, they still have fine stiff hairs called glochids, which can irritate the skin. Their bright yellow flowers are sometimes tinged with red. The pads can be green or have a waxy coating in containers or for xeriscape gardening. Depending on the variety, it can grow to be a 15-foot-tall tree. Their sweet fruits and edible pads are similar to those of the Indian Fig
Purple Prickly pears
The purple blush on these prickly pear cacti’s pads makes them stand out. During drought or stress, Santa Rita prickly pear pads deepen in color. In addition to having purple pads and only growing to 8 inches in height, Baby Rita has pink flowers. Some blind prickly pears are reddish-purple. Most of these plants can withstand frosts and thrive in more arid climates.
In case you missed it: Pear Fruit Growing Information Guide
Miniature Prickly pear cactus varieties
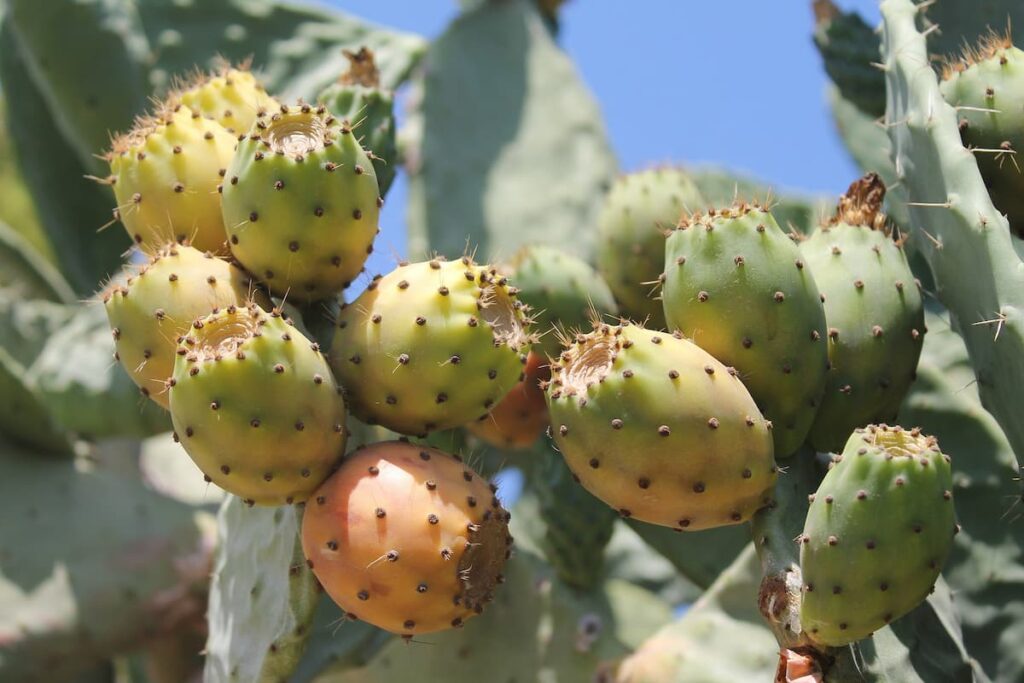
It is common for prickly pears to form low clumps or miniature pads. This species of prickly pear has clear yellow flowers with pads that measure 2 inches in diameter. Prickly pears with bunny ears, or polka dots, are covered with white spines that form tight clumps. Joseph’s coat prickly pear grows to about 18 inches with variegated green and cream pads and small red flowers.
Prickly pear cactus propagation from seeds
- The first step is to separate them from the interior pulp and rinse them thoroughly. Allow them to dry completely and store them until the following spring in an airtight container at room temperature.
- To improve water absorption, rub the seeds with sandpaper or make a notch in each seed with a sharp knife after this curing period.
- Cactus potting mix should be filled into pots or a cell tray with drainage holes. It is also possible to make your mix using a mixture of sand, perlite, and coconut coir, depending on your preference. Moisten the cells well after filling them to the brim. The excess liquid should be drained.
- The seeds should be planted one to two inches apart, individually sown in seed-starting cells, and pressed into the soil about an eighth of an inch deep. They should be kept from direct sunlight but close to a light source and lightly covered with sand.
- To keep the moisture in, wrap the container with plastic, but leave one corner open so it can be ventilated. The humidity dome can also be used, but be sure to prop one side up to allow trapped heat to escape.
- Ensure the seeds are kept at a consistent 24°C to 27°C, and check the moisture level every few days. When the soil feels completely dry, mist it gently with water, but don’t leave the seeds in very wet soil.
- Germination can take anywhere from a few weeks to over six months. After sprouting, they grow relatively slowly, and transplanting or repotting them can take more than a year.
- In early spring, seeds can also be directly-sown outdoors at the growing site after all the risk of frost has passed. The soil should be sandy, the drainage should be good, and the location should have full sun.
- Plant the seeds 24 to 36 inches apart and an eighth of an inch deep, and cover them lightly with sand.
- Keep an eye on the moisture level. When it is not raining, spray about once a week with a light mist. Germination of seeds can take several months, even outside.
In case you missed it: India Flower Planting Calendar: Month-wise Garden Sowing Chart, Dates Guide for Winter, Summer, and Rainy Season
Prickly pear cactus propagation from cuttings
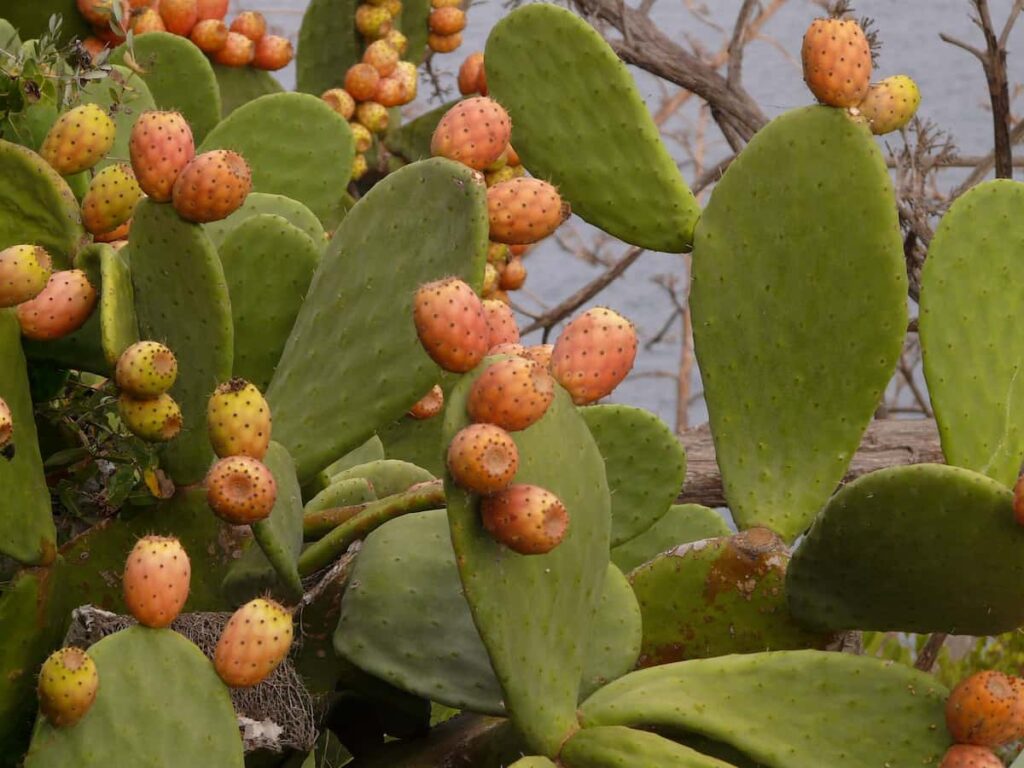
- Wear heavy work gloves to protect from injury while working with cacti. Take a cutting from a mother plant that is healthy and disease-free. Ensure that the nighttime temperature is at least 15°C when harvesting cuttings. A six-month-old pad or oval segment without blemishes or scars is ideal.
- In one hand, gently grasp the top of the pad. Then, use a knife to cut the pad away from the parent plant’s natural seam at the bottom.
- The cutting should be placed on a flat surface in filtered sunlight. For callus tissue to form over the cut edge, place the cutting in a dry room with a temperature of 15°C or higher for seven to 10 days.
- Plant the cactus in a well-draining growing medium prepared with one part perlite and one part compost. Pour the mixture into a container, leaving a 1 to 2-inch gap at the top. Drainage holes should be drilled in the bottom of your container.
- Cactus cuttings should be placed in the center of the pot, with the callused edge resting on the soil. The cutting should be pushed into the soil mixture between one-third and one-half of the way. Make sure the soil around the cactus’ base is tamped down, so the cutting stands upright.
- A watering-can can be used to water the cutting until the soil is evenly moist. Warm rooms or filtered sunlight are ideal for potted plants. It is essential to water the cactus when the top one-inch depth of the soil starts to dry out.
- After the cactus becomes established and produces new growth, reduce supplemental watering to 1/4 inch every seven days. When nighttime temperatures are above 15°C, follow this watering regimen.
- To acclimate the cactus to brighter light, move it to full sunlight indoors once it begins producing new growth. After two weeks, move the cactus outside into full sunlight if you plan to plant it outdoors.
- Grow the cactus for at least one year in a container. Cactus plants should be transplanted in the spring once soil temperatures reach 15°C. It is essential to plant the cactus in an area with full sunlight and well-draining soil.
- You should dig a hole double the size of the root ball and twice the depth. Make sure the root ball is centered in the hole. Make sure the soil is firmly tamped down after backfilling the hole. As soon as the cactus is planted, it should be watered.
- The planted cactus should be watered once a week when the nighttime temperature is above 15°C. Cactus should be watered every 14 days when the nighttime temperature drops below 15°C.
Growing Prickly pear cactus in indoors
Several conditions are essential for prickly pear cacti to thrive and grow healthy indoors. Warm temperatures and direct light are ideal conditions for prickly pear cacti indoors. Therefore, you should choose a window that faces south or west. Radiators, fans, and drafts, which can cause temperatures to fluctuate, should be kept away from prickly pear cacti.
It is possible to grow prickly pear cacti indoors, in a conservatory, or a heated greenhouse since they prefer warm temperatures. During the summer, you can move the plant outside to a sunny, warm patio or deck, where it will do well with 4 to 6 hours of direct sunlight. Take them back indoors when the temperatures begin to cool in the autumn since they are not frost-resistant.
In case you missed it: How to Grow Dianthus in Your Garden: A Guide to Propagation, Planting, and Care
Prickly pear cactus care
1. Type and how much sunlight is required for growing a healthy Prickly pear cactus
Like most cacti, a prickly pear requires at least four hours of direct sunlight daily. It can handle partial shade if planted in a hotter climate, such as a traditional desert landscape. Mid-to-late spring and summer, more light exposure will also result in a larger plant and more blooms.
2. Required soil type and preparation for Prickly pear cactus
The prickly pear needs well-draining soil to thrive. Dry, sandy, or gravelly soil is best, but it can also thrive in clay soil if it drains well and does not retain much moisture. A pH level of 6.0 – 7.5 is ideal for prickly pear plants, which do not require high maintenance.
3. How and when to water your Prickly pear cactus
Drought tolerance is exceptionally high in prickly pears. Newly propagated pads should not be watered for the first month. After that, for the first year, water every two to four weeks, twice a month during the summer. Rainfall will usually be sufficient to sustain established plants in most areas. When drought occurs, supplement with the seasonal schedule twice a month or once a month.
4. Temperature and Humidity for growing Prickly pear cactus
The prickly pear likes warm, dry weather like any other cactus. It can survive cold temperatures down to -10°C, making it more cold-hardy than most other cacti. When raised in warm temperatures, it will grow larger and bloom more. If the plant needs to stay dry, you shouldn’t mist it, as additional humidity is unnecessary.
5. Fertilizer application for Prickly pear cactus
Fertilizer is not required when planted outdoors in garden soil. It may, however, be necessary to feed indoor plants occasionally. Whenever the plant needs food, use a well-balanced fertilizer. You should feed it if its green color turns pale or if it doesn’t bloom. To promote flowering and fruiting, apply a liquid fertilizer of 5-10-10 every month. Young plants should be fertilized with fertilizer 10-10-10. In addition to liquid feeding, you can also use granular fertilizer. As directed by the product, schedule it according to its instructions. Winter is the time when plants stop growing in cooler zones, so don’t feed them.
6. Pruning for Prickly pear cactus
The Prickly pear cactus does not require pruning, but you can remove its pads to maintain its shape. By holding the pad with tongs or wearing a thick glove, cut the pad at the base. The purpose of fruit thinning is to get a better harvest. A lower production but improved quality can be achieved by removing extra fruits and flowers. Thinning is recommended two weeks before fruit formation, and approximately ten fruits per stalk need to be left.
In case you missed it: Growing Sycamore Tree: A Guide to Propagation, Planting, and Care
7. Potting and repotting Prickly pear cactus
The prickly pear can be grown in pots until it reaches the size that requires outdoor space. Choose a pot with many drainage holes and potting soil designed for succulents to pot your Prickly pear cactus. For even better drainage, add a gravel layer to the bottom of the pot. Begin with a pot a few inches wider than your giant pad. This pot is suitable for growing the cactus for a season. As soon as it becomes rootbound, it should be moved to a bigger pot.
8. Overwintering Prickly pear cactus
Plant your Prickly pear cactus in a pot during the winter and bring it indoors. As long as it is maintained in a typical home environment during the winter, it should do just fine. Cacti that are on the ground outside, however, should be protected from the harshest cold. It is possible to accomplish this by mulching the plant’s bottom generously.
Common pests & plant diseases in Prickly pear cactus
| Disease | Cause and symptoms | Control methods |
| Anthracnose | Cause: Colletotrichum species of fungi Symptoms: Signs of infection include a moist light brown rot which contains light pink, spore-producing bumps on the surface. | There is no effective control for cactus anthracnose, but spraying a copper-based fungicide will help prevent infection. Remove and destroy infected plants away from healthy plants, and do not plant healthy plants in the same soil. |
| Leaf spot | Cause: Phyllostica fungus Symptoms: Tiny spores from the Phyllostica colonize the tissues, primarily the cactus pads, eating them and causing lesions. | There is no treatment for Phyllosticta fungus. Infected pads and plant material removal are recommended to prevent disease transmission to other species. |
Pests in Prickly pear cactus
Most insects do not pose a significant problem for prickly pear cacti, but they are susceptible to infestations by cochineal scale. The waxy coating on the pads and stems of your plants makes this cochineal look like white tufts. You can tell if you have this pest on your cactus by crushing the waxy material and seeing a deep red fluid emerge. The red bodily fluid of the cochineal scale provides a source of red food dye. A strong stream of water can easily remove it from cacti. If the infestation is severe, you may need to apply insecticidal soap to the affected area.
In case you missed it: Growing Calla Lily in Your Garden: A Guide to Propagation, Planting, and Care
Common problems with Prickly pear cactus
Prickly pear is easy to grow, and those problems are usually solved with slight adjustments to care.
Pads are splitting
When your cactus’ pads become so plump and full that they split, it is probably getting too much water. Reduce the intervals between waterings. It may be required to remove the affected pads.
Plant collapses
Too much water can cause a cactus to sag and collapse if given too much water for too long, resulting in its shallow roots rotting. It is usually impossible to recover from this; the plant must be abandoned.
Parts of the plant are mushy
Developing rot from too much water can cause selected plant parts to become mushy and soft. Depending on the extent of the rot, you may be able to save the plant by reducing watering immediately and cutting away rotted areas. However, if the rot continues to spread, the plant should be discarded.
Patches of brown or white
A cactus with brown or white patches probably suffers from sunburn caused by too much direct sunlight. The plant should be moved to a location with shade during the daytime heat.
Shriveled Pads
Cactus pads that are wilted and dry-looking may be a sign of underwatering. Over several days, water the places increasingly until they are upright and full again. But do not continue to water heavily; excess water can be more problematic. As a natural process, cactus shrivels slightly in the winter, which is acceptable.
Harvesting Prickly pears cactus
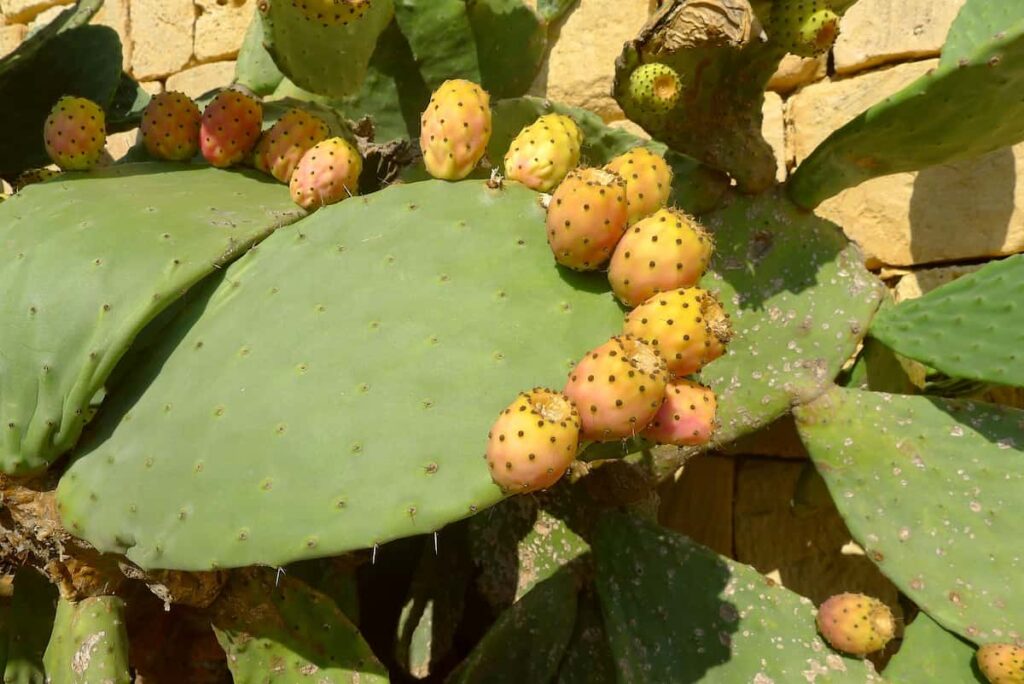
There are many types of prickly pears that produce edible pads and fruit. Its edible pads are called nopales, and its fruit is called tuna fruit. Prickly pears are bright and citrus-like, and the juice tastes like lemon-lime. These fruits are ready for harvest when all the thorny spikes on the fruit have fallen off.
It will be easier to harvest, which is excellent news. Changing the fruit color from green to yellow or solid red indicates ripeness. In addition, ripe fruits are firm when pressed. It is just a matter of applying the right amount of pressure and wearing protective gloves. It is possible to harvest pads as often as six times per year on fast-growing plants.
Conclusion
Prickly pear plants are popular low-maintenance plants in hot, dry climates and indoors. As a result of its excellent drought tolerance, it is often used in xeriscape beds, rock gardens, and containers. It is possible to eat the pads and fruit of prickly pears, though some species are preferred over others. Some thorny pear species are hardy as far north as Michigan, despite their reputation as warm-weather desert plants.
- Pig Fattening Essentials: From Selection to Sale for Beginners
- Raising Wagyu Cattle: A Complete Guide for Premium Beef Production
- Soil Types and Their Water Holding Capacity
- Optimizing Irrigation Schedules for Coconut Groves for Enhanced Yield
- Espresso Your Garden: Coffee Grounds for Healthier Acid-Loving Plants
- The Best Soil Mix for Snake Plants: How to Mix Your Own Snake Plant Soil
- Green Thumb Success: Expert Tips for Cultivating Greenhouse Beans All Year Round
- Bloom All Year Round: The Ultimate Guide to Indoor Hyacinth Care
- Eco-Friendly Gardening: How to Make Liquid Fertilizer from Kitchen Waste
- Ultimate Guide to Grow Anise in Pots: Explore Seed Propagation to Harvesting
- Guide to Raising Chester White Pigs: Discover Breed Facts to Growth Management
- Mastering the Elegance: The Ultimate Guide to Weeping Cherry Tree Care, Planting, and Maintenance
- Ultimate Guide to Planting Garlic in Grow Bags: Growing Strategies for Beginners
- How to Fix Spider Plant Leaf-Related Problems: Natural and Organic Remedies
- 10 Reasons Why Your Tulsi Plant is Shedding Leaves: Home Remedies and Solutions
- Optimizing Growth and Yield: The Advantages of Palm Bunch Ash Fertilizer
- Utilizing Neem Oil Extract as a Natural Pesticide for Hydrangea
- From Soil to Harvest: Various Ways in Which Farmers Can Use AI Tools
- Steps to Encourage and Induce Citrus Flowers: A Comprehensive Guide
- How to Fix Snake Plant Leaf-Related Issues: Natural and Organic Remedies
- Transform Your Garden into a Fragrant Oasis with Raat Ki Rani (Night Blooming Jasmine)
- Discover the Ideal Chicken Breeds for Philippine Farms
- How to Create a Poultry Egg Farm Business Plan for Profits
- Grow Lemon Cucumbers Like a Pro: Insider Techniques for Bountiful Yields
- Ultimate Guide to Caring for Your Pink Princess Philodendron: Tips for Thriving Variegation
- Areca Nut Profit Per Acre: Calculating Yield and Cost of Cultivation
- How Kaveri Chicken is Becoming a More Profitable Breed in Indian Backyards
- Transform Your Barn: 9 Steps to Convert a Horse Stall into a Chicken Coop
- Exploring Suffolk Sheep Disadvantages with Limitations and Challenges
- Guide to Solving Potted Lemon Tree Problems: How to Revive Lemon Tree in Containers
- Steps to Encourage Female Pumpkin Flowers: Best Strategies for More Flowers and High Yields
- Ultimate Guide to Yellow Raspberries: Exploring from Planting to Care
- Ultimate Guide to Planting Ginger in Grow Bags: Growing Strategies for Beginners
- Ultimate Guide to Growing Red Creeping Thyme: Propagation, Planting, Pruning, and Care
- Top 10 Common Peacock Plant Problems and How to Fix Them
- Ultimate Guide to Raising Naked Neck Chickens: Feeding, Egg-Production, Breeding, and Care
