Composting is a green way to recycle kitchen scraps and make your garden soil healthier. But what if you don’t have a large yard or are put off by the traditional composting methods? Enter the compost tumbler. This simple yet effective tool streamlines the composting process, making it quicker, easier, and less odorous. How to make an inexpensive compost bin, you ask? It’s entirely possible with a bit of creativity and manual labour.
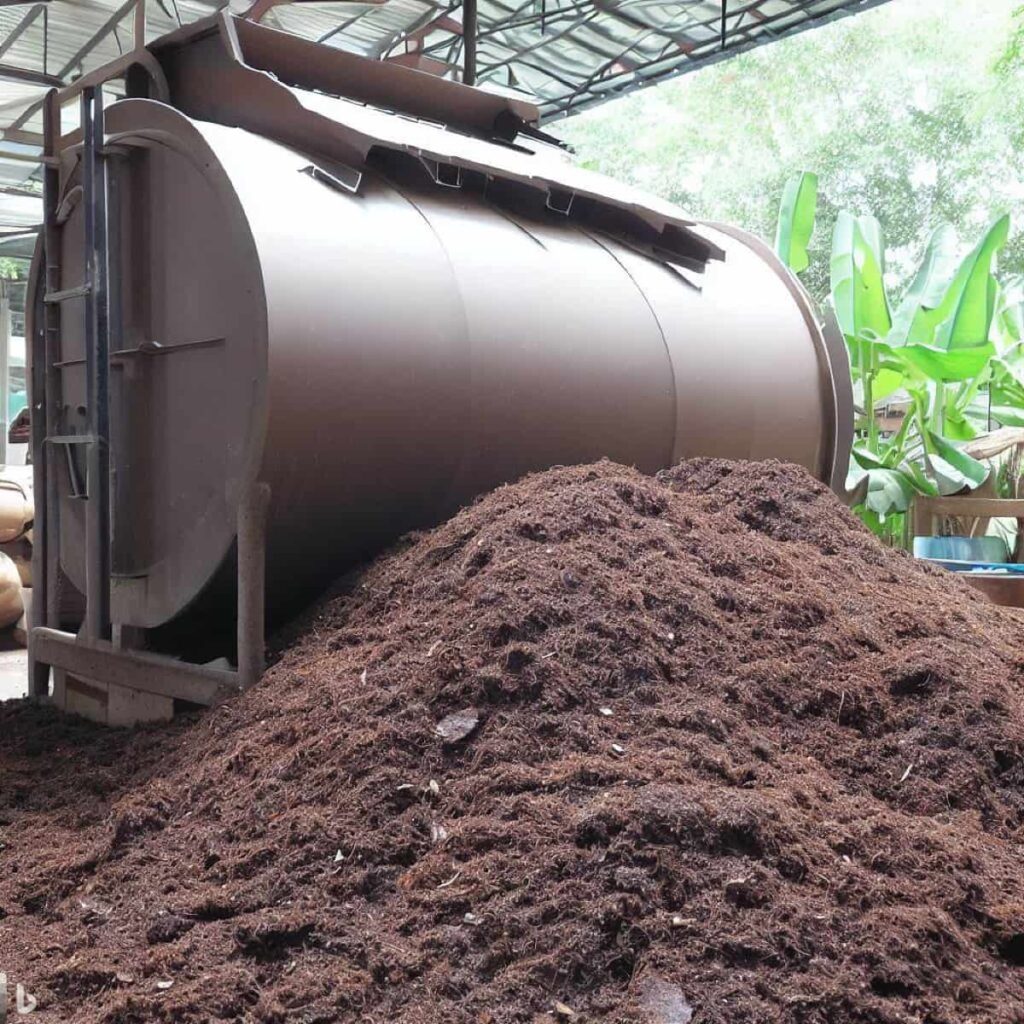
If you’re a student wondering how to make a compost bin for a school project, this is your go-to guide. What materials can you use to build your compost bin at home? We’ll delve into that shortly. What do I need to start my compost tumbler? We’ve covered you, from essential materials to DIY budget-friendly building ideas.
This article provides a comprehensive guide on constructing a cheap DIY compost tumbler that is functional and easy to use. Whether you want to build a wooden compost bin yourself or turn a plastic dustbin into one, you’ll discover simple DIY compost bin ideas suitable for any skill level. Let’s start by understanding the benefits of a compost tumbler and how it can save you money in the long run.
How to Build a Cheap Compost Tumbler
Choosing the Right Location for Your Cheap Compost Tumbler: Factors to Consider
Location is everything when it comes to composting. A too-sunny spot could dry out your compost, while a heavily shaded area may result in a too-wet pile. Ideally, you’d want a location that offers a bit of both shade and sun. If you’re working on a school project, you’ll need to consider accessibility and convenience for daily or weekly compost turning.
The spot should also have a good drainage system so the compost doesn’t become waterlogged. Keep the compost bin close enough to the house for convenient waste disposal but far enough to keep odours and pests at a distance. The right location will make the composting process feasible but also convenient and efficient.
Essential Materials and Tools for Building a Budget-Friendly Compost Tumbler
To create a cheap DIY compost tumbler, you’ll need a few essential items you may already have lying around the house or can easily acquire at a local hardware store. A large plastic drum or dustbin will serve as the compost container. You’ll also need two 2×4 lumber pieces for the frame, four caster wheels for mobility, a metal rod or thick wooden dowel for the axle, and various screws, nuts, and bolts.
As for tools, have a drill, saw, screwdriver, wrench, and tape measure on hand. If you’re leaning towards a DIY compost bin wood design, substitute the plastic drum with wooden planks and nails for assembly. Building a cheap compost tumbler requires protective gear like gloves and goggles for safety during construction. The total cost can be kept low using recycled or second-hand materials, making it a budget-friendly project for anyone.
Step-by-Step Guide: Building the Frame for Your Cheap Compost Tumbler
Once you’ve gathered all the materials, start by building the frame. Cut the 2×4 lumber into four pieces to serve as the legs and another two pieces to act as cross-bracing. Attach the cross-braces to the legs using screws to form a rectangular or square frame. Ensure the frame is level and sturdy, as it will need to support the weight of the compost material and the rotating drum.
In case you missed it: 20 Best Kitchen Compost Bins With Prices: Low-Cost Composting for Home and Apartment Garden Plants
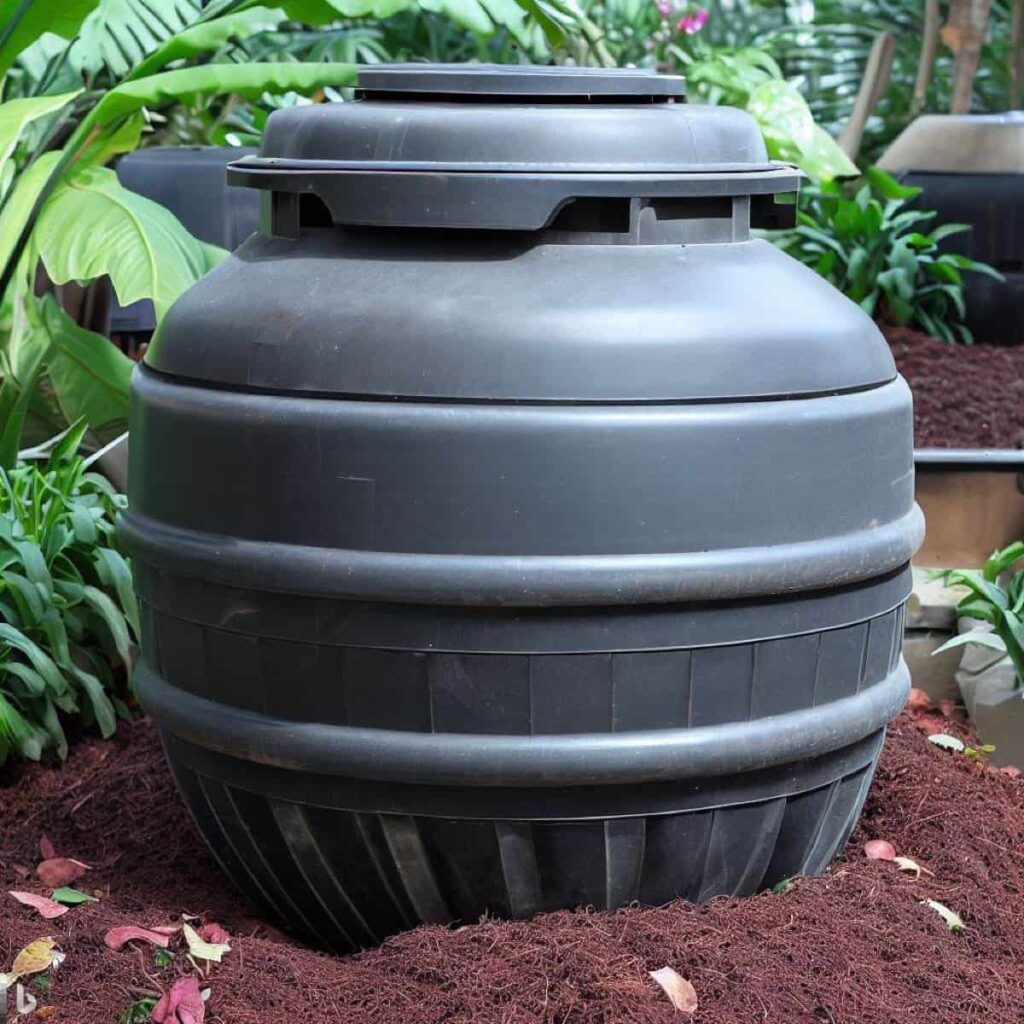
If you’re planning on a wood-based compost bin, now would be the time to assemble the wooden planks into a box shape, securing them with nails or screws. If you use a plastic dustbin, drill holes in the sides for aeration. This step is crucial for an easy DIY compost bin. Once the frame is ready, you can create the rotating mechanism, which is the essence of a tumbler design.
Constructing the Rotating Mechanism: DIY Ideas for Easy Turning
The next step involves creating a rotating mechanism to make compost turning simple and effective. Take the plastic drum or wooden box you’ve prepared and drill a hole through its centre. Insert the metal rod or wooden dowel through this hole, ensuring it protrudes equally from both sides. Attach this to the frame by threading it through holes drilled into it or securing it with brackets. If you’re using a plastic drum, consider attaching handles made of rope or wood for easier turning.
Attach four wheels to the frame to make it easy to move. These wheels make the tumbler easy to move and turn, completing your cheap DIY compost tumbler. Regularly add compost materials like kitchen waste and yard clippings to your bin, giving it a good spin at least once a week for best results. With these easy-to-follow steps, you’ll have a functional and budget-friendly compost tumbler that serves your gardening needs and contributes to a greener environment.
Creating Air Vents for Proper Aeration in Your Compost Tumbler
Aeration is one of the most crucial elements in the composting process, which helps break down organic material by providing oxygen to the microorganisms at work. For this reason, adding air vents to your compost tumbler is essential. To do this, drill multiple holes in your plastic drum or wooden box, spacing them about 6-8 inches apart. The holes should be large enough to allow air circulation but not so large that the compost material falls out.
Consider drilling holes in a zigzag pattern for effective aeration if you’re using a wooden structure for your composting. Properly spaced and sized air vents enhance composting and reduce the likelihood of bad odours, making it an indispensable step in your DIY compost tumbler construction.
Adding a Secure Lid to Keep Pests Out of Your Cheap Compost Tumbler
Keeping pests out of your compost tumbler is paramount for a hassle-free composting experience. To do this, a secure lid is essential. If you’re using a plastic drum, many come with lids that can be tightly secured. If not, or using a wooden box, you can construct a lid from a piece of plywood cut to size.
In case you missed it: 10 Best Reasons to Use Diatomaceous Earth in Your Garden: Benefits, Uses, and Composition
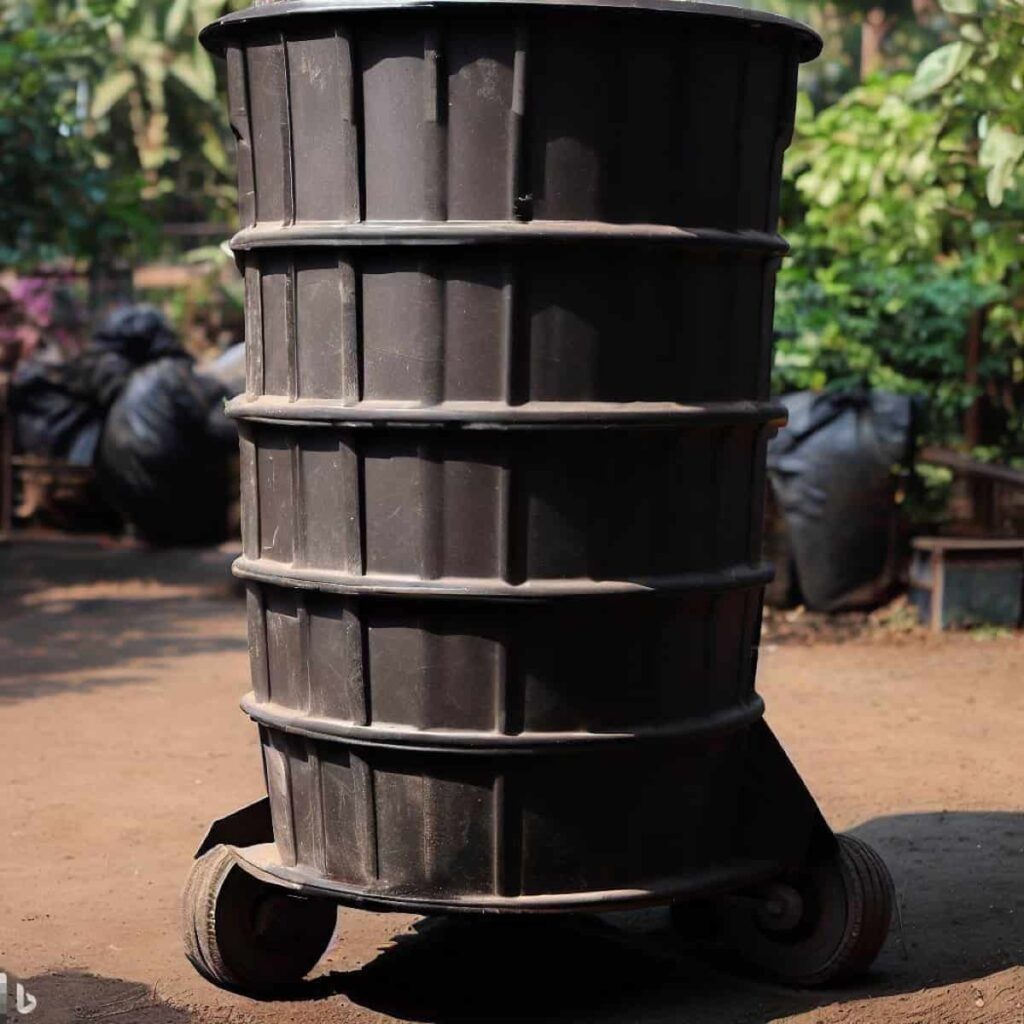
Attach this to your compost container using sturdy hinges and a latch for easy opening and secure closing. To make it even more secure, you can add a locking mechanism or weighted objects to keep the lid in place. A well-secured lid keeps pests like raccoons and rodents out and helps retain the compost’s moisture and heat, two crucial elements for effective composting.
Incorporating a Drainage System: Preventing Excess Moisture Buildup
Too much moisture can turn your compost into a soggy mess, inhibiting composting. To prevent this, it’s essential to have a drainage system in place. If you have a plastic drum, think about making some holes at the bottom so extra water can come out. Place a tray or shallow container beneath the holes to collect any draining liquid, which makes excellent nutrient-rich plant feed.
Creating a slatted base will allow for adequate drainage if you’re working with a wooden structure. You can also place a layer of coarse material like straw or small stones at the bottom of your compost container before adding compost materials, as this will help in water dispersion and prevent moisture buildup.
Selecting the Right Composting Materials for Efficient Decomposition
Compost needs a balanced mix of ‘greens’ and ‘browns’ to break down efficiently. Greens are nitrogen-rich materials like vegetable scraps, coffee grounds, and fresh yard waste, while browns are carbon-rich materials like dry leaves, paper, and wood chips. A good rule of thumb is maintaining a ratio of 1 part greens to 2 part browns for effective composting. Avoid putting in diseased plants, meat or dairy products, and oily foods, as these can attract pests and cause bad odours. Being selective in your composting materials speeds up composting and yields better-quality compost.
Maintaining the Ideal Moisture Level in Your Cheap Compost Tumbler
Ensuring the right moisture level in your compost is critical for successful composting. The compost pile should be as damp as a squeezed sponge. Too dry, and the composting process will slow down; too wet, you risk developing bad odours and pests. If your compost pile is too dry, gradually add water while turning the compost.
In case you missed it: How to Start Polyculture Fish Farming In India: Composite Fish Culture, Mixed Fish Farming Examples, Benefits, and Disadvantages
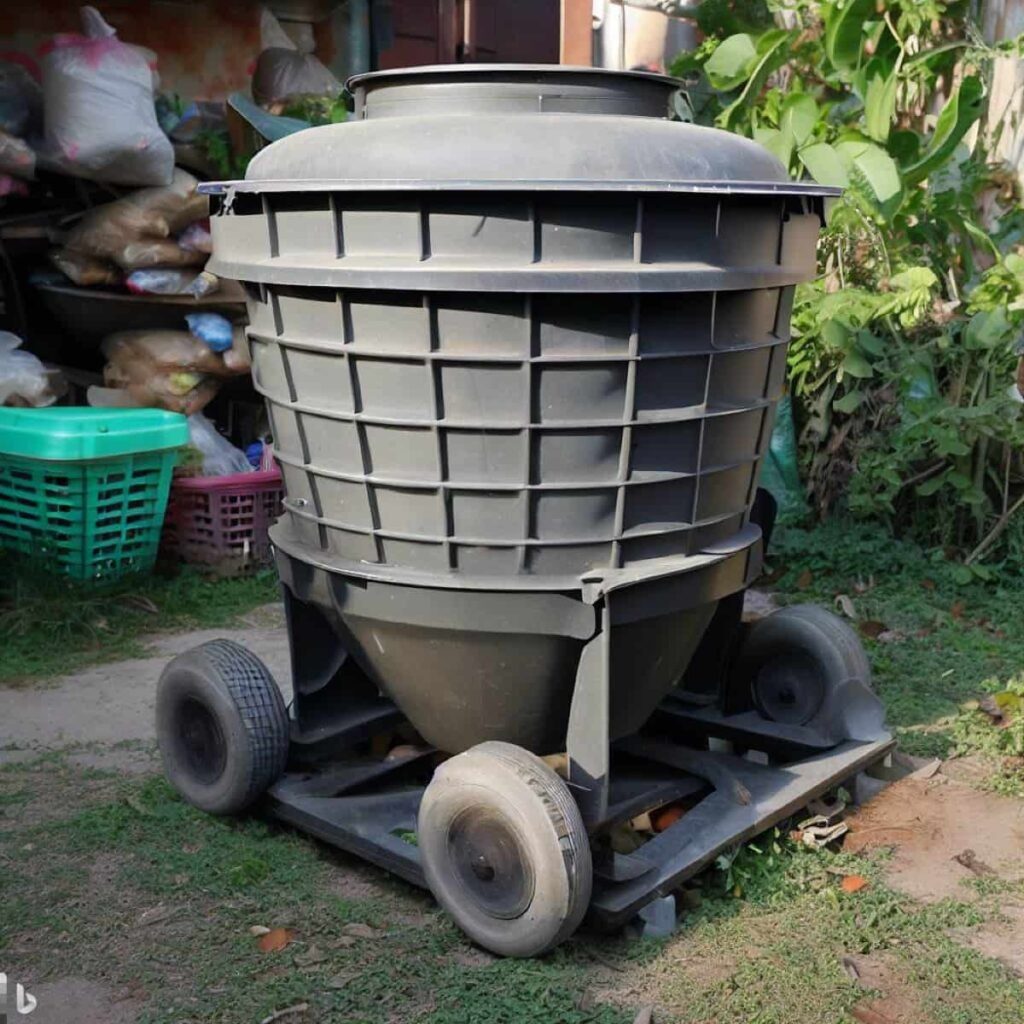
If it’s too wet, add more browns, like dry leaves or paper, to absorb the excess moisture. Regularly turning your compost tumbler will help maintain the moisture levels and evenly distribute the composting materials, leading to faster decomposition and a more homogeneous compost product in the end.
Balancing Carbon and Nitrogen Ratios: Achieving Optimal Composting Conditions
Achieving the optimal carbon-to-nitrogen ratio in your compost tumbler is critical for speedy and efficient composting. A balanced mix encourages microbial activity, which is the driving force behind composting. A good rule is to aim for 30 parts carbon to 1 part nitrogen. This translates to mixing roughly two parts ‘browns’ like leaves, paper, or wood chips to 1 part ‘greens’ like vegetable scraps or grass clippings.
Unbalanced ratios can lead to slow decomposition, bad odours, and pest issues. So, get familiar with what types of household and yard waste fall into each category and make a point to measure or at least roughly estimate the amounts you’re adding to your compost tumbler to maintain this optimal ratio.
Monitoring Temperature and pH Levels in Your Compost Tumbler
Temperature and pH levels are vital indicators of the health of your composting process. A compost pile that’s too cold won’t decompose efficiently, while one that’s too hot can kill beneficial organisms. The compost should be between 130-160°F to kill pathogens and weed seeds while facilitating rapid decomposition. If the compost is not heating up, it likely needs more ‘greens,’ Too much heat can be reduced by adding ‘browns’ and turning the pile more frequently.
Monitoring pH is also useful, though compost is generally self-buffering. If you notice a particularly acidic or alkaline pile, simple additions like crushed eggshells or garden lime can help stabilise the pH. Regular monitoring using a compost thermometer and a pH meter can be very beneficial for maintaining a healthy compost pile.
Troubleshooting Common Issues with Cheap Compost Tumblers: Solutions and Fixes
Even when you follow all guidelines, issues may still arise with your compost tumbler, but don’t worry; most are easily fixable. If your compost smells bad, it’s probably too wet or lacks aeration; adding more ‘browns’ and turning the pile can remedy this. If you’re facing a pest issue, ensure your lid is secure and you’re not adding animal products to the compost.
If the composting process takes too long, your carbon-to-nitrogen ratio may be off, or the materials might be too large; try shredding them for quicker decomposition. By identifying the problem and applying the corresponding fix, you can quickly get your composting operation back on track.
In case you missed it: How to Make Sheep Manure Compost: A Step-by-Step Guide to Using in Your Garden
Harvesting and Using Your Homemade Compost: Tips and Techniques
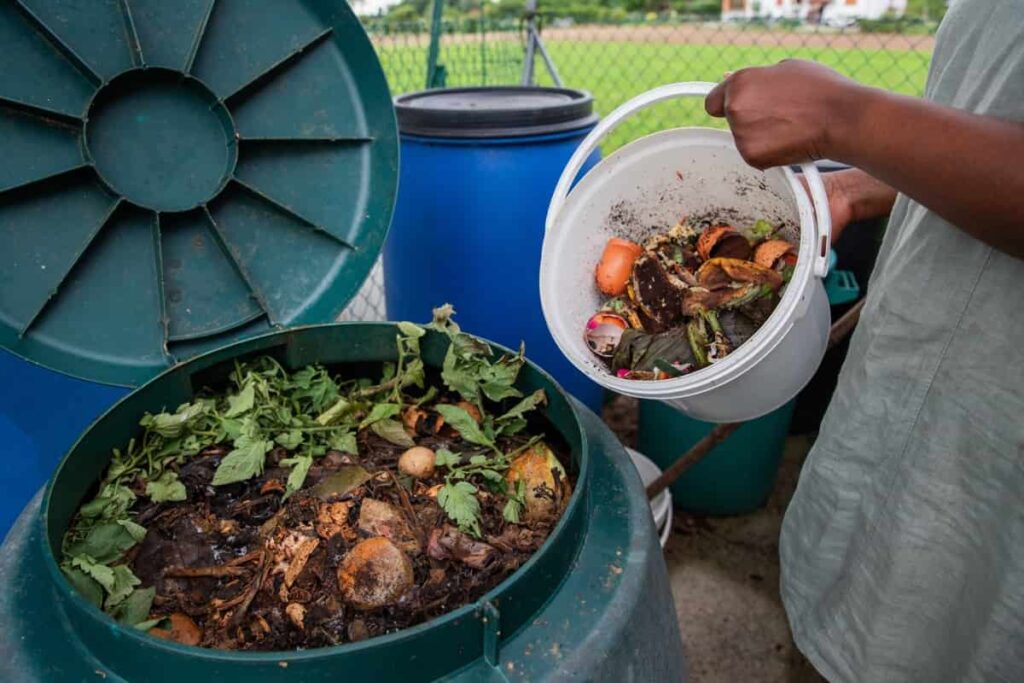
Once your compost is dark, crumbly, and has an earthy smell, it’s ready to harvest. Stop adding new materials to your tumbler a few weeks before you plan to harvest to let everything fully decompose. To harvest, simply open the tumbler and shovel out the finished compost. Not all materials will likely be fully decomposed.
In such cases, separate the unfinished materials and return them to the tumbler for further composting. The harvested compost can be directly applied to your garden beds or used as a component in potting mixes. It’s a nutrient-rich, natural fertiliser that plants love.
Upcycling and Repurposing Ideas for Cheap Compost Tumblers
One of the beauties of DIY compost tumblers is that they’re highly adaptable and can be repurposed or upcycled to extend their usefulness. An old compost tumbler can easily be converted into a rain barrel, a storage container for garden tools, or even a pet house with a bit of creativity and some extra materials.
If your tumbler has reached the end of its life, consider repurposing the wood or plastic into other garden projects like planters or trellises. The metal rod or wooden dowel that served as the axle can be reused in various other DIY projects around the home or garden. Upcycling not only gives a second life to your tumbler but also contributes to sustainability, reducing waste and promoting a circular economy.
Conclusion
Building a cheap compost tumbler at home is a budget-friendly endeavour and an effective way to recycle household and yard waste into valuable organic matter for your garden. From selecting the right location and materials to constructing the frame and adding essential features like air vents, a secure lid, and a drainage system, each step is crucial for a successful composting experience.
In case you missed it: How to Make Cow Dung Manure Compost: A Step-by-Step Guide to Use in Your Farm/Garden
By maintaining optimal conditions like the right moisture level, balanced carbon-to-nitrogen ratios, and regular monitoring of temperature and pH levels, you ensure efficient decomposition and high-quality compost. When issues arise, they are generally easy to troubleshoot and fix, allowing you to continue reaping the benefits of this eco-friendly project.
- Management Pests and Diseases in Your Cotton Field
- Sheep Farming Business Plan for Beginners
- Aquaponic Farming at Home: A Step-By-Step Guide
- Profitable Village Farming Business Ideas in 2024
- High-Yield Aquaculture: Fast-Growing Fish for Farming
- Effective Fish Pond Construction Techniques for Beginners
- Irrigation and Water Management in Pineapple Farming
- Blossom to Harvest: Mastering Flowering and Pollination in Papaya Farming
- Pig Fattening Essentials: From Selection to Sale for Beginners
- Raising Wagyu Cattle: A Complete Guide for Premium Beef Production
- Soil Types and Their Water Holding Capacity
- Optimizing Irrigation Schedules for Coconut Groves for Enhanced Yield
- Espresso Your Garden: Coffee Grounds for Healthier Acid-Loving Plants
- The Best Soil Mix for Snake Plants: How to Mix Your Own Snake Plant Soil
- Green Thumb Success: Expert Tips for Cultivating Greenhouse Beans All Year Round
- Bloom All Year Round: The Ultimate Guide to Indoor Hyacinth Care
- Eco-Friendly Gardening: How to Make Liquid Fertilizer from Kitchen Waste
- Ultimate Guide to Grow Anise in Pots: Explore Seed Propagation to Harvesting
- Guide to Raising Chester White Pigs: Discover Breed Facts to Growth Management
- Mastering the Elegance: The Ultimate Guide to Weeping Cherry Tree Care, Planting, and Maintenance
- Ultimate Guide to Planting Garlic in Grow Bags: Growing Strategies for Beginners
- How to Fix Spider Plant Leaf-Related Problems: Natural and Organic Remedies
- 10 Reasons Why Your Tulsi Plant is Shedding Leaves: Home Remedies and Solutions
- Optimizing Growth and Yield: The Advantages of Palm Bunch Ash Fertilizer
- Utilizing Neem Oil Extract as a Natural Pesticide for Hydrangea
- From Soil to Harvest: Various Ways in Which Farmers Can Use AI Tools
- Steps to Encourage and Induce Citrus Flowers: A Comprehensive Guide
- How to Fix Snake Plant Leaf-Related Issues: Natural and Organic Remedies
- Transform Your Garden into a Fragrant Oasis with Raat Ki Rani (Night Blooming Jasmine)
- Discover the Ideal Chicken Breeds for Philippine Farms
- How to Create a Poultry Egg Farm Business Plan for Profits
- Grow Lemon Cucumbers Like a Pro: Insider Techniques for Bountiful Yields
- Ultimate Guide to Caring for Your Pink Princess Philodendron: Tips for Thriving Variegation
- Areca Nut Profit Per Acre: Calculating Yield and Cost of Cultivation
- How Kaveri Chicken is Becoming a More Profitable Breed in Indian Backyards
- Transform Your Barn: 9 Steps to Convert a Horse Stall into a Chicken Coop
