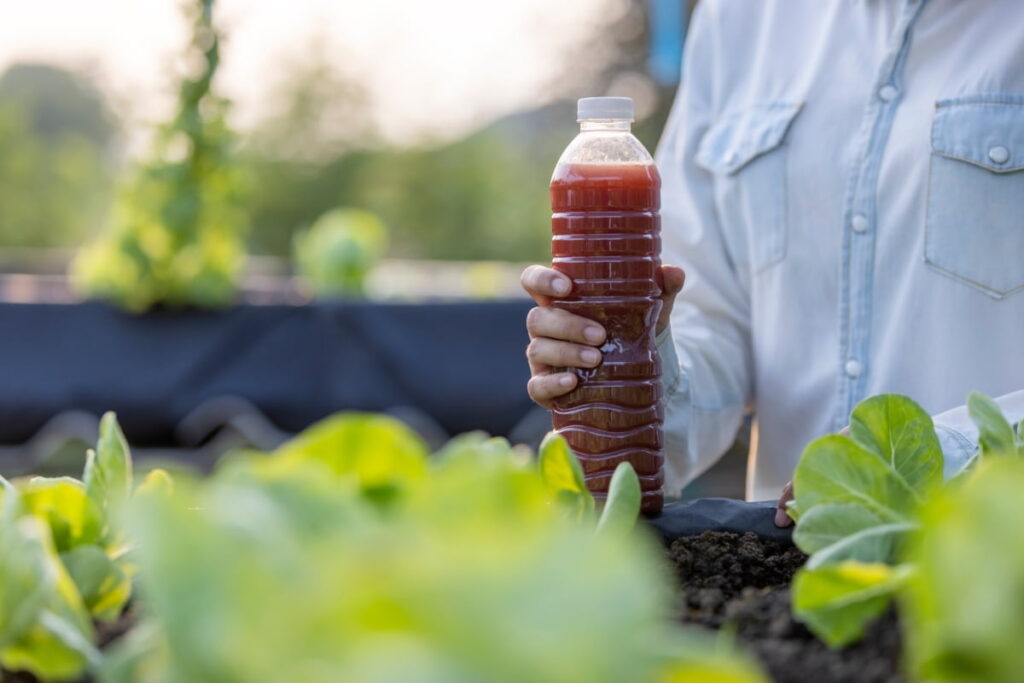
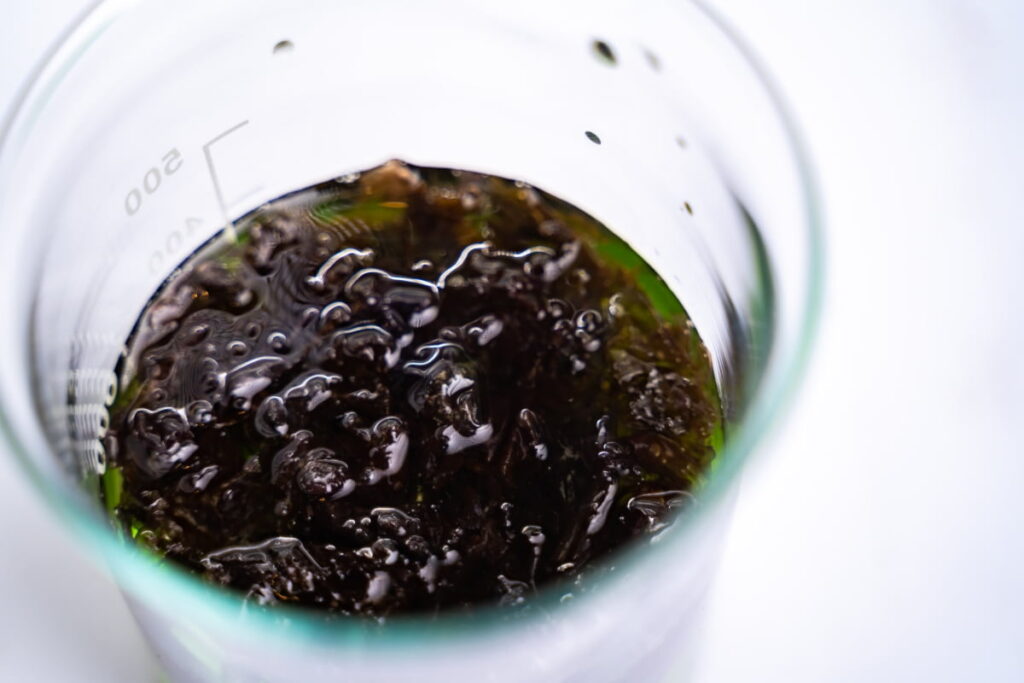
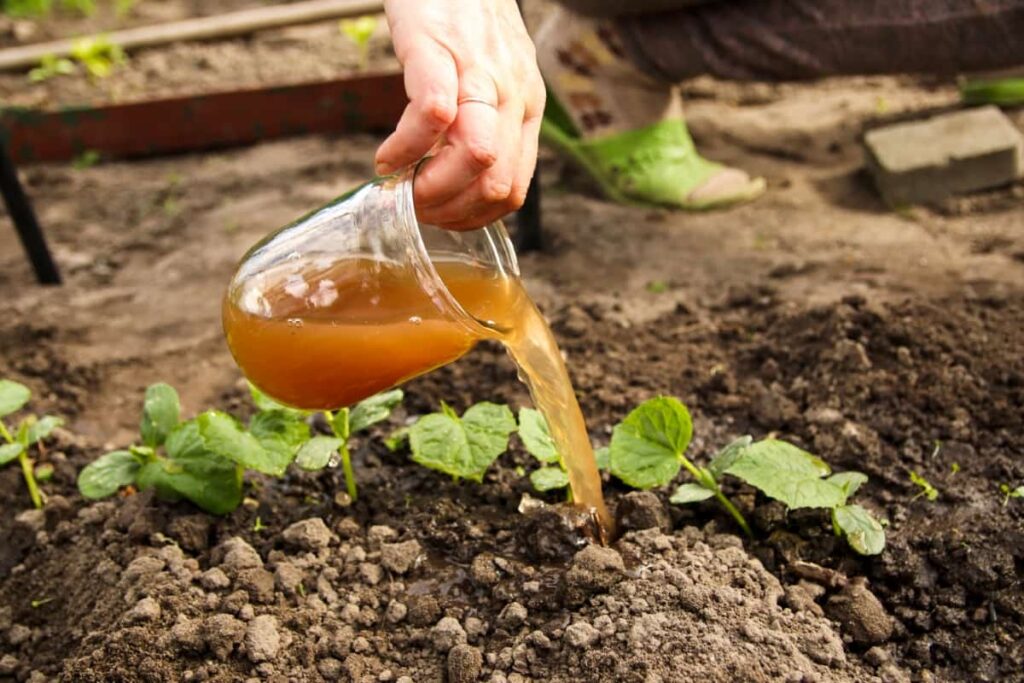
Welcome to “Eco-Friendly Gardening: How to Make Liquid Fertilizer from Kitchen Waste”! In this guide, we delve into sustainable gardening practices by repurposing kitchen scraps into nutrient-rich liquid fertilizer. Did you know that food waste constitutes a significant portion of household trash, contributing to environmental degradation? With accurate data and step-by-step instructions, we’ll explore how to harness the power of kitchen waste to nourish your plants naturally, promoting a healthier garden and a greener planet.

Introduction to Homemade Liquid Fertilizer
Homemade liquid fertilizer, crafted from kitchen waste, is a sustainable and cost-effective way to enrich your garden. Utilizing organic kitchen scraps like vegetable peels, fruit remnants, and coffee grounds, you can create a nutrient-rich solution that feeds your plants and improves soil health. This method not only recycles waste that would otherwise contribute to landfills but also provides your plants with essential nutrients like nitrogen, phosphorus, and potassium.
Benefits of Using Kitchen Waste
- Reduces Landfill Waste: Composting kitchen scraps decreases landfill volume, minimizing environmental pollution.
- Enriches Soil: Kitchen waste compost provides essential nutrients for healthier plant growth.
- Saves Money: Homemade compost substitutes for commercial fertilizers, cutting gardening costs.
- Improves Water Retention: Compost enhances soil’s water retention, aiding plants during dry spells.
- Reduces Greenhouse Gases: Proper composting reduces methane emissions, mitigating greenhouse gas effects.
- Promotes Circular Economy: Composting recycles nutrients into the soil, supporting a circular economy.
- Encourages Sustainable Living: Composting kitchen waste fosters a sustainable lifestyle and eco-friendly practices.
Why Use Liquid Fertilizer from Kitchen Waste?
Discover the environmental and economic advantages of utilizing liquid fertilizer made from kitchen waste, including waste reduction, cost savings, gradual nutrient release, improved soil structure, and avoidance of synthetic chemicals.
Collecting and Preparing Kitchen Waste
- Collect kitchen waste like fruit and vegetable peels, coffee grounds, tea bags, and eggshells.
- Avoid using meat, dairy products, or oily substances, as these can attract pests or lead to unpleasant odors.
- Once you have gathered your kitchen scraps, chop them into smaller pieces to accelerate the fermentation process.
In case you missed it: 20 Best Kitchen Compost Bins With Prices: Low-Cost Composting for Home and Apartment Garden Plants

Top 10 Kitchen Wastes to Use as Fertilizer for Your Home Nursery
- Egg Shells: Rich in minerals like calcium carbonate, eggshells promote healthy plant growth.
- Fruit Peels: Utilize banana or orange peels as natural fertilizers to nourish your plants.
- Old Bottles: Repurpose old water or milk containers by creating DIY watering cans for hassle-free plant hydration.
- Citrus Peels: Turn used lemon or citrus peels into seedling pots, providing both drainage and natural fertilizer.
- Coffee Filters: Place coffee filters at the bottom of pots to maintain clear drainage holes and prevent soil leakage.
- Cooking Water: Save nutrient-rich water from boiling vegetables or eggs to water your plants.
- Paper Towel Rolls: Cut and place paper towel rolls around seedlings for protection against pests or use them as seed starters.
- Chili Leftovers: Ground chili seeds mixed with water serve as a natural pest repellent for your garden.
- Scrap from Fruits and Veggies: Process fruit and veggie scraps to provide additional nutrients to tomato and pepper plants.
- Used Coffee Grounds: Don’t discard used coffee grounds; enrich your garden soil and compost heap.
Methods of Fermentation
Several methods exist for fermenting kitchen waste to create liquid fertilizer. Two commonly used techniques are aerobic fermentation and anaerobic fermentation. Aerobic fermentation involves using an open container, allowing oxygen to aid the decomposition process. Anaerobic fermentation, on the other hand, requires a closed container to exclude oxygen. Both methods have advantages and can produce nutrient-rich liquid fertilizers.
Required Tools and Materials
To make liquid fertilizer from kitchen waste, you need a few essential tools and materials. These include a fermentation container, such as a bucket or a large jar with a lid, a stirring tool, water, and a strainer or cheesecloth to separate the liquid fertilizer from the solid waste.
Step-By-Step Fermentation Process
- Place the chopped kitchen waste into the fermentation container, filling it about two-thirds full.
- Add water to the container, covering the waste completely.
- Stir the mixture for ensuring an even distribution of water and waste.
- Close the container with a lid, but leave it slightly ajar to allow gases to escape during fermentation.
- Store the container in a warm, dark place, away from direct sunlight.
- Stir the mixture once a day to promote decomposition and prevent the formation of a crust.
- Continue the fermentation process for approximately two to three weeks or until the waste has fully decomposed.
In case you missed it: How to Compost Kitchen Waste with Worms: A Guide to Kitchen Vermiculture

Straining and Storing the Liquid Fertilizer
After fermentation, the liquid should be strained to remove solid particles. The resulting liquid fertilizer should be stored in airtight containers at cool, dark place to prevent its loss of efficacy and unpleasant odors.
Application Tips for Liquid Fertilizer
When applying the liquid fertilizer, it should be diluted with water to prevent root burn. The ideal ratio is typically 1 part fertilizer to 10 parts water, but this may vary depending on the solution’s concentration and the type of plants being fertilized.
Safety Measures and Best Practices
It is important to wear gloves when handling the fertilizer to avoid skin irritation. Additionally, ensure that the containers used are clean and that the fertilizer is applied during the cooler parts of the day to minimize evaporation and maximize absorption.
Troubleshooting Common Issues
Common issues include foul odors, which may indicate improper fermentation, and mold growth, which can occur if the mixture is exposed to air. Adjusting the fermentation time and ensuring airtight conditions can help mitigate these problems.
In case you missed it: How to Build a Cheap Compost Tumbler: Requirements and DIY Organic Waste Compost Tumbler

Transforming kitchen waste into liquid fertilizer offers a sustainable and cost-effective solution for nurturing plants while minimizing environmental impact. By repurposing organic materials, gardeners can promote soil health, reduce waste, and foster eco-friendly gardening practices, ultimately contributing to a greener, healthier planet.
- Profitable Village Farming Business Ideas in 2024
- High-Yield Aquaculture: Fast-Growing Fish for Farming
- Effective Fish Pond Construction Techniques for Beginners
- Irrigation and Water Management in Pineapple Farming
- Blossom to Harvest: Mastering Flowering and Pollination in Papaya Farming
- Pig Fattening Essentials: From Selection to Sale for Beginners
- Raising Wagyu Cattle: A Complete Guide for Premium Beef Production
- Soil Types and Their Water Holding Capacity
- Optimizing Irrigation Schedules for Coconut Groves for Enhanced Yield
