The term vermiculture refers to the farming of worms. The process of vermicomposting involves feeding organic waste to worms, which converts it into a product known as vermicompost. With this waste disposal method, nature produces and recycles compost with no added chemicals in a sustainable manner. It is not necessary to stink out the neighborhood or attract all the fruit flies from around the block to compost with worms.
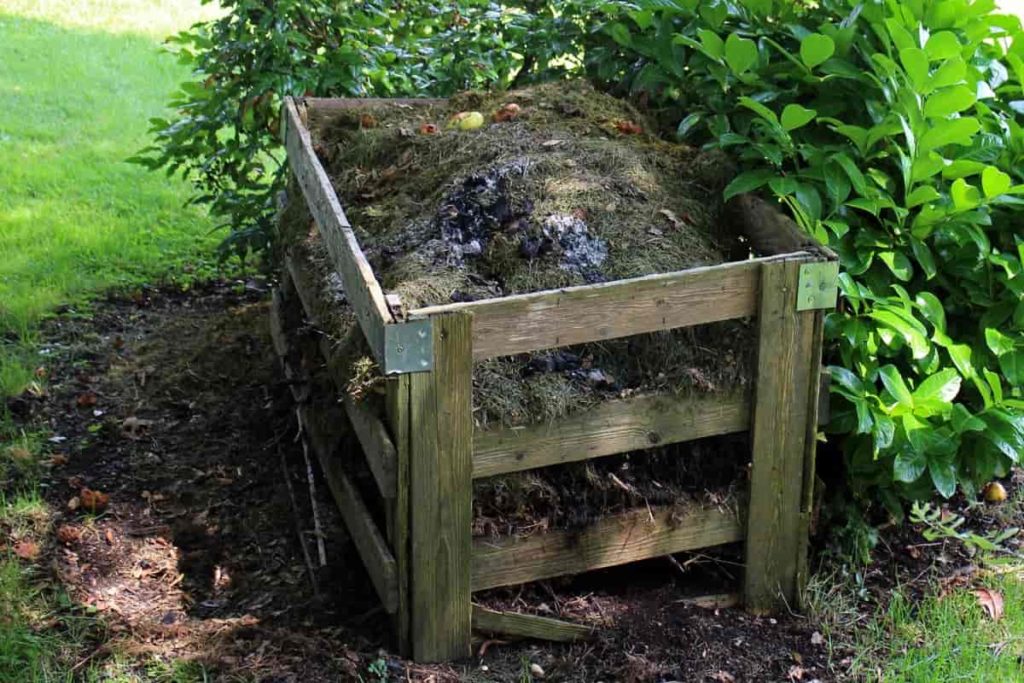
It is an easy and odorless process if done correctly. In this article, you will learn how to make your vermicompost. Earthworms are used in vermicomposting, a scientific method of making compost. They are commonly found in soil, eating biomass, and excreting digested matter. Organic waste materials are fed on by earthworms, which produce vermicasts that contain nitrates and minerals such as phosphorus, magnesium, calcium, and potassium. Fertilizers like these improve soil quality and serve as fertilizers.
In addition, compost can be produced more efficiently from certain types of organic waste. For example, organic wastes derived from plants, such as fruit peels and vegetable scraps, are commonly processed through vermicomposting. Exceptions include lemons and garlic, which are too acidic and could harm the worm. Additionally, animal-based organic waste, like meat, dung, and dairy products, is not conducive to vermicomposting because they release odors and attract pests. Below are some household organic waste that can be processed through vermicomposting,
- Vegetable and fruit scrap like peels, seed, stem, fruit, etc
- Eggshell
- Seaweed
- Seashells
- old clothes like t-shirt, socks, etc
- Used paper
- Tea
- Dead or dried plants without pesticides
- Natural wood
- Hair and feathers
How to compost kitchen waste with worms
The importance of processing organic waste
There is a common misconception that organic waste will degrade without assistance and is safe for the environment, and therefore the importance of processing organic waste is often overlooked. Even though organic waste degrades on its own, this process can be hazardous to the environment and the health of the people in the surrounding area if it occurs in large quantities. In landfills, organic waste decays through an anaerobic process that produces methane, a greenhouse gas that can cause global warming.
In case you missed it: How to Prevent Insect Pests in Vermicomposting: Tips, Ideas, and Techniques for Maggots, Fruit Flies
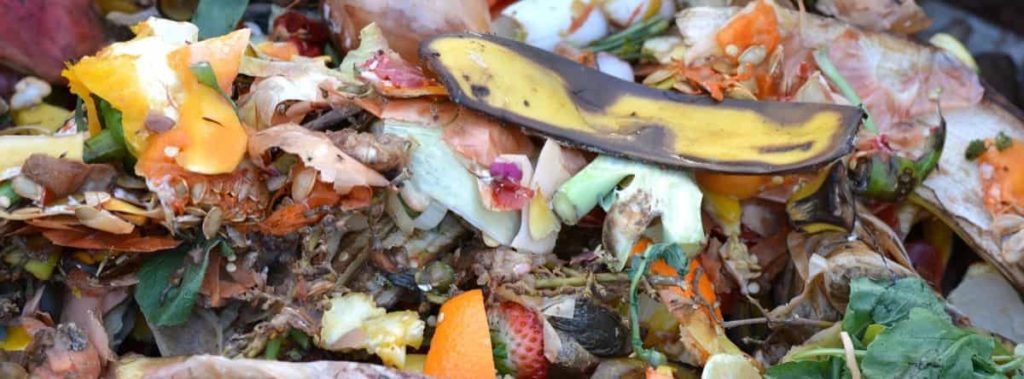
Methane in high concentrations can be more harmful than carbon dioxide because it has 30 times the capacity to absorb heat. In addition to its environmental impact, organic waste in landfills can also cause health problems for people nearby. When high methane concentrations, oxygen inhalation may decrease, resulting in asphyxiation. In addition, other harmful gasses are produced, including hydrogen sulfide, which can cause respiratory diseases. It is crucial to process organic waste properly to prevent it from ending up in landfills and releasing harmful gasses.
Among several methods for processing organic waste, vermicomposting is one. The other methods include bio pores, biogas conversion, and black soldier flies. In addition, a method of converting organic waste into compost by using worms is used in this technique. The benefits of vermicomposting go beyond reducing the amount of organic waste that goes to landfills. Besides producing nutritious compost for private gardens, vermicomposting can also be sold as a business.
How to make vermicompost from the kitchen waste
Every day, Indian households generate nearly a kilogram of organic waste. An obvious solution is to feed it to the plants as fertilizer. With this natural solution, we can keep the cycle running right on our balconies. Composting and vermicomposting are two easy ways to get started. However, one must first understand how these methods work before concluding. In both composting and vermicomposting, organic waste is decomposed into fertilizer.
However, unlike composting, which relies on fungus and bacteria to accelerate the process, vermicompost uses earthworms to speed the process. Verm composters, also known as worm composters, are relatively inexpensive and easy to maintain. There are several ways to vermicompost. In this farming guide, you will know how to build a worm composting bin designed to be used to compost kitchen waste.
Worm composting bins are also available for purchase. As you do not want your worms to freeze during winter and keep them from getting too hot during the summer, you will want to place the bin indoors. However, considering that you will be producing compost and worm tea in the composter, you may want to put the bin in an out-of-the-way location. Red wiggler worms are housed in worm bins in the kitchen.
Worms are fed organic waste collected from the environment. From the bottom of the bins, vermicompost is pulled out and sieved to remove any worms. After being bagged, the vermicompost is sent to the garden to feed the plants. Unfortunately, hundreds of thousands of families daily throw away the same product that empowers farmers and encourages housing societies to nurture gardens.
In case you missed it: Vegetable Seed Germination Chart: A Calendar to Time and Soil Temperature
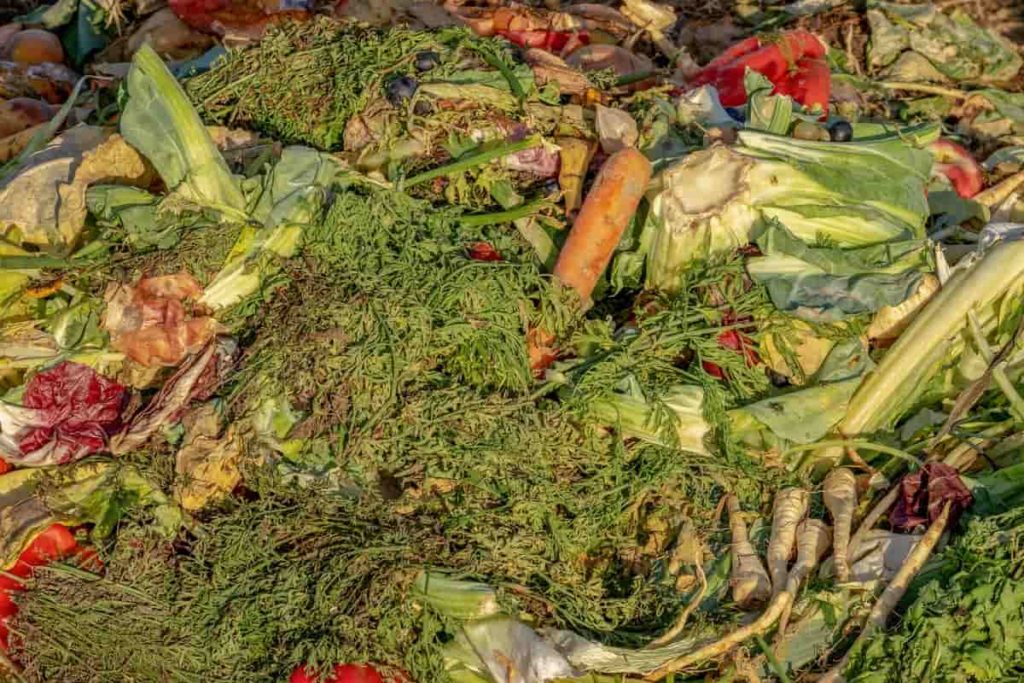
Inputs
- We must understand how much waste we produce in our kitchens every day. In other words, you need to list the foodstuff you regularly consume in your family.
- For example, one family member likes citrus fruits such as lemons and oranges. Unfortunately, the peels of those fruits and vegetables inevitably end up in the trash. Since earthworms don’t like citrus, you’ll need to dispose of citrus peels in another manner if you want to use vermicompost.
- The worms have difficulty digesting onions, garlic, and non-vegetarian waste, such as bones.
- Vermicomposting involves putting wet waste into one part of the bin until the compost starts looking dry. All you need to do then is shift the base from one part of the kit to the other. After that, the earthworms can take care of the rest.
Space requirements for the compost bin
There is a myth surrounding vermicomposting that it requires ample space to work. In reality, this method can be implemented in small bins as well. As your composting project grows, you’ll have to add more containers because of the increase in input and output. On the other hand, composting works best on a terrace or roof. As a result of sunlight and natural moisture, the process tends to be sped up. Composting can technically be started on a kitchen counter as well. But, overall, the wet waste layer of dry organic waste, like dry leaves, traps the odor.
Homemade vermicomposting method
Vermicomposting efficiently reduces the negative environmental impacts of organic waste in landfills and human health impacts using simple equipment. Further, vermicomposting can be implemented at multiple scales, so households and businesses can take advantage of this technique. However, due to the assumption that this technique causes odors and is difficult to implement, many may doubt its effectiveness.
Set up the worm bin
A. Select a spot in the home to keep the worm bin
Worm bins do best in places with a consistent temperature and moisture level. Place it away from ovens, heaters, air conditioners, and vents. Keeping worm bins away from the house’s living areas is essential, even though they generally do not emit much smell. These bins can be kept in laundry rooms, closets, or other storage areas. In addition, the bin can be placed in a large kitchen so that food can be thrown in easily.
B. Invest in a worm bin
A vermicompost bin is a pre-made container for vermicompost. Many gardening and organic supply stores carry it. A 20-gallon storage container will suffice if you do not want to purchase a worm bin. It should be opaque so that light cannot pass through.
C. Drill holes in the bin for airflow
If you buy a storage container, you need to use a power drill to cut 12-inch holes in the container’s bottom, sides, and lid. If you purchase a pre-made worm bin, there will be air holes, but if you buy a storage bin, you will need to use a power drill to cut the holes. The bin should have around 20 holes drilled in it. Air will enter the bin from the bottom through these holes.
D. Place the bin on blocks with plastic underneath
Put two blocks or wood pieces under the bin to keep them off the ground. The worm bin should be covered with a large sheet of plastic. On top of the plastic, place the blocks or woods & the bin.
In case you missed it: Mississippi Vegetable Planting Calendar (MS): Month Wise Garden Guide for Fall, Winter, Spring, Summer, Zone 7, Zone 8, and Zone 9
E. Purchase worms online or at a garden center
Buying worms is the most crucial step. Online or at a nearby garden store, you can buy it.
Make a worm habitat
A. Cut newspaper or corrugated cardboard for bedding
Paper and cardboard are the best bedding for worms since they hold moisture well. Fill the bin about 8 inches high with shredded newspaper or cardboard.
B. Soak the bedding in water
It is essential that the bedding be damp before you add the worms for them to survive and breathe. The bedding should be sprinkled or poured with a bit of water. You should make sure that all of the bedding is wet.
C. Place the bedding into the bin
Water should be spread evenly across the bottom of the bin once the bedding has been properly soaked in water. For the worms to settle comfortably, the bedding should fill at least eight inches of the bottom of the bin.
D. Pour some dirt on top of the bedding
Adding some soil to your bin will make the worms feel more at home, as they naturally live in the soil. Buy regular potting soil from the garden store, or take some debris-free soil from outside. After that, spread it evenly over the bedding.
E. Put an even layer of food waste on top of the soil
Spread the food scraps or waste all over the soil. The best food scraps to use are leaves, peels, rinds, cores & seeds from fruits and vegetables. Alternatively, you can use crushed eggshells, tea bags, and coffee grounds. Close the bin’s lip properly for at least five to ten days.
Starting to Vermicompost
A. Place worms into the bedding
The bedding should be opened, and a hole should be made in the middle. Please do not put the worms across the top of the hole but slowly into it. It will be more comfortable for the worms this way.
B. Feed the worms
Regularly feed the worms without missing any. For every 1000 worms, add about 225g of food each day. You can add more worms to your bin if your family produces more waste.
C. Harvest the vermicompost after about six months
The amount of bedding left in the bin should be checked every week. It’s harvest time when all the bedding has been converted into compost. Add new wet bedding and push it all to the side. The compost should be slowly dug out, but the worms should be left in the bin.
Maintaining the bin
- It is good to scoop the liquid out of the lower container once every few months. The worm bin is complete when the compost reaches the bottom of the top holes drilled in the worm bin.
- You can draw the worms to one side of the bin by feeding them on that side for a couple of weeks.
- Once all the worms are on one side, harvest the compost on the other side and use it for your garden, pots, or in your lawn.
- You can also scoop compost and worms onto a newspaper and sort them, but this is messier. Be sure to harvest compost at the end of the week before you feed the worms again.
In case you missed it: How to Apply Bone Meal on Plants in Your Garden: What is Bone Meal? and A Guide to Make Bone Meal Fertilizer
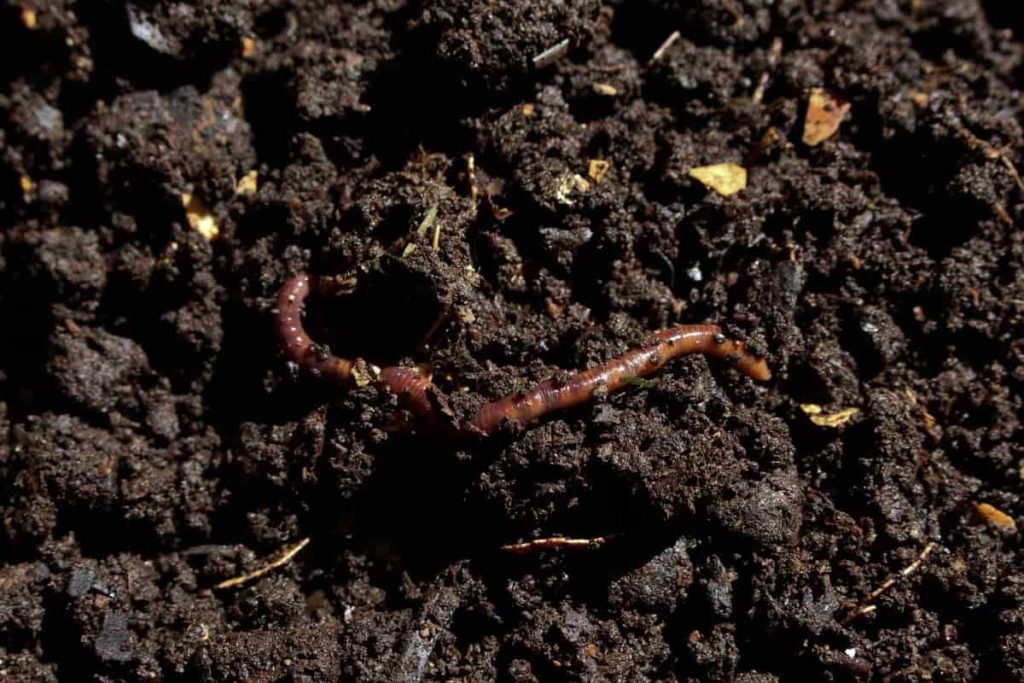
Conditions required for growing the worms
While there are many worm species to choose from, it is vital to select the right worm. The compost heaps may be too deep for some species or require more specific environmental conditions. The compost kitchen uses red wiggler worms because they are the most efficient at breaking down organic matter. Organic matter is eaten by the worms through their mouths and mashed into small particles by tiny stones in their gizzards.
Then, through chemical secretions and enzymes, organic matter is digested and excreted through the long digestive tract as mucus-coated castings, also known as worm poop. Worms have a large appetite because they absorb only 5 – 10% of the food they eat. As a result, they breed extremely fast and can double their population every 90 days, and have a large appetite. A worm can produce three cocoons a week, producing nine young worms. After maturing for four weeks, baby worms can live for four to five years. For keeping your worms happy, try focusing on the following aspects.
Temperature
Temperatures can be low as 4°C are not a problem and have a wide temperature range of 15 to 25°C. Worm bins should not be left in direct sunlight as they tend to be warmer than outside.
Moisture
A soil moisture content of 60 – 90% is ideal for them. Spray the bin every other day to create a moist environment, but you do not want wet, muddy vermicompost as it becomes messy and odorous. In contrast to other animals, worms obtain water from their food, so they don’t need drinking water. Instead, they need a wet worm bin, and dry soil is poisonous.
Food
Fruits like apples and bananas should be buried in your worm bin to prevent fruit flies. Keep your compost bed fluffed up every one or two weeks to prevent organic matter from compacting and becoming anaerobic. A breathable cover or small holes on the lid, sides, and bottom will allow air circulation in your worm bin. The organic matter should be protected from birds, and rats and fruit flies should not be attracted to it.
When to use vermicompost
Using vermicompost, you’ll be able to provide a growing environment that caters to all the needs of your plants. Another advantage of vermicompost is that it is not limited by seasons. You can use the compost all year round to ensure your plants are never left with unhealthy soil. Here are a few ways to use vermicompost in your home or garden:
- The vermicompost should be mixed with some potting soil before being placed in a pot for indoor use.
- Adding vermicompost to the surface of the soil around the plants or into holes before planting new plants will make the nutrients readily available to the plants.
- Vermicompost can either be mixed with germination mixes like coco peat or germination mixes or used to grow seedlings.
- It is also possible to make a liquid fertilizer by soaking vermicompost in warm water, but this requires more effort than using the ready-made product.
In case you missed it: Top 25 Amazing Annual Shade Plants: How to Grow and Care in Your Garden
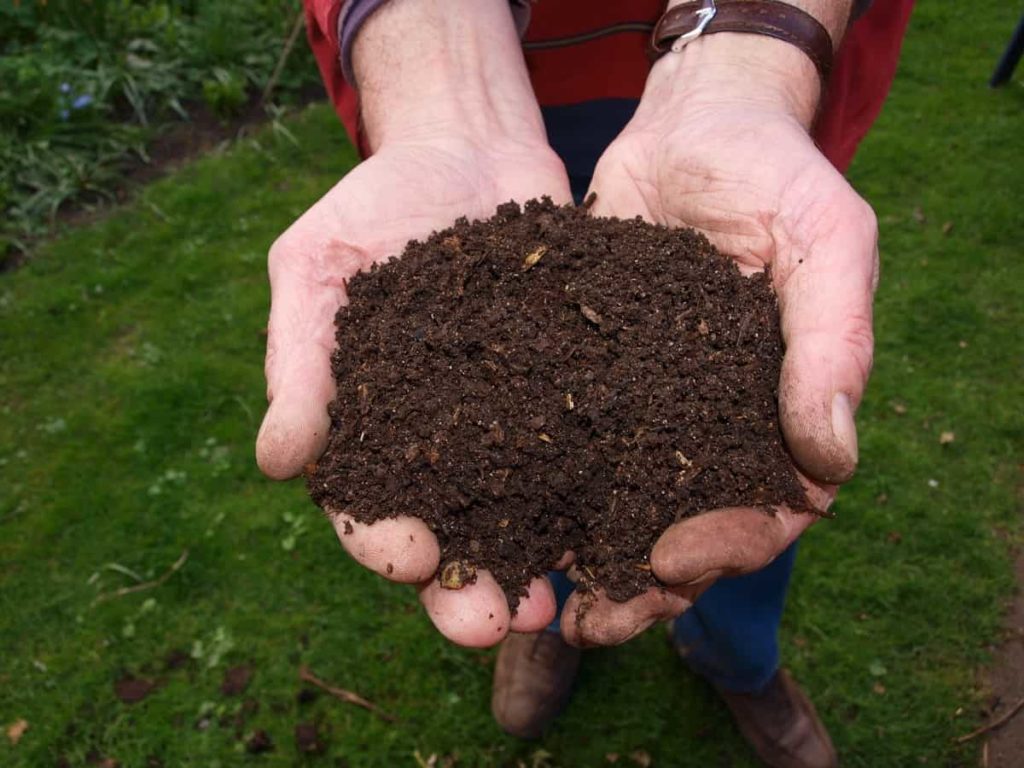
The benefits of using vermicompost
- Vermicompost improves soil’s biological, chemical, and physical properties both indoors and outdoors
- Improved soil aeration and microbial activity are essential for plant root growth.
- There is an increased growth rate of plants due to the abundance of nutrients such as Nitrogen, which is essential for green, leafy growth; Phosphorus, which is vital for strong root development; and Potassium, which ensures beautiful fruits and flowers.
- Unlike other fertilizers, it releases slowly without burning your plants.
- In the long term, it will act as a biofertilizer, restores soil nutrients, stabilizes soil, and enhances soil fertility.
- In addition to recycling waste, it addresses social issues.
- It is shown to be a profitable business as a circular economy.
Conclusion
Vermicomposting turns kitchen waste and other green waste into the dark and nutrient-rich soil. Due to the presence of microorganisms, vermicompost maintains healthy soil. Vermicomposting is an environmentally friendly process that recycles organic waste into compost and produces valuable nutrients.
- Profitable Village Farming Business Ideas in 2024
- High-Yield Aquaculture: Fast-Growing Fish for Farming
- Effective Fish Pond Construction Techniques for Beginners
- Irrigation and Water Management in Pineapple Farming
- Blossom to Harvest: Mastering Flowering and Pollination in Papaya Farming
- Pig Fattening Essentials: From Selection to Sale for Beginners
- Raising Wagyu Cattle: A Complete Guide for Premium Beef Production
- Soil Types and Their Water Holding Capacity
- Optimizing Irrigation Schedules for Coconut Groves for Enhanced Yield
- Espresso Your Garden: Coffee Grounds for Healthier Acid-Loving Plants
- The Best Soil Mix for Snake Plants: How to Mix Your Own Snake Plant Soil
- Green Thumb Success: Expert Tips for Cultivating Greenhouse Beans All Year Round
- Bloom All Year Round: The Ultimate Guide to Indoor Hyacinth Care
- Eco-Friendly Gardening: How to Make Liquid Fertilizer from Kitchen Waste
- Ultimate Guide to Grow Anise in Pots: Explore Seed Propagation to Harvesting
- Guide to Raising Chester White Pigs: Discover Breed Facts to Growth Management
- Mastering the Elegance: The Ultimate Guide to Weeping Cherry Tree Care, Planting, and Maintenance
- Ultimate Guide to Planting Garlic in Grow Bags: Growing Strategies for Beginners
- How to Fix Spider Plant Leaf-Related Problems: Natural and Organic Remedies
- 10 Reasons Why Your Tulsi Plant is Shedding Leaves: Home Remedies and Solutions
- Optimizing Growth and Yield: The Advantages of Palm Bunch Ash Fertilizer
- Utilizing Neem Oil Extract as a Natural Pesticide for Hydrangea
- From Soil to Harvest: Various Ways in Which Farmers Can Use AI Tools
- Steps to Encourage and Induce Citrus Flowers: A Comprehensive Guide
- How to Fix Snake Plant Leaf-Related Issues: Natural and Organic Remedies
- Transform Your Garden into a Fragrant Oasis with Raat Ki Rani (Night Blooming Jasmine)
- Discover the Ideal Chicken Breeds for Philippine Farms
- How to Create a Poultry Egg Farm Business Plan for Profits
- Grow Lemon Cucumbers Like a Pro: Insider Techniques for Bountiful Yields
- Ultimate Guide to Caring for Your Pink Princess Philodendron: Tips for Thriving Variegation
- Areca Nut Profit Per Acre: Calculating Yield and Cost of Cultivation
- How Kaveri Chicken is Becoming a More Profitable Breed in Indian Backyards
- Transform Your Barn: 9 Steps to Convert a Horse Stall into a Chicken Coop
- Exploring Suffolk Sheep Disadvantages with Limitations and Challenges
- Guide to Solving Potted Lemon Tree Problems: How to Revive Lemon Tree in Containers
- Steps to Encourage Female Pumpkin Flowers: Best Strategies for More Flowers and High Yields
