Microgreens are the seedlings of edible greens, including vegetables and herbs, which can be grown one to two inches tall. These microgreens can be harvested in a minimum of 2 weeks and a maximum of 25 days. These little greens pack a flavourful punch in food items and can be used as garnishes for salads, sandwiches, or stir-fries. Let’s check out more information on how to grow Microgreens from seed to harvest below.
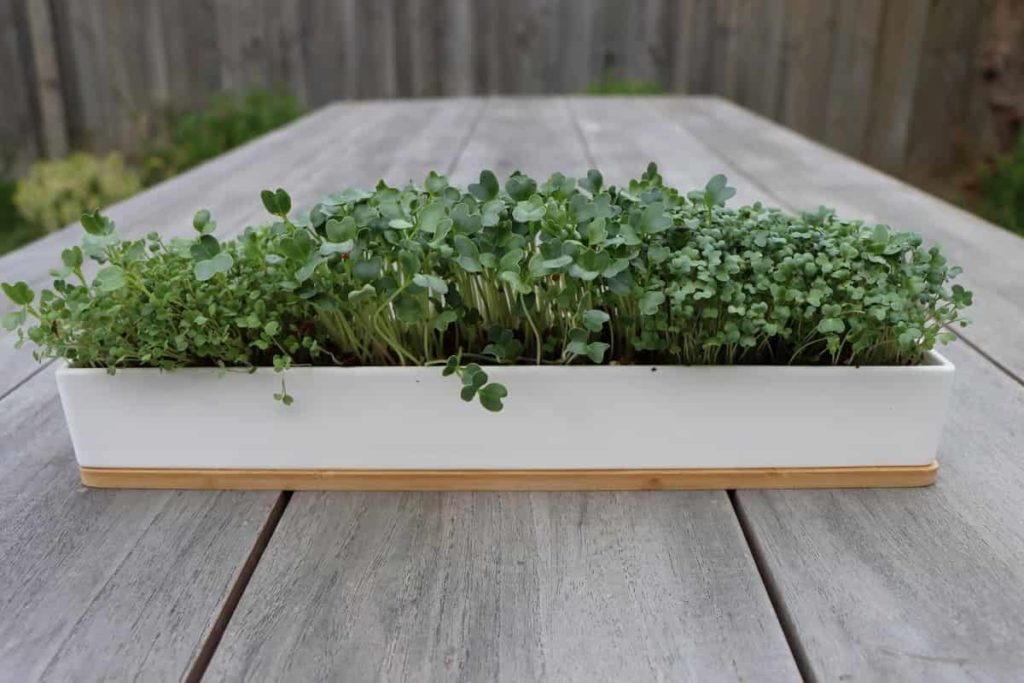
How do you start microgreens from seed?
Major steps involved microgreen harvesting
Soak seeds
Soaking seeds for microgreens can dramatically increase germination rates and crop yields. At the most basic level, the seeds need to be rinsed after soaking them for 6-8 hours; after soaking of seeds for sufficient time, rinse them again and plant them in prepared trays. To avoid mold formation, add a sterilization step to the soaking process.
Prepare the microgreens garden bed
Prepare the garden bed with a seed starting mix, potting soil, or a mix of potting soil and peat moss. Add the required amount of water & soak the growing mat for some time, and place it in a container or baking dish. Loosen the soil and rake it smooth to cover the seeds with a layer of soil on top after planting the seeds
Spread out the seeds
Scatter microgreens seeds on the soil, which are about 1/8 inch to 1/4 inch apart. They don’t need a lot of space as these microgreens are harvested very young while snipping the plants
Cover seeds
Once the seeds are scattered over the area, cover them with a thin layer of soil about 1/8 inch. Water with the spray sprinkler bottle or mister to moisten the soil. Cover the soil tray with a clear lid or plastic wrap until the seeds are sprouted.
Grow until vibrant leaves appear.
The first leaves that come after sprouts are seed leaves, which don’t look like the plant’s actual leaves. Therefore, it can be considered the best time to harvest microgreens when they’ve developed the first set of true leaves. These plants will be grown about ten days to two weeks after planting.
In case you missed it: Best Practices to Grow Green Chilli (Mirchi): The Best Guide for Beginners
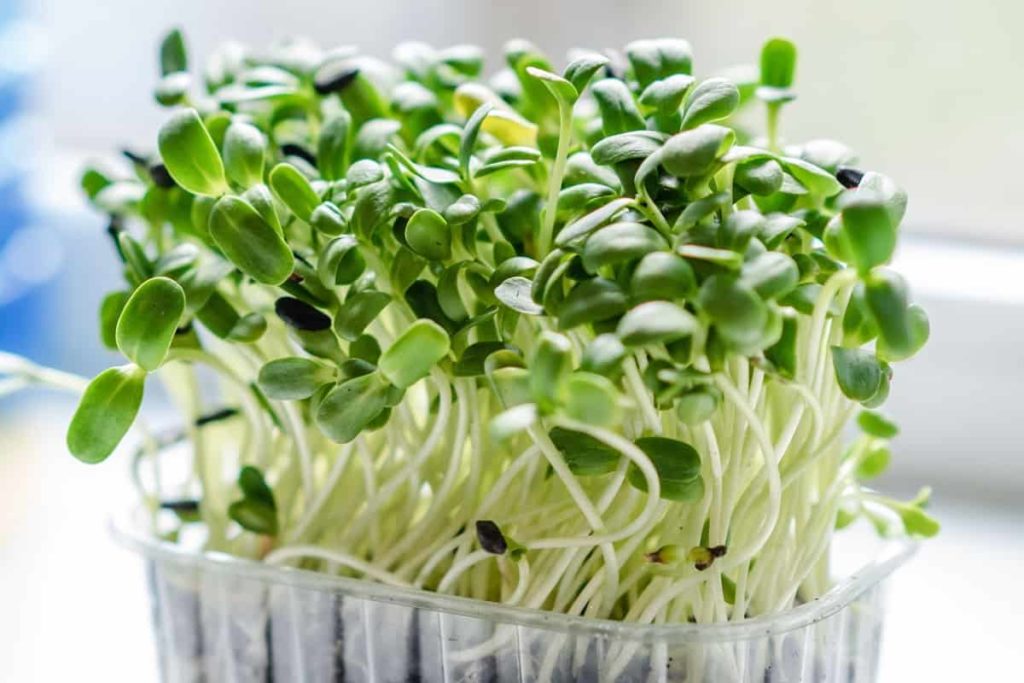
Water daily
Microgreens should be watered every one to two days, or the growing pad starts to feel dry or when the dirt. Then, a required amount of water must be supplied to avoid mold formation.
How tall should microgreens be before harvesting?
Once microgreens sprout their first set of true leaves, then it’s time to harvest. Generally, microgreens should be about one to two inches tall. Harvesting requires scissors to snip the greens right above the soil line.
How quickly do microgreens grow?
Generally, the vegetables grown as microgreens are ready for harvest in about two weeks. But Herbs grown as microgreens tend to be comparatively slow-growing, maturing in 16–25 days.
Will microgreens regrow after cutting?
A microgreen plant’s seed usually only contains enough energy to get the first set of leaves up, and all the energy stored in the seed will be spent only for that one set of leaves. After the first round of microgreen plants snipping, most plants won’t grow back at all.
How often do you water microgreens?
Time-frequency of watering microgreens depends on the method used to grow them. They can be grown in soil trays or through the hydroponic method. However, it is better to water them every one to two days when the growing pad starts to feel dry or when it is dirty.
How many times soil can be reused for microgreens?
Microgreen soil beds can be reused once after harvesting. After harvest, microgreens do not grow back. For a continuous supply, reuse the soil by turning it upside down. Scatter the seeds, and protect them by covering with a thin soil layer. However, it’s not as easy as storing away the soil for the next year. Some specific procedures must be followed to reuse the soil for more than one growing season. It is essential to follow any one of the following processed to maintain the soil’s overall health.
Methods to reuse microgreen soil
Flipping the Soil
The flipping method is a simple process. Just flip the container which has the soil upside down and use the backside for a new batch of seeds. This method is convenient for the next set of planting within less time. This is because the roots and stems from the previous plants degrade on the bottom side, adding nutrients to the soil, while the new seedlings begin to grow on the other side.
Although this method is time-efficient, it also yields more opportunities for mold to grow, and the chances for microgreens to grow healthy will be less. In addition, if ungerminated seeds remain in the soil, it can also cause mold.
Vermicompost
Vermicompost is when worms are used to decompose the organic matter in the soil or bedding materials. In this process, the worms replace the soil with the nutrient-rich organic matter by breaking down the waste organic matter in the soil. Worms for composting can be purchased inexpensively at a garden supplier or online. This organic matter is essentially worm manure, also called Vermicast.
Compared to the flipping method, vermicomposting is the best method to prepare and treat the soil before reusing soil for microgreens. This process will produce nutrient-rich soil, but it takes longer to break down the leftover root and stem vegetation. Both methods work for reusing microgreen soil. Vermicomposting is ideal if there is a time gap to grow the next batch of microgreen plants.
Which microgreens are easiest to grow?
1. Pea Shoots – Pea shoots are the young growing tips of pea plants, comprising the shoots and the thin twining tendrils. Growing peas for shoots will not take as long as it takes to grow actual peas: pea shoots need very little space as they are ready to harvest in two to three weeks, while pea pods take around three months to develop.
In case you missed it: Best Practices to Grow Spinach/Palak at Home: Check How this Guide Helps Beginners
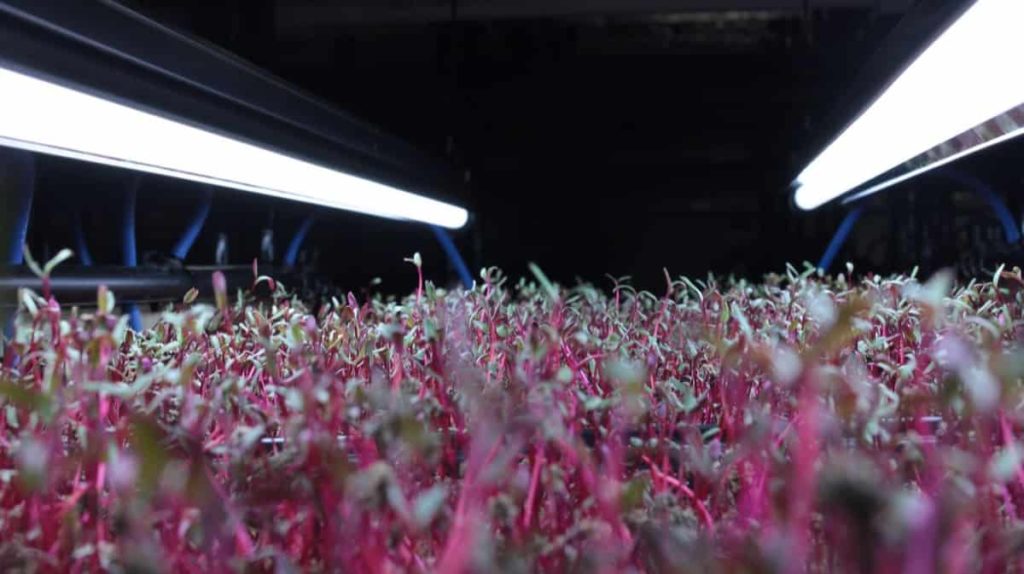
2. Sunflower Shoots – Sun shoots are very young sunflower plants. These are harvested for their delicious stems and leaves. They are crunchy and nutty, and it turns out they as super-nutritious.
3. Radish Shoots – Radish shoots are germinated from radish seeds that have just begun to put out their first set of leaves. These are used in some Asian dishes and can also be used on salads, sandwiches, and dishes for garnishing & for better taste.
4. Micro Broccoli – Broccoli microgreens are the young plants of the broccoli plant. The Brassicaceae microgreens are well used and valued for cancer-fighting glucosinolates and carotenoid phytochemicals.
5. Micro Kale – Kale microgreens are the younger version of the full-grown leafy vegetable like cabbage; the leaves are very tough and come in different shapes. Because of its extended range of health benefits, it is one of the most popular vegetables to grow and eat.
6. Micro Arugula – Arugula microgreens and Arugula are the same plants, but these are distinguished by the harvest time. Both these plants belong to the mustard and cabbage green families. Arugula microgreens will take less time to harvest when compared to Arugula.
Do microgreens need direct sunlight?
Generally, the ideal time to expose microgreens to light is two to three days after sprouting is witnessed. But this is not fixed for all microgreen plants. It may differ between seed types. For example, some microgreens may grow more slowly compared to other varieties and therefore require to put extra time in the dark.
On the other hand, microgreens like broccoli and kale grow more quickly, so they only need to be put for two to three days in dark conditions. Microgreens need about four hours daily of sunlight, either direct or indirect. In the winter season, plants need to be exposed for even more time. To avoid Leggy, pale greens, these need to be exposed to sunlight.
What kind of lights do you need for microgreens?
Just like plants, microgreens also require light for photosynthesis. Besides natural sunlight, artificial glowing light can also be used. However, remember that the lighting used, whether sunlight or artificial lights, will play an important role in growing healthy microgreens.
1. Sunlight – Natural sunlight is most recommended for microgreen cultivation. Plants will thrive more under direct or indirect sunlight will depend on the variety of microgreen plants.
- Direct sunlight – Microgreens need to be exposed to direct sunlight for better photosynthesis. The microgreens to have access to direct sunlight should be placed outside for four to five hours of the day to receive light while the sun is out.
- Indirect sunlight – In shadier yards, indirect sunlight may be another option for allowing microgreens to access sufficient light. Maybe this is the reason why some gardeners choose to leave their microgreen plants next to the window.
2. Artificial Light – A specialized fluorescent or LED growing light can be used if the microgreens will not have enough access to any form of sunlight. The benefit of using grow lights is that it does not need to follow the sun throughout the day. Set the lights to turn ON and OFF automatically so they can turn on or off at various times of the day. Usage of artificial lighting will reduce the efforts compared to the microgreens exposed to sunlight by avoiding shifting the trays daily.
- Fluorescent – Sometimes a T-5 or T-8 fluorescent light can be used as a supplement or substitute sunlight if the microgreens do not have as much access to the sun. When using fluorescent lights, to provide equal light coverage to the greens, make sure to keep the light tubes more than two inches away from the plants.
- LED – Light-emitting diode (LED) grow lights are nice for microgreens compared to fluorescent lighting because they produce little heat, last longer periods, and are energy efficient. These lights are also good for microgreens as they give off blue and red light, which is what plants love to absorb for photosynthesis. Blue light helps improve the number of chloroplasts present and leaf thickness, while red light aids plant growth.
In case you missed it: Best Practices to Grow Brinjal/Eggplant at Home: Check How this Guide Helps Beginners
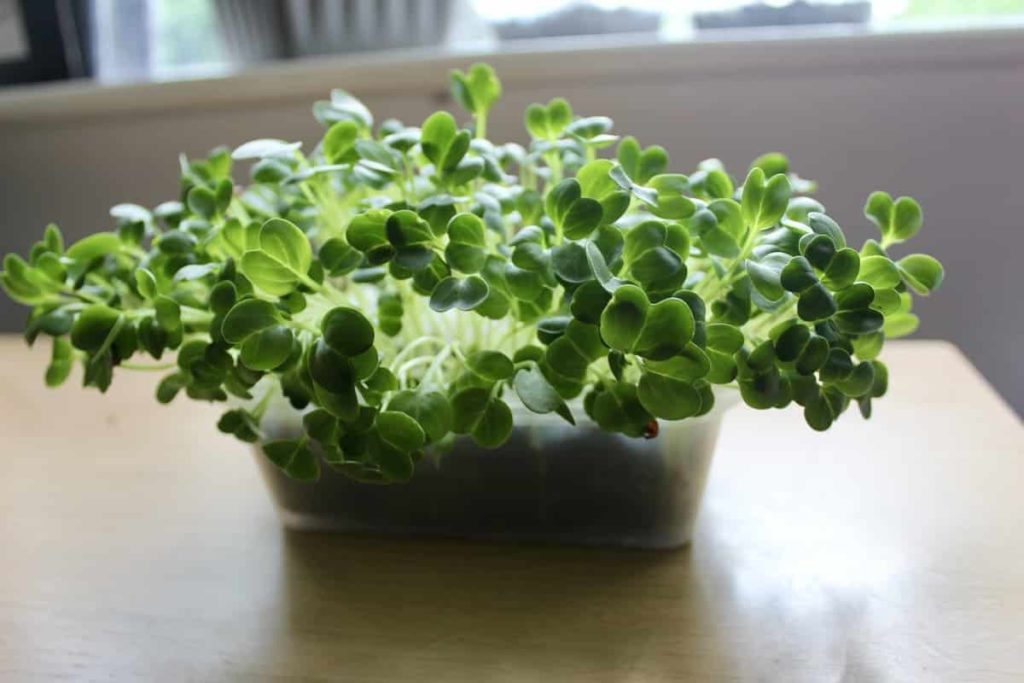
Do microgreen trays need holes?
There are two types of trays used for microgreens harvesting. Trays with holes and trays without holes. Both serve two different purposes. Trays with holes allow for extra water drainage, as well as for water to come up into soil from bottom holes when bottom-watering is used for the microgreens. Trays without holes don’t allow any water drainage in & out and will contain all the water within the tray.
Microgreens trays must need holes, whether growing a tray inside a tray; or growing with the flood and drain tables. Trays should have holes at the bottom instead of using a tray that doesn’t have holes because if the microgreens are grown in trays without holes, the roots of plants will be sitting in this water-logged soil. This will cause problems due to overwatering, such as mold, fungus, and damping.
Do microgreens need airflow?
- Good airflow is one of the needs for growing healthy microgreens. Low airflow leads to mold, allows pests, and can cause root issues.
- Good airflow can also help to cool the air temperature. Airflow prevents the air around the microgreens tray from becoming stagnant.
- This helps the plants maintain enough moisture and prevents them from being in an environment conducive to disease. In addition, the plants don’t need fans blowing on them at full blast; make sure to keep the air circulating through farm space.
What temperature do microgreens grow best in?
The surrounding temperature in which room microgreens are growing will affect how quickly microgreen plants grow. Higher temperatures will make microgreen plants grow faster, and lower temperatures will make microgreen plants grow slower. While optimal ambient temperatures are also variety-specific, 18–24°C is generally a favorable range.
The temperature will also affect how fast evaporation happens. Higher temperatures will result in water evaporating faster, which is ideal for preventing moisture from being trapped within the microgreens canopy. On the other hand, cooler temperatures will yield more chances of condensation.
Do microgreens need humidity?
Cultivating Microgreens will form a lot of excess moisture in their surroundings, so this is a factor that must be controlled. If these microgreens’ grow room is extremely dry, the soil will dry out more rapidly, and the plants will become dehydrated and fall over. This will be required to water the plants times per day, which is not ideal and is quite inefficient. If humidity is high, the soil will hold too much water, increasing the chance of overwatering microgreens trays.
Additionally, a higher percentage of humidity in grow room will reduce the ability for evaporation off of plants, resulting in them remaining wet. If microgreens are very wet while they grow, they will start to rot, becoming mushy and nasty. If microgreens are too wet when harvesting, they will be a lower quality product with a shorter shelf life.
The optimal environment for microgreen production can be variety-specific. Still, a favorable temperature range between 18 to 24°C and relative humidity (RH) between 40 to 60 percent would meet the needs of most plants. Increasing the temperature and humidity may increase the risk of pest and disease issues.
How do microgreens control humidity?
Different methods exist to control humidity and temperature in a microgreen grow room. It provides moisture by installing the humidifier when the air is dry or using a dehumidifier when there is too much moisture. Another best option is using a ventilation system to bring fresh air into the room and stabilize the humidity and temperature with surrounding conditions.
Dehumidifier – One option to remove humidity is installing a dehumidifier in the grow room. It’s a device that separates and extracts moisture content from the air. The good thing about using a dehumidifier is that it removes excess water but does not change the temperature.
Ventilation system – Maintaining proper ventilation in the grow room is another best option to control temperature and humidity. This ventilation can be done by installing fans in the windows & it can be enough a fan to help control the temperature & humidity level in the grow area. Depending on the humidity level, a proper ventilation system can vent out humid air, replacing it with fresh air.
Can microgreens be grown hydroponically?
- Hydroponics is one of the methods of growing plants without soil. In this method, microgreens spend their lives in an aquatic-based environment. The plants will only receive their nutrients and oxygen from water instead of absorbing it from the soil.
- Microgreens can grow nicely and easily in a hydroponic system. They thrive equally well in outdoor and indoor conditions, so they are good candidates for a shipping container farm.
In case you missed it: Best Practices to Grow Cucumber at Home: Check How this Guide Helps Beginners
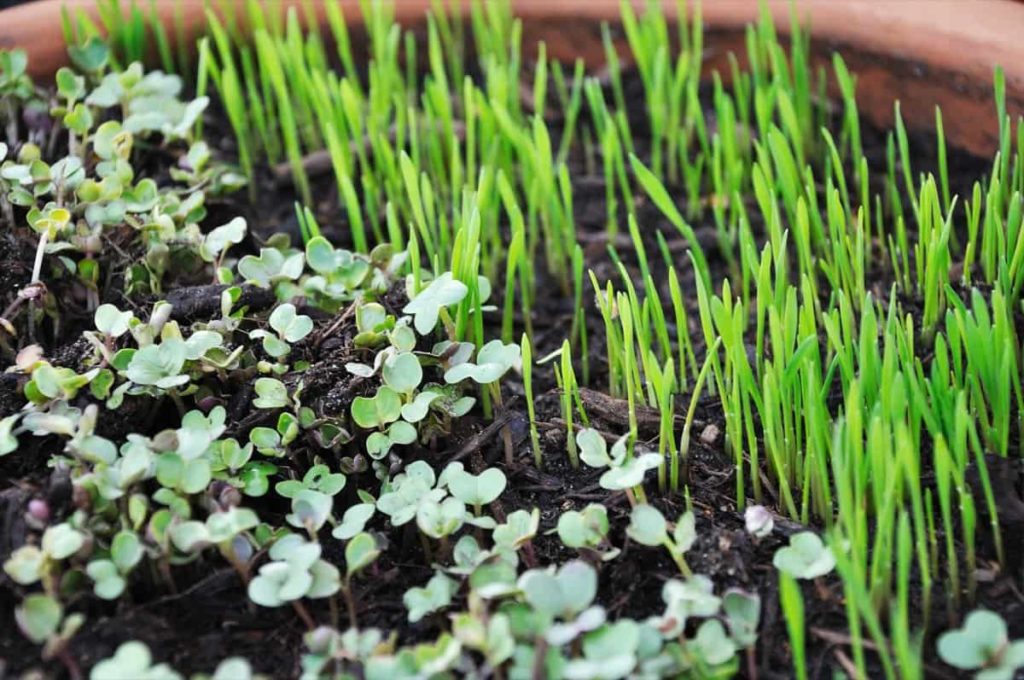
Can you reuse Microgreen mats?
Hydroponic microgreen mats can be reused, but it is not easy to make them ready for reuse. It is very hard to remove organic matter from the soil, which falls apart when reused. It is suggested to give them a second life by composting them or mixing them in the garden.
How deep should soil be for microgreens?
Since the Microgreens plant roots do not reach that deep, 3-4 inches of soil height should be good enough. After the soil is ready, Microgreen seeds are to be spread on the soil surface. The spacing between the seeds does not need to be completely even, so hand sprinkling works fine.
How do you identify when microgreens are ready to pick?
Microgreens are ready to harvest usually for two to three weeks, a maximum of 25 days for some herbs after planting, making them a very quick crop for gardeners and snipping off the plants when the first set of real leaves comes after the seed leaves. Once real leaves appear, snip the microgreens just above the soil line with scissors. Serve immediately for the best flavor.
Is microgreen farming profitable?
- Microgreens cultivation is one of the most profitable crops due to their small consumption and less cultivation time.
- This cultivation is ideal for small farms and urban growers for better returns in a short period with minimum investment.
Can microgreens seeds grow to full size?
Microgreens can be grown to their full size if the correct conditions are provided. They can grow past their normal size when given ample space, soil, and nutrients. Since they are grown in limited space with controlled conditions as they are planted in soil trays that stress their growth, so it is difficult for them to grow into full-size plants.
How much soil does a microgreen need?
Adequate soil depths typically range from 1 to 4 inches deep. Add a required amount of water to the soil before planting the seeds. A good rule to test the moisture level in the soil is when squeezing the soil in first; water should barely stream out. The more uniform the soil surface, the more uniform the microgreen crop grows.
What is the best soil for microgreens?
- Cultivating microgreens in natural soil is a good option than growing in hydroponics as there are higher yields, and the crop tastes better and is more natural.
- The best potting soil for microgreens is approximately 75-80% organic material like peat moss, coconut coir, and sterilized compost mixed with 20-25% perlite.
- Perlite is an excellent growing medium for microgreens because it does not decompose over time.
Do Microgreens need fertilizer?
- It is unnecessary to provide fertilizer to microgreens when they grow in high-quality, nutrient-rich soil. So, the soil itself will possess enough nutrients to keep microgreens growing strong and healthy.
- In rare cases, it is suggested to use either Azomite, a trace mineral fertilizer, or a water-soluble fertilizer such as FloraGro. Both provide essential nutrients to seedlings and microgreens.
In case you missed it: Best Practices to Grow Okra at Home: Check How this Guide Helps Beginners
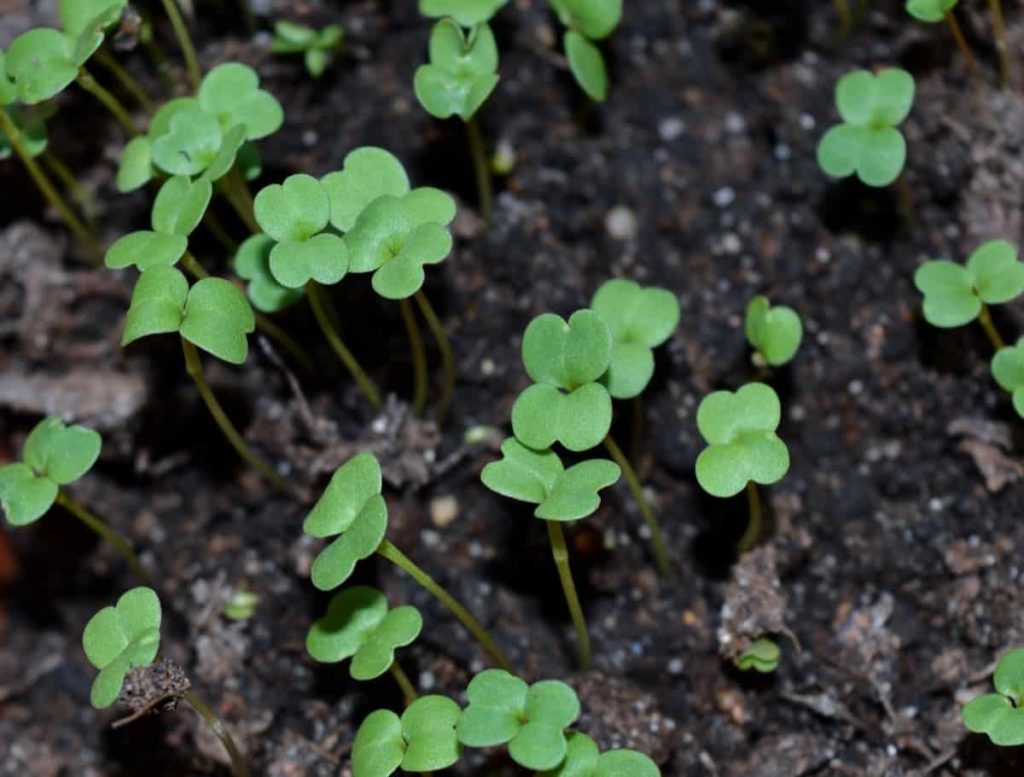
What happens if you let microgreens keep growing?
Since they are grown in limited space with controlled conditions as they are planted in soil trays that stress their growth, it is difficult for them to grow to full-size plants. As a result, they will die because they do not have enough nutrients from the soil required to grow or become so stressed they cannot fight off disease, mold, fungus, or both.
Conclusion
Microgreens are very easy to grow in less space with minimum investment. These can grow in the ground, in a raised garden bed, outdoors container, or on a sunny windowsill. These are among the most profitable crops due to their small space consumption and less cultivation time. This cultivation is one of the best crops for small farms and urban growers for better returns in a short time with minimum investment.
- How to Raise Pigs in Your Own Backyard: A Comprehensive Guide
- Budget Friendly Sheep Shed Ideas: Cheap and Low-Cost Tips
- How Much Do Cattle Farmers Make: Revenue Streams in Cattle Farming
- Management Pests and Diseases in Your Cotton Field
- Sheep Farming Business Plan for Beginners
- Aquaponic Farming at Home: A Step-By-Step Guide
- Profitable Village Farming Business Ideas in 2024
- High-Yield Aquaculture: Fast-Growing Fish for Farming
- Effective Fish Pond Construction Techniques for Beginners
- Irrigation and Water Management in Pineapple Farming
- Blossom to Harvest: Mastering Flowering and Pollination in Papaya Farming
- Pig Fattening Essentials: From Selection to Sale for Beginners
- Raising Wagyu Cattle: A Complete Guide for Premium Beef Production
- Soil Types and Their Water Holding Capacity
- Optimizing Irrigation Schedules for Coconut Groves for Enhanced Yield
- Espresso Your Garden: Coffee Grounds for Healthier Acid-Loving Plants
- The Best Soil Mix for Snake Plants: How to Mix Your Own Snake Plant Soil
- Green Thumb Success: Expert Tips for Cultivating Greenhouse Beans All Year Round
- Bloom All Year Round: The Ultimate Guide to Indoor Hyacinth Care
- Eco-Friendly Gardening: How to Make Liquid Fertilizer from Kitchen Waste
- Ultimate Guide to Grow Anise in Pots: Explore Seed Propagation to Harvesting
- Guide to Raising Chester White Pigs: Discover Breed Facts to Growth Management
- Mastering the Elegance: The Ultimate Guide to Weeping Cherry Tree Care, Planting, and Maintenance
- Ultimate Guide to Planting Garlic in Grow Bags: Growing Strategies for Beginners
- How to Fix Spider Plant Leaf-Related Problems: Natural and Organic Remedies
- 10 Reasons Why Your Tulsi Plant is Shedding Leaves: Home Remedies and Solutions
- Optimizing Growth and Yield: The Advantages of Palm Bunch Ash Fertilizer
- Utilizing Neem Oil Extract as a Natural Pesticide for Hydrangea
- From Soil to Harvest: Various Ways in Which Farmers Can Use AI Tools
- Steps to Encourage and Induce Citrus Flowers: A Comprehensive Guide
- How to Fix Snake Plant Leaf-Related Issues: Natural and Organic Remedies
- Transform Your Garden into a Fragrant Oasis with Raat Ki Rani (Night Blooming Jasmine)
- Discover the Ideal Chicken Breeds for Philippine Farms
- How to Create a Poultry Egg Farm Business Plan for Profits
- Grow Lemon Cucumbers Like a Pro: Insider Techniques for Bountiful Yields
- Ultimate Guide to Caring for Your Pink Princess Philodendron: Tips for Thriving Variegation
