A potato can be fried, roasted, boiled, hashed, and mashed, among other preparations. Producing your own potatoes at home is a no-brainer. To cultivate potatoes, you only want a spot in the sun, some water, and some seed potatoes. To answer your question, yes, potatoes can be grown from potatoes. And we’re here to tell you how to speed up the development of your potato plants. Below we learn how to grow potato plants faster and the best tips to increase flowering, fruiting, and yield.

How to grow potato plants faster
Choose an ideal soil
Aside from very salty or alkaline soils, potatoes can be grown anywhere. The best conditions for growing potatoes are those with naturally sandy, loose soil since this kind of environment poses the fewest obstacles to the tubers’ expansion. Potatoes should be grown on loamy or sandy loam soils rich in organic matter and have adequate drainage and aeration. The soil in the range of 5.2 and 6.4 on the pH scale is optimal.
Know your climate
The potato is a crop most suited to temperate regions, although it can thrive in various environments. Only in areas with temperate climates throughout the growing seasons is it cultivated. At 24 degrees Celsius, the plant flourishes in its vegetative state, whereas at 20 degrees Celsius, tubers thrive. That’s why potatoes are a winter crop in the tropics and subtropics but a summer crop in the highlands. The crop can be grown at an elevation up to 3,050 feet above sea level.
Producing potatoes requires a climate with somewhat cold temperatures throughout the growing season. As a result, the ideal period to grow a crop varies from place to place. The spring crop in the hills of Himachal Pradesh and Uttar Pradesh is seeded in January and February, while the summer crop is sown in May.
Spring crops are planted in January in the plains of Haryana, Punjab, Uttar Pradesh, Bihar, and West Bengal, while the major crop is planted in the first week of October. Sowing for the Kharif crop occurs in Madhya Pradesh, Maharashtra, and Karnataka around the end of June, while the sowing for the rabi crop occurs in the middle of October and November.
Know how to plant potato tubers
Planting tubers are the primary method of potato cultivation. The essential needs for a fruitful harvest are pure cultivars and healthy seed tubers. Potatoes need many inputs, but the seed tuber is the most expensive. Each tuber seed must weigh between 30 and 40 g and be free of disease. The seed tuber should be used in its entirety for planting. The seeds of the hill tuber are divided up, stored, and planted in the spring, when the weather is moderate enough to prevent the seeds from rotting. Large tubers are often chopped to achieve consistent sprouting and lower seed costs.
In case you missed it: Best Practices to Grow Sweet Potatoes at Home: Check How this Guide Helps Beginners
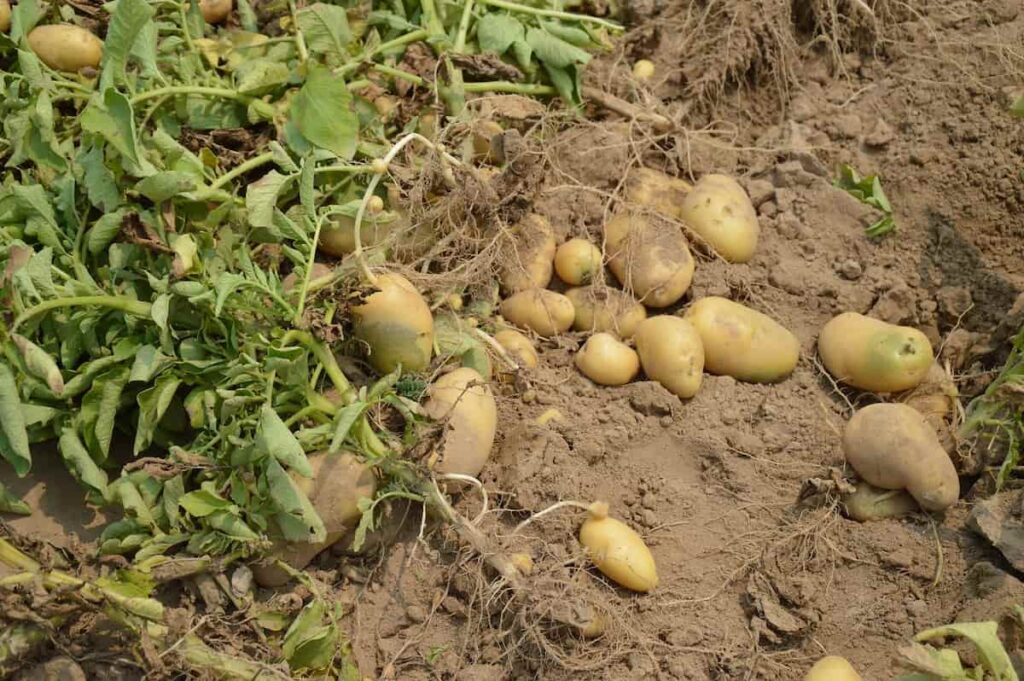
Cut tubers in half lengthwise through the crown eye, and weigh the resulting piece between 30 and 40 grams. Before planting, the seed tubers are often only chopped with a knife and given a fungicide treatment. Potassium permanganate solution should sterilize the knife before cutting the seed tuber. Some of the major issues with using seed tubers as planting material include a lack of sufficient quantities of high-quality seed tubers, expensive seeds, the difficulty of transporting heavy bags of potato seed, and the presence of viruses in the seed tubers themselves.
Growing potatoes from seed
To fix the issues above, For seeding, only True Potato Seed (TPS) should be utilized. TPS is a plant seed that forms in the berry after fertilization. Both transplanting TPS seedlings and using seedling tubers as seeds in commercial potato production have been proven to be cost-effective and viable methods.
TPS seedling transplants or seedling tubers are grown in the season before they can be used to grow the potato crop. The former entails bringing up TPS seedlings in a nursery before transferring them to an outdoor growing area. In contrast, TPS seedlings are raised to maturity in nursery beds to harvest tubers. These baby tubers will form the foundation of next year’s regular potato harvest.
Control the weeds for fast growth of potatoes
Weeds must be managed to provide the potato crop a competitive edge before the crop develops a canopy, which takes around four weeks after planting. Before beginning any ridging activities, it is recommended that any huge weeds be cleared away. After you’ve earthed up your garden, you should eliminate any weeds that have sprung up between your plants on the ridge by hand or with a herbicide.
Even while hand-weeding is possible, it is time-consuming and costly. Therefore, a three-tine cultivator pulled by animals is utilized, and it can cultivate one hectare of land in a single day. Weedicides should be sprayed pre-emergence to prevent annual grass weeds and wide-leaf weeds from taking hold.
Feed your potato plants well
Since potatoes need many nutrients, gardeners often use chemical fertilizers and organic manures to boost their yields and increase profits. Green manuring is useful in light soils and areas where organic manures are scarce. Soil type, crop rotation, soil fertility, climate, variety, growing season duration, and moisture supply all play significant roles in determining the optimal dosage of fertilizer application.
About two-thirds of the nitrogen and the whole quantity of phosphorus and potassium are applied during planting. At the earthing up process, the remainder N is provided. Bands of fertilizer are placed 5 cm from the tubers. Among the many fertilizers available, ammonium sulfate and nitrate tend to perform the best for potatoes.
In case you missed it: Growing Potatoes In Containers Information
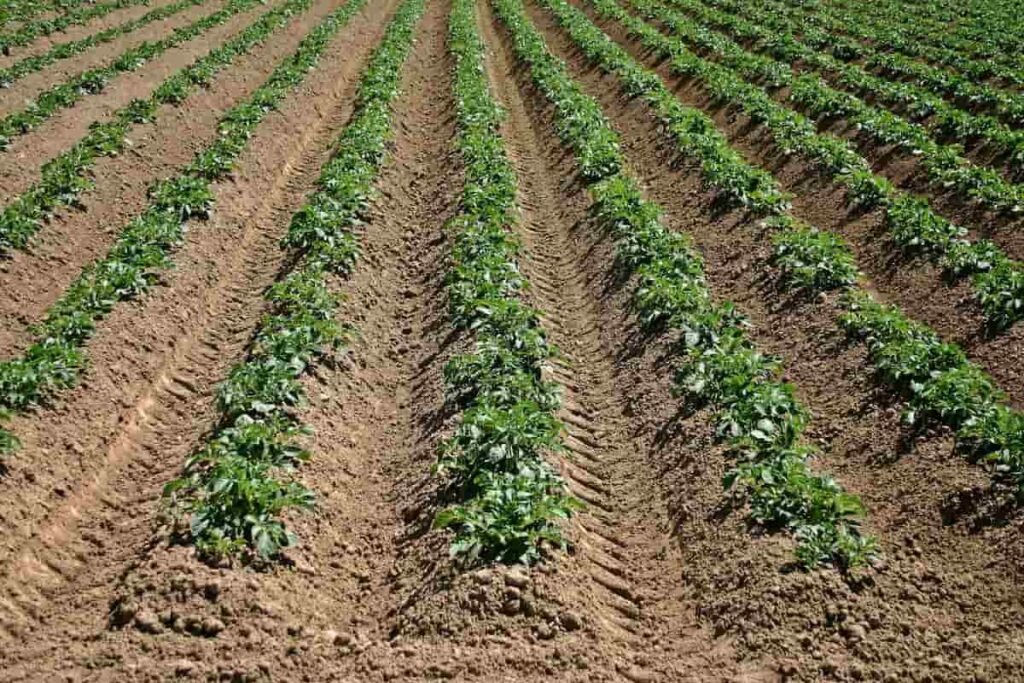
Water your potato plants well
Since potatoes have such a shallow and flimsy root system, irrigation is crucial to their cultivation. Light watering should be applied seven to fourteen days after planting, with further irrigation applied anywhere from seven to fifteen days later. Drip irrigation is the most cost-effective water management method since it maximizes yield while reducing water use by almost half. Using irrigation water, we can also apply fertilizers.
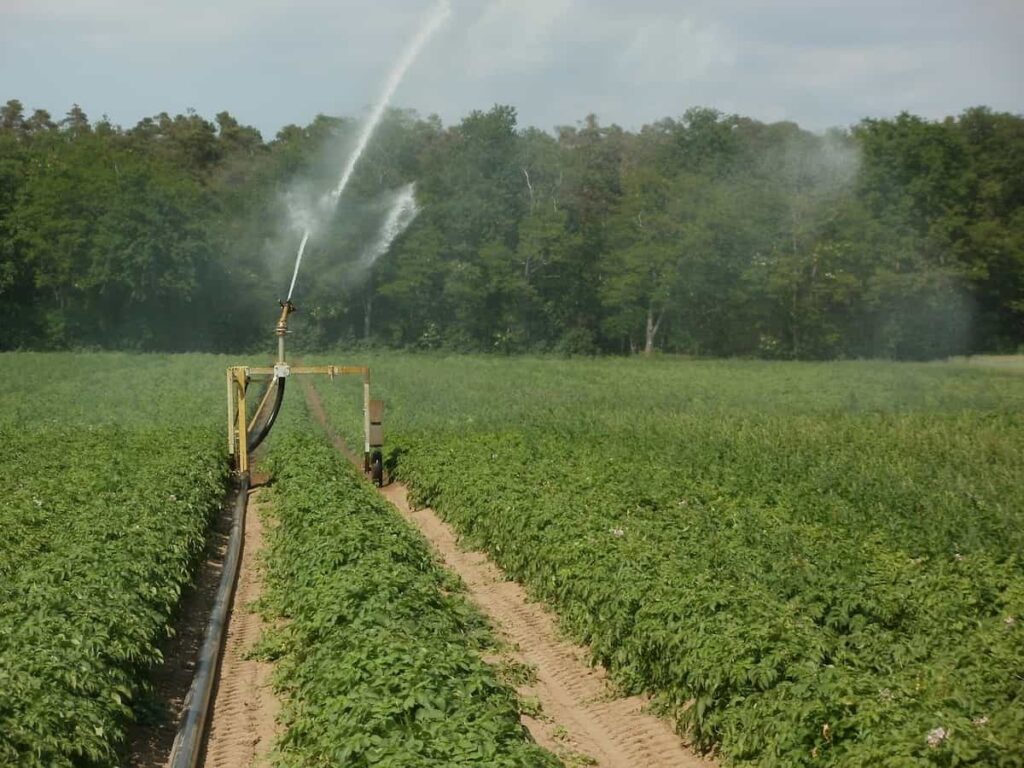
The sprinkler system ensures that water is distributed evenly and that percolation and evaporation are kept to a minimum. Frost damage to potatoes is minimized by using sprinkler watering on snowy evenings. You should use it in places where the land is undulating, the sandy soil, and the water is limited. When compared to furrow irrigation, sprinkler systems improve water efficiency by 40% under these conditions.
Chitting potatoes for an early crop
Seed potatoes are marketed in many areas, and before they can be planted, they must undergo chitting, or sprouting, to get a head start. Chitting can begin as soon as seed potatoes are available, so the first order of business is to go out and do just that. Chit in old egg cartons or similar containers with rounded end up. Don’t forget to put them on a sunny, cool windowsill.
Not having enough light and artificially raising the temperature might cause thin, flimsy shoots to form instead of the thick, strong ones you desire. Even while thick, solid shoots at least 1cm (0.5in) in length are preferable, it’s not the end of the world if they’re not 1cm (0.5in) long when planted.
Control pests and diseases of your potato plants
There are many different types of fungi, bacteria, and viruses that can infect a potato crop. Pests can be divided into two categories: those that target the foliage and those that target the tubers. Infected potatoes are notoriously difficult to save since many potato diseases are transmitted via the seed or soil they were grown in. Similarly, viruses have a knock-on effect on seed quality. That’s why it’s crucial to identify pests and diseases accurately and eradicate them efficiently.
Late blight, common scab, black scurf, early blight, viruses, cutworm, white grub, wart, bacterial wilt, mites, potato, soft rot/black leg, aphids, leafhoppers, tuber moth, cyst nematode, root-knot nematode, etc. are only some of the major pests and diseases that threaten the potato crop. Pests and diseases are not equally spread. Many are more prevalent than others, while others are confined to certain areas.
Know when to harvest your potato plants
In regards to harvesting potatoes, timing is everything. The growth of the tuber persists even after the vines have died. Depending on latitude, soil, and seed variety, the primary crop can be harvested anywhere from 75 to 120 days after sowing. Normal harvesting conditions for the crop in the hills need somewhat dry soil. Monsoon-harvested tubers are susceptible to many different rots and have a low quality of keeping overall. When a large proportion of the leaves have become golden brown, the main crop is ready to be picked.
In case you missed it: Sweet Potato Cultivation Information Guide
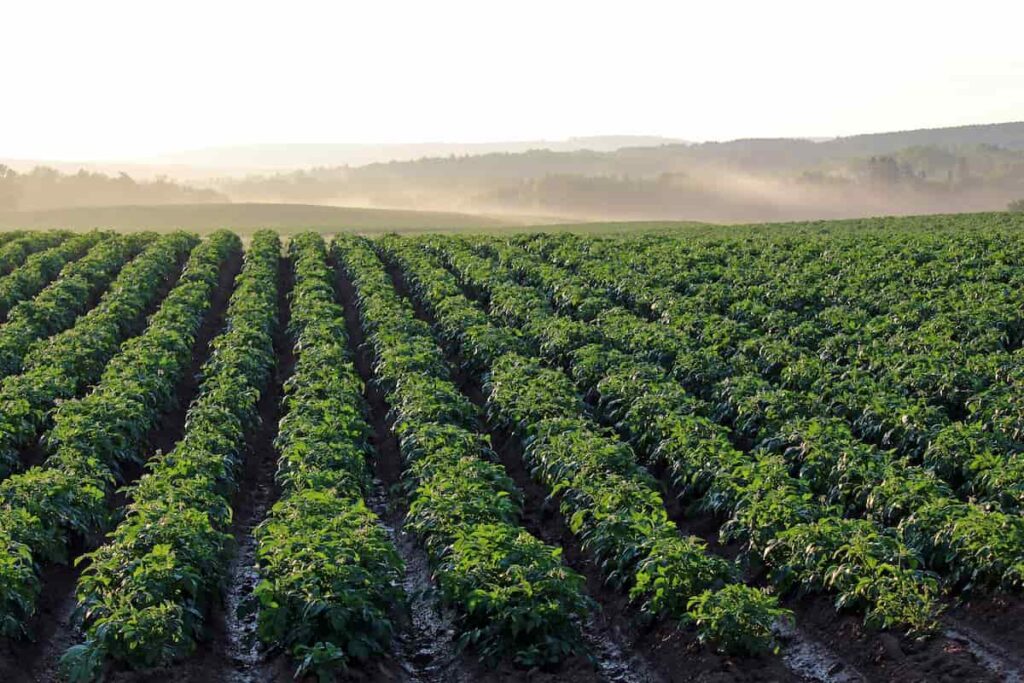
The tops are trimmed down to about ground level at this point. After 8-10 days, the potatoes are plowed out of the field and dug. These potatoes are harvested by hand and kept in a cool shade. Manually picking potatoes is a laborious task that takes a long time and sometimes results in damaged tubers. The Central Potato Research Institute (CPRI) in Shimla has created several inexpensive bullock-drawn and tractor-drawn potato diggers that can uncover 80 percent of the tubers in a given area and go through between 0.3 and 0.9 hectares of land each day.
Harvested potatoes are laid out in heaps in the shade to dry naturally and cure their skins for around ten to fifteen days. When the tubers are exposed to sunshine, they become green and should be protected. It’s essential to get rid of any spoiled tubers. Before bringing the goods to market, store them in a cool, dry area. Depending on the kind, the harvest might be more or less abundant.
Care for them while growing in pots
Growing in containers such as pots, boxes, or bags has several benefits, one of which is the simplicity of harvesting. Since a significant amount of soil is retained around the plants in containers, and the plants grow vertically in this arrangement, the yields can be just as excellent as, if not greater than, those from hills or raised beds.
Choose a big container (three inches of potting soil deep and ten gallons or more) with drainage holes if you want to be successful. Seed potatoes should be planted at the bottom of the container before being covered with more soil (about 4 inches) and watered. As the plants expand, you’ll need to add additional soil to the container, stopping about an inch short of the top of the rim. If you want to save money, try “hilling” with a mixture of potting and garden soil instead of using simply garden soil, and water your pots every morning unless it’s raining.
Frequently asked questions about potatoes
How can I speed up the growth of potatoes?
Seed potatoes should be kept at a temperature of 45-60 degrees Fahrenheit (7-15 degrees Celsius) in a location that is not too dry and then laid out in trays where they will get indirect sunshine. In addition to the potato tubers, you can plant onions or apples to fasten the sprouting process. The fruit’s gases stimulate growth in the potato. The tubers can be protected from drying out and wrinkling by being stored with a wet towel or even damp leaves.
In case you missed it: Potato Cultivation Information Guide
Once the potatoes have sprouted, they are ready to be planted, but before you do so, one more step will increase the number of potatoes you have available to plant by a factor of two or three: have them sliced up.
Despite this, a single eye on a potato tuber is sufficient for developing a show. This implies that huge potatoes have a greater propensity to develop several eyes, each of which will send up its shoot. Planting potato cuttings is as easy as slicing the potato in half or thirds, ensuring each piece has at least one eye.
How can we increase potato yield in India?
The number of tubers per unit area and the weight of the tubers are the two most important factors in potato output. Achieving the optimal amount of tubers, keeping the leaf canopy green, and growing larger and heavier tubers contribute to increased yields. Absorption of nutrients varies according to the stage of plant development. To maximize production, plants must have access to an adequate supply of macronutrients during the rapid growth period in the early spring. Nitrogen and potassium are essential through the stages of vegetative development, tuberization, and bulking.
Potassium, along with nitrogen, is the essential nutrient for optimal potato yields due to its widespread use by the crop. Phosphate, calcium, and magnesium are not needed in as high of quantities.
What is the best time to grow potatoes in India?
Successful crop production relies on the precise timing of planting. Maximum and lowest temperatures of 30–32 degrees Celsius and 18–20 degrees Celsius, respectively, are ideal for planting. Start planting your early season crop on September 25 and finish by October 10. Sowing should occur during the first and third weeks of October for crops with a medium harvest time. If you’re growing a crop with a longer harvest time, you should plant its seeds between the third week of October and the first week of November.
Planting in the second half of January is ideal for a spring harvest. Space tubers at 20 cm intervals and ridges at 60 cm apart, whether planted by hand or using a machine. The spacing between plants should be adjusted according to the size of the tubers. Plant at a spacing of 60 cm x 15 cm if the tuber’s diameter is between 2.5 and 3.5 cm; at a spacing of 60 cm x 40 cm if the tuber’s diameter is between 5 and 6 cm. Plant the potato in a trench 6-8 inches deep, ensuring the eye is facing upward.
In case you missed it: How to Grow Peas Faster: Best Tips to Increase Flowering, Fruiting, and Production Yield
What fertilizer is best for potatoes?
It takes around three to four months for a potato plant to mature, and its nutrient requirements shift as it grows. Think about the optimal nitrogen (N), phosphorus (P), and potassium (K) ratio for each development phase. The optimal NPK ratio for planting is 15-15-15. A fertilizer with nitrogen, phosphorus, and potassium (NPK) ratio of 34-0-0 is ideal for fertilizing potatoes during the first month or so after planting. In the last few months before harvest, when plants need additional potassium, an NPK of 12-12-17 or 14-7-21 is optimal. For optimal potato growth, the soil pH should be between 4.8 and 6.5. Before planting, you should check the soil’s pH to see whether it has to be adjusted with fertilizer. If the pH is too high, you can rapidly bring it down by applying horticultural sulfur to the planting area before planting. If you want to maintain a low pH throughout the growing season, use a fertilizer with manganese.
Depending on the size and condition of their plots, gardeners should adjust the quantity of fertilizer they use accordingly. It is estimated that 25 pounds of fertilizer will be needed during a garden’s lifetime of 1,000 square feet of potato plants. If gardeners know their soil’s pH, they can use that number to determine how much fertilizer to apply.
Conclusion
In addition to being delicious and versatile, potatoes are also simple to cultivate. It takes around five months to plant the seed potato in a sunny area of your yard or in a big pot on your back deck for the potatoes to grow and be ready to harvest. When they’re ready, dig them up, cook them up, and dig in!
- Budget Friendly Sheep Shed Ideas: Cheap and Low-Cost Tips
- How Much Do Cattle Farmers Make: Revenue Streams in Cattle Farming
- Management Pests and Diseases in Your Cotton Field
- Sheep Farming Business Plan for Beginners
- Aquaponic Farming at Home: A Step-By-Step Guide
- Profitable Village Farming Business Ideas in 2024
- High-Yield Aquaculture: Fast-Growing Fish for Farming
- Effective Fish Pond Construction Techniques for Beginners
- Irrigation and Water Management in Pineapple Farming
- Blossom to Harvest: Mastering Flowering and Pollination in Papaya Farming
- Pig Fattening Essentials: From Selection to Sale for Beginners
- Raising Wagyu Cattle: A Complete Guide for Premium Beef Production
- Soil Types and Their Water Holding Capacity
- Optimizing Irrigation Schedules for Coconut Groves for Enhanced Yield
- Espresso Your Garden: Coffee Grounds for Healthier Acid-Loving Plants
- The Best Soil Mix for Snake Plants: How to Mix Your Own Snake Plant Soil
- Green Thumb Success: Expert Tips for Cultivating Greenhouse Beans All Year Round
- Bloom All Year Round: The Ultimate Guide to Indoor Hyacinth Care
- Eco-Friendly Gardening: How to Make Liquid Fertilizer from Kitchen Waste
- Ultimate Guide to Grow Anise in Pots: Explore Seed Propagation to Harvesting
- Guide to Raising Chester White Pigs: Discover Breed Facts to Growth Management
- Mastering the Elegance: The Ultimate Guide to Weeping Cherry Tree Care, Planting, and Maintenance
- Ultimate Guide to Planting Garlic in Grow Bags: Growing Strategies for Beginners
- How to Fix Spider Plant Leaf-Related Problems: Natural and Organic Remedies
- 10 Reasons Why Your Tulsi Plant is Shedding Leaves: Home Remedies and Solutions
- Optimizing Growth and Yield: The Advantages of Palm Bunch Ash Fertilizer
- Utilizing Neem Oil Extract as a Natural Pesticide for Hydrangea
- From Soil to Harvest: Various Ways in Which Farmers Can Use AI Tools
- Steps to Encourage and Induce Citrus Flowers: A Comprehensive Guide
- How to Fix Snake Plant Leaf-Related Issues: Natural and Organic Remedies
- Transform Your Garden into a Fragrant Oasis with Raat Ki Rani (Night Blooming Jasmine)
- Discover the Ideal Chicken Breeds for Philippine Farms
- How to Create a Poultry Egg Farm Business Plan for Profits
- Grow Lemon Cucumbers Like a Pro: Insider Techniques for Bountiful Yields
- Ultimate Guide to Caring for Your Pink Princess Philodendron: Tips for Thriving Variegation
- Areca Nut Profit Per Acre: Calculating Yield and Cost of Cultivation
