Watermelon can be the best among the many garden-grown foods that taste better than store-bought ones. You don’t know watermelon unless you bite into a homegrown, sun-warmed melon. Watermelons can be grown with little effort. It has a long growing season and prefers warm temperatures, but it requires very little care once it has room to spread out.
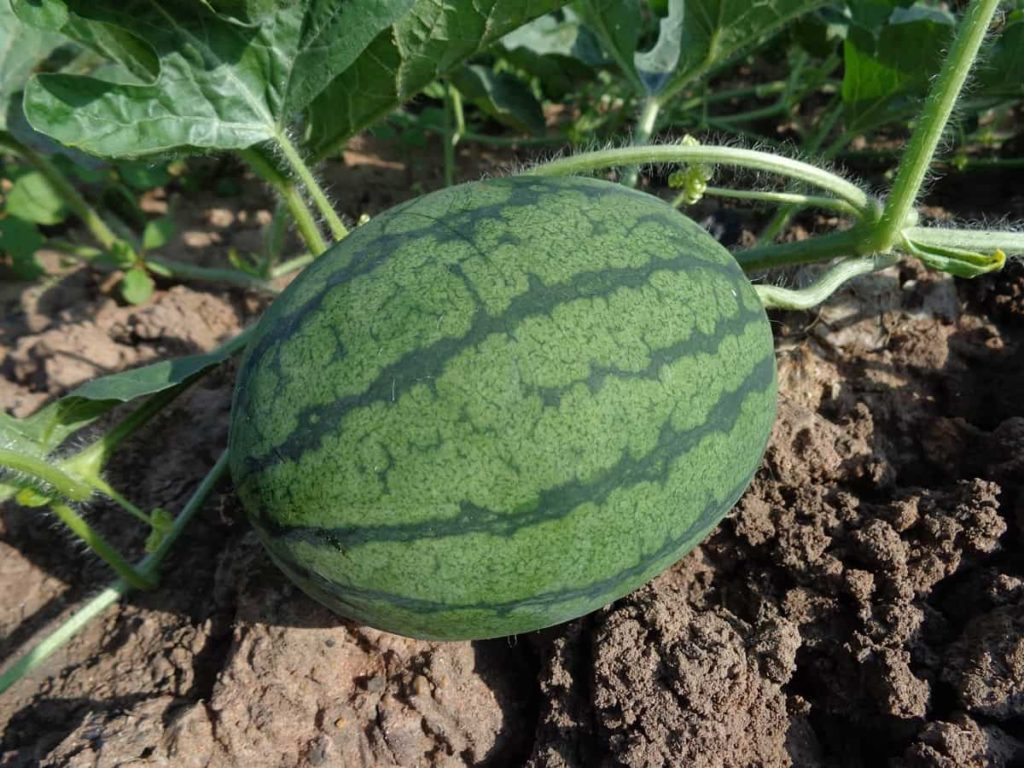
Let’s figure out a better way to speed up the growth of our watermelon plants. Below we learn how to grow watermelon plants faster, the reasons for growing flow, how to increase their fruiting, flowering, and yield, and how to harvest watermelons.
How to grow watermelon faster
Know when to plant your watermelon plant
Cultivating watermelons successfully from seed in northern regions can be difficult due to the shorter growing season. Watermelon seeds should be started around 2 to 3 weeks before the final frost. Start your watermelon crop in a container with potting soil. The soil should be kept warm and wet until the external temperature remains at or above 50 degrees Fahrenheit.
Remember that watermelons don’t enjoy having their roots disturbed, so don’t start your seeds too early inside. You can plant watermelons outside when the soil is warmer than 65 degrees Fahrenheit. Plant seeds 1/2-1 inch deep in groups of 2-3 spaced 18-24 inches apart. When the watermelon seedlings are about two weeks old, pick out the strongest one from each group and discard the others.
Soil preparation is the key
To remove weeds and replenish the soil, dig at least 10 inches in a spot in your garden, and that spot should get a minimum of 6 hours of sunlight. Only 2–3 inches of organic fertilizer, like dung, compost, or peanut hulls. These will improve the soil’s drainage and fertility. Once the soil is pliable in the spring, you may work on this preparation.
Plant your watermelons seeds carefully
Make sure you know how many days it will take for your seeds to germinate and grow before you rush out to your garden. Consider starting your plants inside instead of direct sowing if this amount is less than the number of days in your growing season. Since these melons have delicate roots, they thrive best when seeded directly in the garden. However, this may not be possible with all types or regions. Some kinds can take more than a hundred days to mature into fruit.
The loss of fruit on a healthy, strong plant due to an early autumn frost is one of life’s great disappointments. Find a cultivar that can be grown to maturity in your area, or try starting seeds inside for planting after the last frost of spring. Because watermelons thrive throughout the warmer months, they are killed off by late frosts. The soil temperature has to be between 70 and 95 degrees Fahrenheit for optimal germination.
The germination rate of watermelon seeds is maximized at a soil temperature of 95 degrees Fahrenheit. Following the below-mentioned steps, prepare your melon patch, and after the soil has warmed up, you can plant your seeds. Soil should be wet but not soggy. Therefore it’s best to water the planting area the night before or the morning after it rains. These seeds should be planted between 3/4 and 1 inch deep, so remove approximately an inch of soil from the edge of your planting space.
In case you missed it: How to Grow Peas Faster: Best Tips to Increase Flowering, Fruiting, and Production Yield
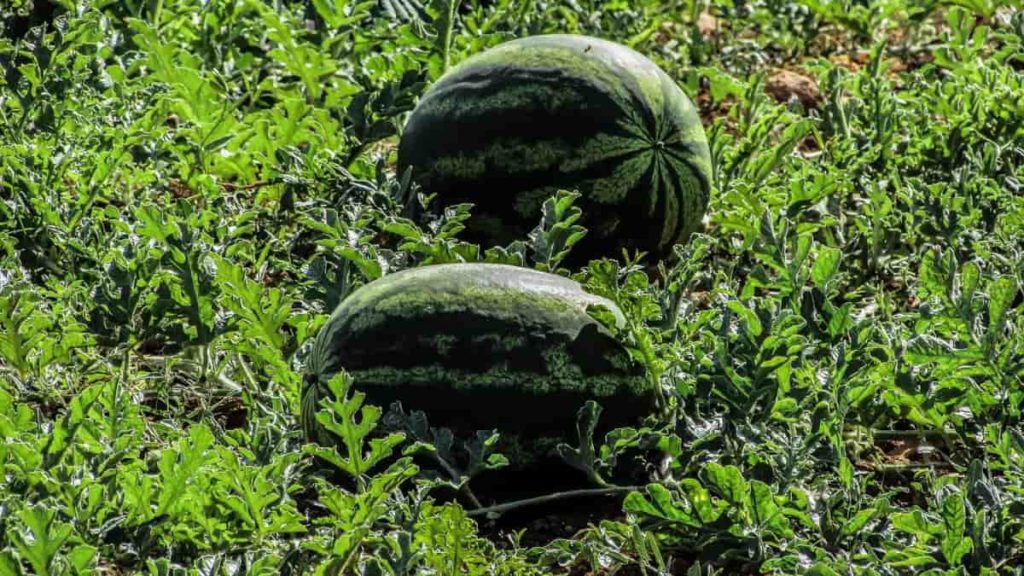
Next, level the soil in the planting location, and push three or four seeds flat into the soil. Now cover the seeds with the soil you removed. To help the seeds make excellent touch with the soil, pat them lightly. Carefully soak the seeds with a watering can or wand. If your soil doesn’t dry up and you have frequent rain, you may need to water less. Your seeds should emerge within 5 to 10 days.
Start from transplants
Watermelon seeds should be started inside and transplanted when daytime temperatures reach at least 70 degrees Fahrenheit if your growing season is less than the number of days necessary to produce your favorite watermelon type. Due to their frail root systems, these plants are difficult to transplant. In this manner, you won’t have to worry about damaging the young plants’ root systems when transplanted from their containers into the soil. These seedlings are enormous for their age. Thus a container no less than three inches would be best.
Seeds should be germinated in a sterile seed starting mix. To begin, fill your containers with the beginning mix until there is approximately an inch of room left. Put three seeds in each container, cover with a quarter of an inch of soil, and water carefully. Place the seed trays near a south-facing window, grow light, or other warm, sunny locations, and mist them regularly with water. Once seedlings have reached about two inches in height and developed two sets of genuine leaves, thinning can begin.
Pick the healthiest-looking seedling from each container, then cut the others’ stems just above the soil line. Hardening off your seedlings when daytime temperatures reach the 70s a week after the previous frost. You can let them spend an hour or two outside in a safe area. Gradually increase the time kids spend outside and in the sun each day. You can put your seedlings outside once the daytime temperature is at least 70 degrees F, which should be the case around two weeks following your last frost.
Make a strategy to put two saplings in each depression. The top rims of the biodegradable pots need to be trimmed down to a level with the soil within. To plant in a biodegradable pot, you must first dig a hole in the hill or crater large enough to hold the pot. The container’s rim must be flush with the soil. Carefully fill the space behind the plants with soil and water them in. As regular watering has been shown to reduce the severity of transplant shock, please continue this practice for the following several days.
Provide adequate sunlight to your watermelons
Locate a sunny spot with enough area for 10-foot vines, and you’ll be well on your way to producing your grapes. Full daylight, or at least eight to ten hours of sunshine daily, is necessary for these plants to thrive. If you reside in a region where you need a sweater, even in the middle of summer, a greenhouse or cold frame is your best chance for growing these fruits.
When laying out your garden’s foundation, keep an eye out for nearby trees that can provide shadow on your melon patch once their leaves completely expand. Remember that these plants descended from desert flora that once thrived in full light, protected only by their leaves.
Feed your watermelon plants properly.
You should fertilize the soil before planting your melons after preparing the plot. The findings of your soil test should be consulted before making any decisions about the kind and amount of fertilizer to apply. The findings will tell you what nutrients are lacking and how much fertilizer to add to your plants.
In case you missed it: How to Grow Moringa Tree Faster: Best Tips to Increase Flowering, Fruiting, and Production Yield
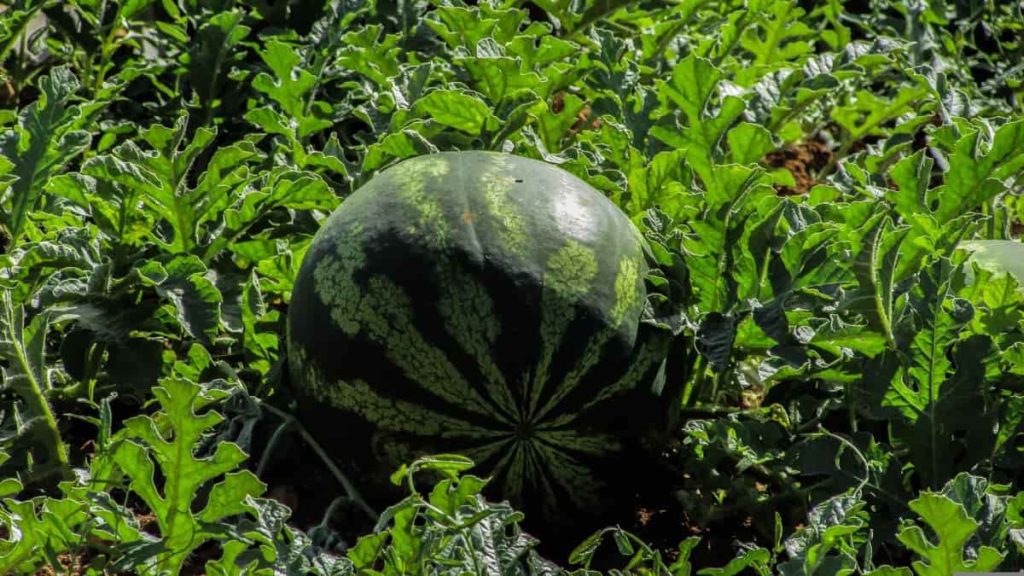
Compost is a great kind of slow-release fertilizer that can be worked into your soil regardless of the findings of a soil test. A good natural fertilizer is well-rotted manure, but be sure it comes from a reliable source. If cattle have been fed herbicide-sprayed feed, the manure they produce can include traces of these chemicals and cause harm to nearby plants. It is possible to utilize an all-purpose balanced fertilizer without doing a soil test or dealing with manure.
Water your watermelons carefully
Growing, blooming, and fruiting melons need 1 to 2 inches of water each week. Morning is the optimum time to water a vine’s roots; avoid wet leaves and overhead watering. Once the fruit starts to develop, cut down on watering. Melon grown in dry conditions tastes the best.
Encourage polloination
Feminizing the female flowers—bigger than the males and containing little watermelons attached to them—will increase fruit yield. Tract a male flower over an open female bloom to make the fruit develop and set.
Mulch and prune your watermelon plants
Once one watermelon has hardened, you may cut down on the other fruit. Since you will likely sow several seeds, each plant will produce a single, very huge fruit. Apply a layer of organic mulch (about 2 to 3 inches) around the watermelon plants’ roots. For fire safety, mulch should be kept at least 6 inches from the base of the plant.
The mulch will prevent water loss and hinder weed growth in the soil. Set it on top of the mulch to keep the developing melon from getting stuck in soggy soil. Only shade the melon from the sun; you want the plant to get enough light, but you don’t want the fruit to spoil in the heat.
In case you missed it: How to Grow Green Chilli Peppers Faster: Best Tips to Increase Flowering, Fruiting, and Production Yield
Know how and when to harvest
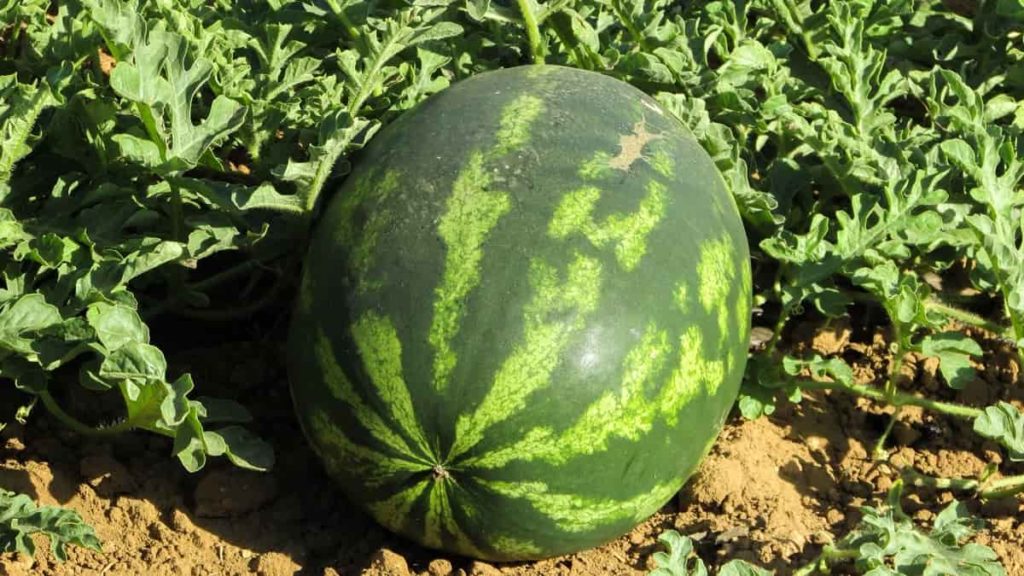
If you want perfectly ripe watermelons, you must wait until they’re ready. Unlike apricots or avocados, this fruit does not keep ripening after being picked. However, watermelons can go bad quickly, so it’s important to keep an eye on them as they ripen. When the fruit reaches a certain size, you should inspect it daily to determine whether it’s ripe. Find the melon’s curling tendril that is closest to the stem. Melon is ready when the skin turns brown and dries up. The next leaf should be becoming brown or yellow as well.
Look at the bottom of the melon; it should be a pale cream or yellow tint when it’s ready to eat. Just give it some time for the melon’s skin to go from glossy to dull. When the melon is ready, the bloom end will soften. The watermelon can be “thumped” to determine its ripeness. However, this approach is often inaccurate. However, not all fruit types give a dull thud when fully ripe. Sometimes, it is overripe if the fruit falls and makes a dull thud. The fingertip test scratches the rind to evaluate ripeness.
Scratching a melon to determine whether or not it is ripe exposes the fruit to contamination. A ripe watermelon can be harvested by cutting it from the vine with a sharp knife, but it should still have at least two inches of stem attached. Be careful not to damage other melons that could ripen on the same vine. After picking the fruit, avoid harming the rind by dropping or damaging it.
Frequently asked questions about watermelons (FAQ)
Why are my watermelon plants growing so slow?
Growing watermelons from transplants instead of seeds might lead to slower overall plant development. Plants might take longer to establish and thrive if their roots are damaged during transplanting. To prevent this, watermelon seeds should be started inside in biodegradable pots and then planted outside. This reduces the initial strain on the developing roots and improves their chances of survival.
To reach their full potential, watermelons must be grown in warm climates. Plant development is severely stunted if daytime temperatures are below 80 degrees Fahrenheit and nighttime lows are below 60 degrees Fahrenheit. Conversely, watermelons thrive in daytime highs of 80 to 95 degrees Fahrenheit and cool nighttime lows of 60 to 70 degrees.
In case you missed it: How to Grow Green Chilli Peppers Faster: Best Tips to Increase Flowering, Fruiting, and Production Yield
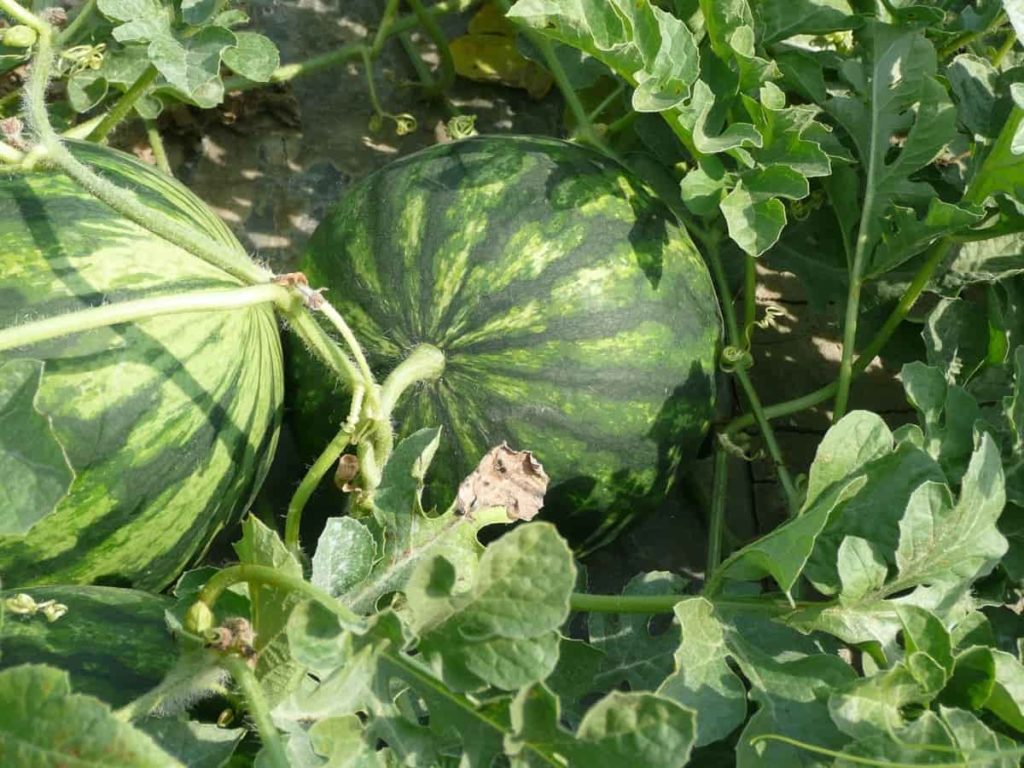
Planting your watermelon seeds in the incorrect soil might stunt their development. Soils that are too heavy can cause watermelon plants to produce tasteless melons and slow-growing vines. Sandy loam is ideal because it promotes rapid development and yields delicious fruit. Soil amendments with organic matter provide the ideal rich, sandy environment watermelons need.
Watermelon plants are vulnerable to the Mosaic virus. Eliminating the virus is futile; you should work to eliminate the aphids that spread it. Misshapen fruit that is nevertheless edible is one symptom of the watermelon mosaic virus, along with smaller, mottled leaves and shorter vines. You should get rid of any weeds or plants that could be contaminated near your watermelons. Curled, misshapen leaves and sooty mold or sticky dew are some symptoms of aphid infestation.
What helps watermelon plants grow?
To improve the soil, you should add compost, seaweed, and aged manure before planting. Heavy feeders like watermelons need rich, nutrient-rich soil. Find all you need to know about amending soil and getting it ready for planting. Loamy, somewhat sandy, well-drained soil, is ideal for growing watermelons. If the soil is too clayey and doesn’t drain effectively, it might be difficult for them to thrive. Soil pH of 6.0 to 7.5 (or “slightly acidic to neutral”) is ideal for watermelons.
You’ll need much room to grow watermelons—up to 20 square feet per plant. If you want your vines to grow as large as possible, put them somewhere so other plants won’t smother them. The grapes will benefit from adequate drainage and sustained solar warmth if grown on hills. On a slope that is 5 feet broad, you should provide room for the plants to grow.
What is the best fertilizer for growing watermelons?
Use a nitrogen-based fertilizer early on for growing watermelons. However, after the watermelon plant starts blooming, you should switch to a fertilizer high in phosphate and potassium. To grow to their full potential, watermelons need enough potassium and phosphorus in the soil. A soil test should be performed before planting watermelon seeds or transplanting established plants to identify the optimal timing and fertilizer.
Without first doing a soil test, it is recommended that 15 pounds (7 kg) be applied every 500 feet of row (152 m.). Unless you want your plants to die, you should work the fertilizer into the top 6 inches (15 cm) of soil. Healthy vines and fruit can also be ensured by planting them in compost-rich soil. By enhancing soil structure, introducing new micronutrients, and increasing water retention, compost is a valuable addition to any garden.
In case you missed it: How to Grow Isabgol Plants for Beginners: Guide and Steps to Propagation, Planting, and Care
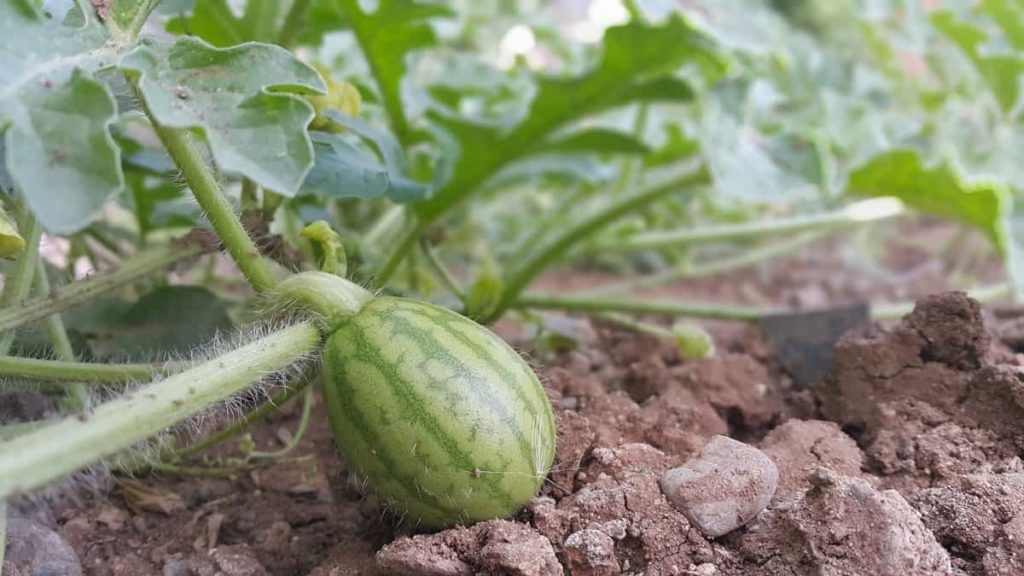
Before planting watermelon seeds or transplanting, amend the top 6 inches (15 cm) of soil with 4 inches (10 cm) of well-aged compost. Mulching the area surrounding the watermelon plants will help keep the soil wet for longer, reduce the number of weeds, and eventually provide organic matter rich in nitrogen to the soil. Use straw, shredded newspaper, or grass clippings in a 3 to 4-inch (8-10 cm.) covering around the melon plants.
Top treat seedlings or transplants with 5-5-5 or 10-10-10 all-purpose fertilizer. Apply 1 1/2 pounds (680 g) of fertilizer to every 100 square feet (9 square meters) planting area for the watermelon plants. Never get granular fertilizer on the leaves of your watermelon plants. You may potentially harm the leaves if you touch them. To facilitate root uptake of fertilizer, give the soil a good soaking.
Conclusion
An unripe watermelon won’t taste as well as a ripe one. The ripeness can be determined by looking for a brilliant yellow field patch, listening for a hollow sound while knocking on it, and seeing a browning tendril next to the stem. Watermelons are susceptible to diseases that can be avoided if they are not planted in the same area yearly or next to other melons. If possible, avoid growing watermelon near other crops.
- Profitable Village Farming Business Ideas in 2024
- High-Yield Aquaculture: Fast-Growing Fish for Farming
- Effective Fish Pond Construction Techniques for Beginners
- Irrigation and Water Management in Pineapple Farming
- Blossom to Harvest: Mastering Flowering and Pollination in Papaya Farming
- Pig Fattening Essentials: From Selection to Sale for Beginners
- Raising Wagyu Cattle: A Complete Guide for Premium Beef Production
- Soil Types and Their Water Holding Capacity
- Optimizing Irrigation Schedules for Coconut Groves for Enhanced Yield
- Espresso Your Garden: Coffee Grounds for Healthier Acid-Loving Plants
- The Best Soil Mix for Snake Plants: How to Mix Your Own Snake Plant Soil
- Green Thumb Success: Expert Tips for Cultivating Greenhouse Beans All Year Round
- Bloom All Year Round: The Ultimate Guide to Indoor Hyacinth Care
- Eco-Friendly Gardening: How to Make Liquid Fertilizer from Kitchen Waste
- Ultimate Guide to Grow Anise in Pots: Explore Seed Propagation to Harvesting
- Guide to Raising Chester White Pigs: Discover Breed Facts to Growth Management
- Mastering the Elegance: The Ultimate Guide to Weeping Cherry Tree Care, Planting, and Maintenance
- Ultimate Guide to Planting Garlic in Grow Bags: Growing Strategies for Beginners
- How to Fix Spider Plant Leaf-Related Problems: Natural and Organic Remedies
- 10 Reasons Why Your Tulsi Plant is Shedding Leaves: Home Remedies and Solutions
- Optimizing Growth and Yield: The Advantages of Palm Bunch Ash Fertilizer
- Utilizing Neem Oil Extract as a Natural Pesticide for Hydrangea
- From Soil to Harvest: Various Ways in Which Farmers Can Use AI Tools
- Steps to Encourage and Induce Citrus Flowers: A Comprehensive Guide
- How to Fix Snake Plant Leaf-Related Issues: Natural and Organic Remedies
- Transform Your Garden into a Fragrant Oasis with Raat Ki Rani (Night Blooming Jasmine)
- Discover the Ideal Chicken Breeds for Philippine Farms
- How to Create a Poultry Egg Farm Business Plan for Profits
- Grow Lemon Cucumbers Like a Pro: Insider Techniques for Bountiful Yields
- Ultimate Guide to Caring for Your Pink Princess Philodendron: Tips for Thriving Variegation
- Areca Nut Profit Per Acre: Calculating Yield and Cost of Cultivation
- How Kaveri Chicken is Becoming a More Profitable Breed in Indian Backyards
- Transform Your Barn: 9 Steps to Convert a Horse Stall into a Chicken Coop
- Exploring Suffolk Sheep Disadvantages with Limitations and Challenges
- Guide to Solving Potted Lemon Tree Problems: How to Revive Lemon Tree in Containers
- Steps to Encourage Female Pumpkin Flowers: Best Strategies for More Flowers and High Yields
