Biochar is a carbon-rich, porous material created through the pyrolysis of organic biomass. This ancient agricultural technique is gaining modern attention for its soil-enhancing properties. Here is the homemade biochar guide for backyard biochar making.
Benefits of Biochar
- Biochar Soil Benefits: Biochar improves nutrient retention and availability in soil, enhancing plant growth.
- Carbon Sequestration: It sequesters carbon in the soil, mitigating climate change.
- Water Management: Biochar aids in water retention, reducing irrigation needs.
Biochar Environmental Impact
- Carbon Neutral: Biochar production is carbon-neutral, as it captures and stores carbon from biomass.
- Waste Reduction: Utilizes agricultural and forestry residues, reducing waste and promoting sustainability.
- Sustainable Soil Amendment: Biochar application minimizes nutrient runoff, mitigating water pollution.

How to Make Biochar in a Barrel
Step1: Safety and Preparations
Protective Gear and Biochar Production Safety Tips
Ensure to wear protective gear, including goggles, hand gloves, and a face mask to shield yourself from potential hazards like smoke and heat. Work in a well-ventilated location to minimize inhalation of fumes.
Materials and Tools Needed
- Metal barrel (For Barrel biochar method) with a tight-fitting lid
- Drill or hammer and nails
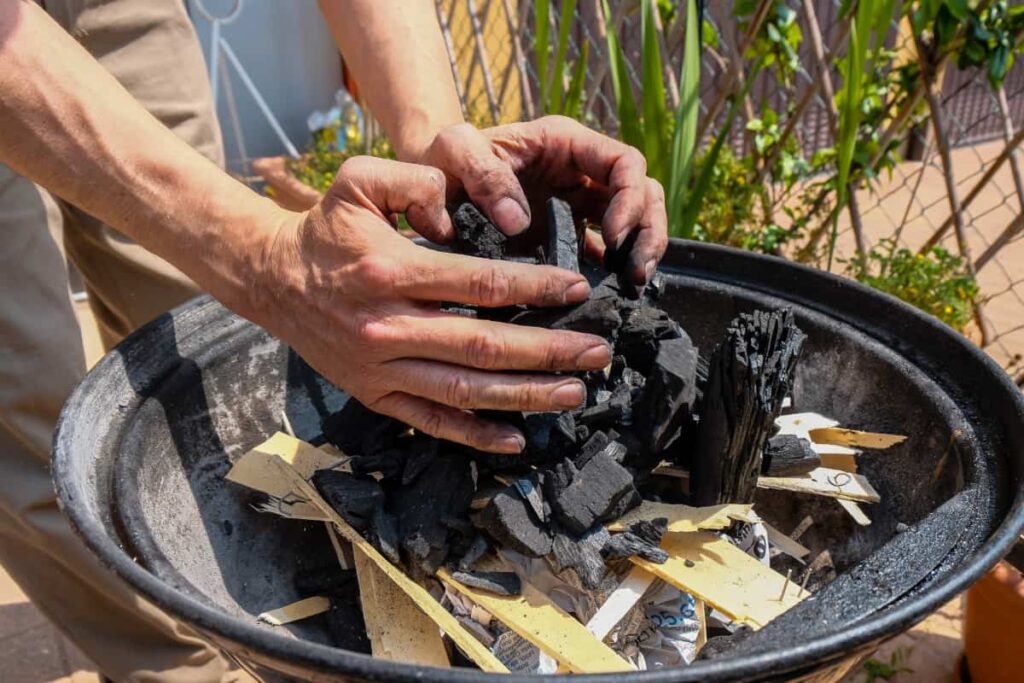
- Firewood or Biomass for biochar
- Lighter or matches
- Shovel or rake
- Water source or fire extinguisher
- Thermometer
Step 2:Biomass Selection and Preparation
Choosing the Right Biomass
Select biomass materials such as wood chips, sawdust, agricultural residues (like straw or corn stalks), or yard waste. Avoid materials treated with chemicals or paints, as these can produce harmful byproducts during pyrolysis.
Preparing Biomass for Pyrolysis
- Dry the biomass to reduce moisture content below 20%, as excessive moisture can hinder pyrolysis efficiency.
- Size-reduce the biomass into small, uniform pieces for optimal heat distribution and efficient conversion.
- Ensure uniformity in biomass composition to achieve consistent biochar quality.
Step 3:Constructing the Biochar Kiln
Barrel Selection and Modification
Select a sturdy metal barrel for the biochar kiln. Ensure it has a tight-fitting lid to control airflow. Drill several small holes near the bottom for ventilation and a larger hole at the top for releasing gases.
Setting Up the Burn Site
Choose a safe and open area away from flammable materials for Biochar kiln construction. Clear the ground and create a stable base for the barrel. Position it vertically, with the lid facing up. Place bricks or rocks around the base to stabilize the barrel and allow airflow underneath. Ensure proper ventilation and maintain a fire extinguisher nearby for safety.
Step 4: The Pyrolysis Process
Ignition and Monitoring
Load the biomass and ignite the material at the top using a small amount of kindling or a propane torch. Keep a close eye on the ignition process to ensure it progresses steadily. Watch for the appearance of smoke from the barrel, which indicates the start of the Biochar pyrolysis process.
Airflow Management
Adjust the airflow by partially covering the barrel with a lid or using adjustable vents. Aim for a balanced airflow to sustain the pyrolysis process without allowing excessive oxygen in, which can lead to combustion rather than carbonization. Regularly monitor the airflow to maintain optimal conditions for biochar production.
In case you missed it: 11 Best Homemade Fertilizers for Legumes: Discover Organic Fertilizer Recipes

Step 5: Biochar Quenching Technique and Cooling
Determining the End of Pyrolysis
Before quenching, ensure the pyrolysis process is complete. Signs include a decrease in smoke production and the absence of flame from the barrel’s vent. A consistent glowing of embers indicates that carbonization is complete.
Safe Quenching Practices
- Safety Gear: Wear heat-resistant gloves and eye protection.
- Water Application: Slowly add water to the barrel to extinguish the remaining embers, preventing flare-ups.
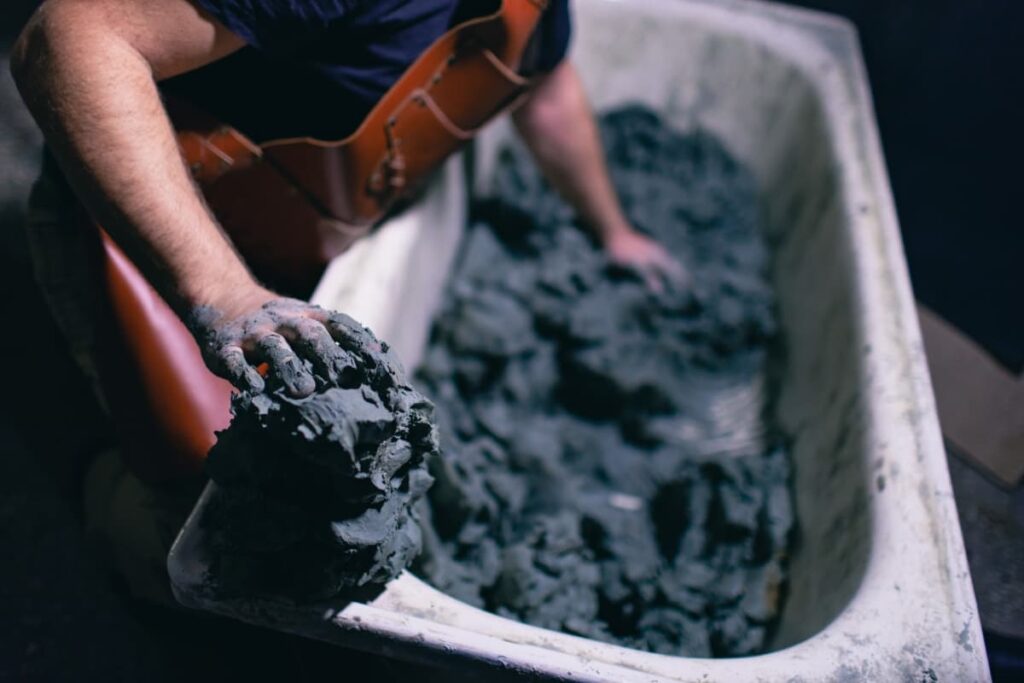
- Stirring and Mixing: Use a long-handled tool to stir and mix the biochar with water thoroughly.
- Cooling Period: Allow the biochar to cool completely before handling or storing to prevent burns or spontaneous combustion.
Step 6:Harvesting Biochar
Extracting Biochar from the Kiln
Once the pyrolysis process is complete, carefully open the kiln, using protective gear to shield against heat. Employ a shovel or tongs to extract the biochar, avoiding direct contact with hot surfaces.
Initial Handling and Cooling
Transfer the freshly harvested biochar to a designated cooling area, preferably a metal container or an isolated spot. Allow it to cool for several hours to ensure safe handling. This phase is crucial for preventing accidental burns and promoting effective biochar storage. Exercise caution during this step, prioritizing safety and proper cooling to optimize biochar quality.
Step 7: Post-Processing of Biochar
Crushing and Sizing
After the biochar has been produced, it is essential to crush and size it appropriately. This step ensures uniformity and enhances its usability for various applications. Crushing breaks down larger chunks into smaller, more manageable pieces, while sizing ensures consistency in particle size, which can affect biochar’s effectiveness in different contexts.
Activation Methods
Activation methods such as chemical activation, steam activation, or thermal activation help increase the surface area and pore structure of biochar, improving its ability to adsorb contaminants or nutrients in soil remediation or agricultural practices. These activated biochar recipe methods can tailor biochar to suit specific needs and optimize its performance.
Storing Biochar
Dry Storage Considerations
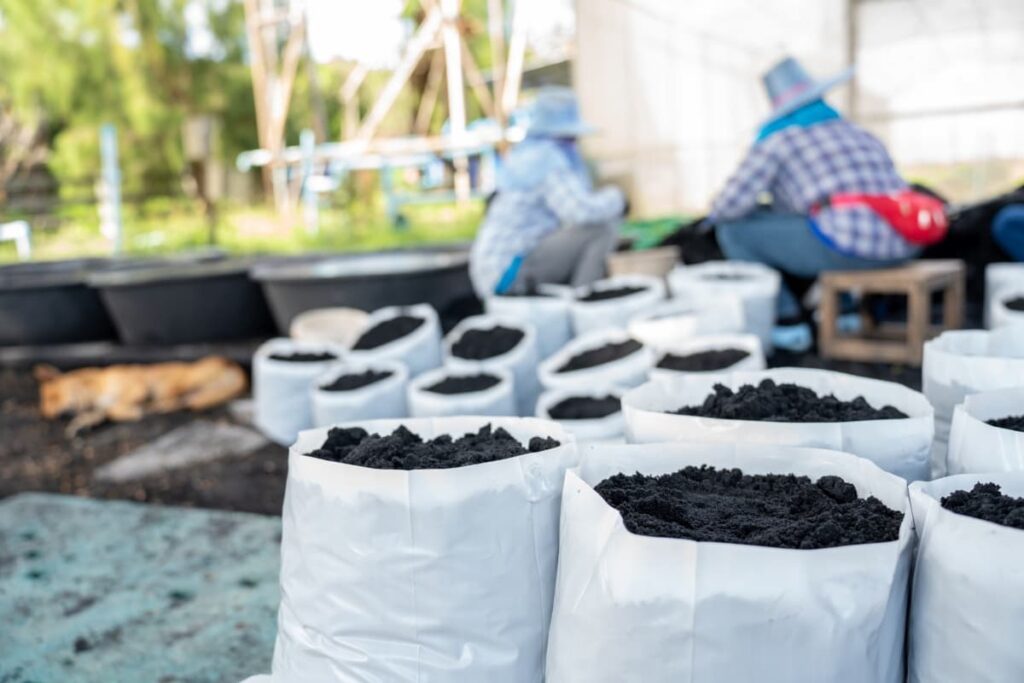
After producing biochar, prioritize dry storage to prevent moisture absorption. Select a well-ventilated area and use sealed containers or bags to maintain its efficacy. Regularly check for humidity levels to ensure the biochar remains dry and free from contaminants.
Long-Term Preservation
For long-term preservation, consider airtight containers or vacuum-sealed bags. Store biochar in a cool, dark place to prevent degradation. Periodically inspect for any signs of deterioration and take necessary measures to extend its shelf life. Proper storage guarantees biochar’s effectiveness when applied to soil improvement or other applications.
In case you missed it: Hydroponic Nutrients Solution Recipe: DIY Homemade Hydroponic Fertilizer

Applying Biochar to Soil
Incorporation Techniques
- Mixing: Blend Biochar for garden soil using a tiller or spade, ensuring even distribution.
- Layering: Apply biochar as a top or bottom layer, then incorporate it gradually through natural soil processes.
- Amendment: Combine biochar with compost or organic fertilizers before incorporating it into the soil to enhance nutrient retention.
Dosage Recommendations
- General: Start with 5-10% biochar by volume for sandy soils and 10-20% for clayey soils, adjusting based on soil type and crop requirements.
- Maintenance: Apply annually or biannually at recommended rates to maintain soil health and productivity.
- Crop-specific: Tailor dosage based on crop sensitivity and growth stage, with higher rates for long-term crops like trees and lower rates for annuals.
- Soil testing: Conduct soil tests to determine nutrient levels and adjust Biochar application rates accordingly, preventing over-application and potential nutrient imbalances.
In case you missed it: Choosing the Best Fertilizer for Green Beans for Maximum Yield

Conclusion
In conclusion, making biochar in a barrel is a simple yet effective process that can greatly benefit both your garden and the environment. By following the Biochar preparation steps outlined in this DIY biochar production guide, beginners can successfully create biochar from organic waste materials. Remember, safety is paramount when working with fire and hot materials. Always use appropriate protective gear and ensure proper ventilation when conducting the process.
- Profitable Village Farming Business Ideas in 2024
- High-Yield Aquaculture: Fast-Growing Fish for Farming
- Effective Fish Pond Construction Techniques for Beginners
- Irrigation and Water Management in Pineapple Farming
- Blossom to Harvest: Mastering Flowering and Pollination in Papaya Farming
- Pig Fattening Essentials: From Selection to Sale for Beginners
- Raising Wagyu Cattle: A Complete Guide for Premium Beef Production
- Soil Types and Their Water Holding Capacity
- Optimizing Irrigation Schedules for Coconut Groves for Enhanced Yield
