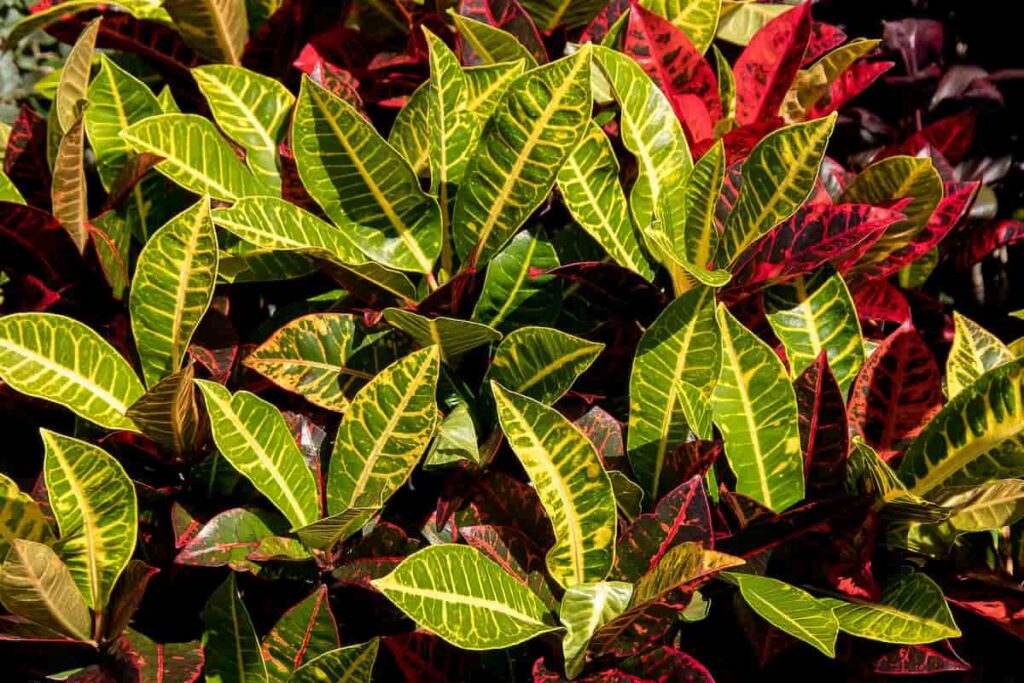
A croton’s vibrant and eye-catching leaves can be in many colors, including red, yellow, orange, and green. Crotons are tropical plants that originated in southeast Asia. They belong to the Euphorbiaceae family, thrive in warm, moist conditions, and exhibit more intense colors and quicker growth in direct sunshine. Below we learn about croton plant care in India, croton plant indoor care, croton plant indoor benefits, and croton plant care tips.
Croton plant care in India
What is a Croton plant?
Croton plants are members of the spurge family, Euphorbiaceae, and are originally from the tropical areas of Indo-Malaya and Central America. Herbs, shrubs, and even trees are all included in the genus’s wide range of species. The average croton plant lifespan is 2 to 4 years. The brilliant, shiny leaves of the croton plant make it a popular houseplant.
Crotons come in a rainbow of colors and leaf forms, from green to yellow to orange, pink to red to purple, and beyond. Not only do they look great, but they also do a great job of cleaning the air. However, eating most types of croton can be fatal. When cultivated inside, particular care must be taken to keep dogs and children away from them.
Varieties of croton
There are several different types of croton, but the most prevalent are petra, Florida select, and gold dust. The distinctive tick form of the leaves, as well as the vibrant veins and patterns on the foliage, are telltale signs that you’re looking at a Petra or Florida select plant.
Gold dust
The leaves of this Croton are vivid green with a golden yellow sheen as if they had been painted that way. It is a typical landscape shrub in climates where frost is rare, but it can also be grown well in a greenhouse. It has round leaves that are almost waxy in appearance. The cultivar Gold Star is quite similar. Gold Star’s leaves are thinner than the others, but that’s the only discernible difference.
Petra
One of the most popular Croton options, Petra has green leaves with bright yellow, red, or orange veining and edging. When seen from a distance, the pointed-oval leaves seem almost lacy.
In case you missed it: Vertical Saffron Farming: The Red Gold Revolution for Excellent Profits
Red Iceton
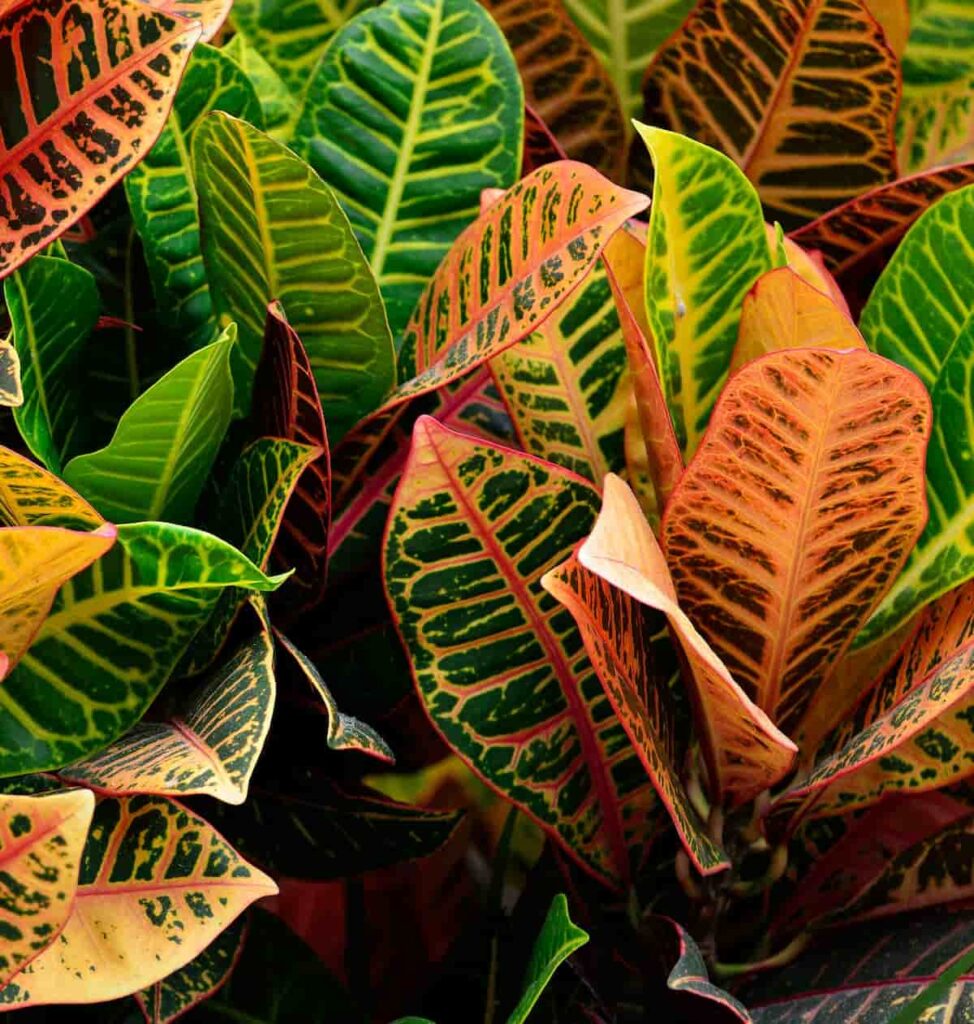
One of the most eye-catching Croton types is Red Iceton. It changes the color of its pointed, oval leaves from a warm yellow while they are young to a darker green as they age. Colors of crimson and pink develop in the aging leaves.
Magnificient
The only way the Magnificent Croton resembles the Gold Dust Croton is leaf form and dappled patterning. The leaves of this type are splashed with vibrant red, orange, pink, and yellow. There are also occasional bronze or purple undertones. As its name suggests, it is very spectacular.
Zanzibar
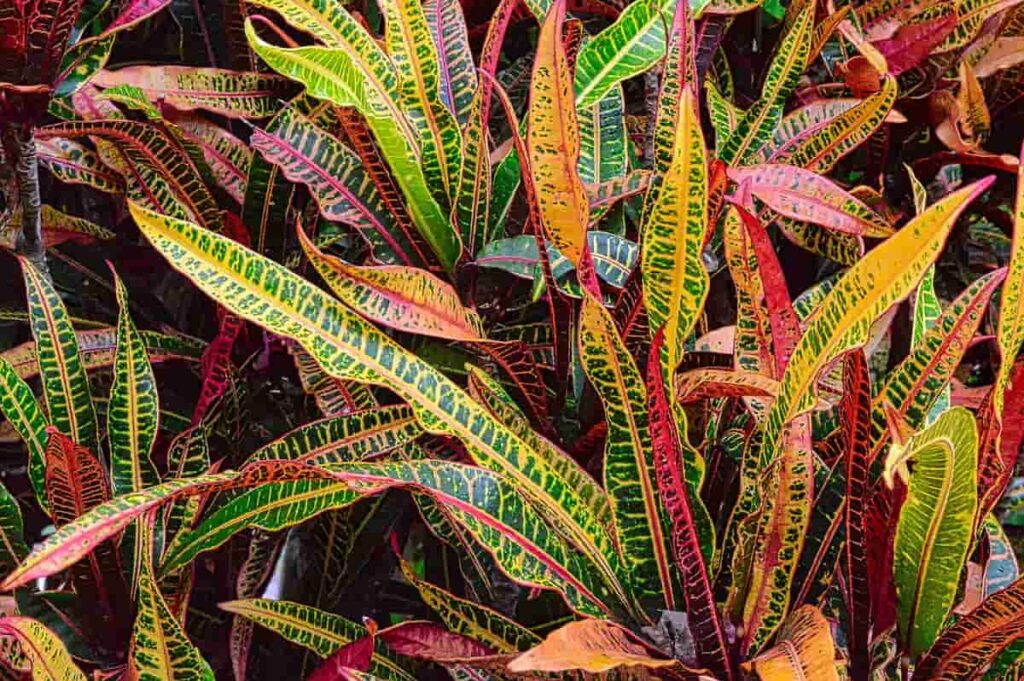
You can choose a Croton plant that suits your taste in decorative grasses. Like blades of grass, the Zanzibar Croton plant’s thin leaves are drenched in a rainbow of colors, from purple to orange to gold to red.
Care for croton plants
Sunlight requirements
The tropics are ideal for growing croton, a plant that thrives with just a little amount of direct sunshine. Since they thrive under the shadow of other plants in the wild, you should do the same and only let them see a few hours of sunlight in the morning. Leaves can become a flaming reddish-brown in direct sunshine, a symptom the plant is attempting to tell you needs some shade.
Its leaves will quickly burn if left in the same position. During the summer’s hottest part of the day, the leaves can be scorched if a green net or other shade doesn’t protect the plant. If you notice that your plant’s leaves have suddenly turned brown, this can result from too much direct sunlight. Don’t leave it out in the midday sun. This care also comes under croton plant care in summer in India.
Water and humidity preferences for croton plants
The care requirements of the Croton ‘Petra’ are around average. The plant does not require watering if the top two to three inches of soil are sticky. If the plant is thirsty, its leaves will droop briefly before perking right back up. You can flush the plant with lukewarm filtered or bottled water. If the plant is currently in a growth pot, the water should be let to drain entirely before being replanted in a decorative pot. When the topsoil of your Croton starts to dry up again, return to this watering plan. Since growth slows in the winter, you can cut down on watering.
In case you missed it: Vertical Tomato Farming: Modern Way of Getting More Yields in Less Space
Originally from the tropical wet zones of Southern India, Southeast Asia, and Australia, this houseplant thrives in warm, moist settings that mimic its natural habitat. Keep this plant wet and healthy by spritzing it, using a humidifier, or placing it in a pebble tray.
Don’t change the plant location frequently
Essential advice for caring for a croton plant is to avoid transplanting it too often. When stressed, croton plants will respond by shedding leaves to signal that they no longer want to be in their current position. The croton plant requires stability in its environment; therefore, if you are the plant person who often relocates your plants, you may have trouble maintaining one alive and well. It is typical for a plant to lose a few leaves after being repotted or transplanted into a new container, but the plant will quickly recover if given the attention it needs.
Potting soil and fertilization for croton plants
Croton plants thrive in loamy, organically rich soil with good drainage. Soil pH should be between 4.5 and 6.5, and most decent potting soils will do just fine. Soils with a high concentration of calcium and those with a high pH level are not recommended. A fertilizer with a phosphorus-to-potassium ratio of 8-2-10 is often used for Croton plants.
Typically, they get an excellent slow-release acidic fertilizer twice every growing season, first in early spring (February–March) and again in late spring (May), to sustain growth throughout the spring and early summer. Midway through the month of July is when you should consider giving your young Croton plant it’s third feeding in India. Avoid fertilizing in the autumn if you want the leaves to develop and harden before winter.
Propagating croton plants
The most common way to spread crotons is using stem cuttings. To maintain a healthy Croton plant, cut off a piece with three sets of leaves and discard the rest. You should remove everything except the top few leaves from the stem. You can put it in a glass of water or into a mixture of river sand, vermiculite, and peat moss treated with a rooting hormone. Covering the Croton plant will assist retain moisture for the plant’s root system as it grows.
Plastic bags can stand in for a glass cloche or moisture-retaining cover in a pinch. Once the new growth roots have grown, your Croton plant can be moved carefully to a potting mix that drains well. If a Croton plant has outgrown its container and its roots are poking through the drainage hole, you may be able to pull it apart at its base. Your original Croton plant and the cuttings you make from it can experience wilting and leaf loss if you move them around too much.
In case you missed it: Contract Goat Farming in India: How to Earn an Extra Income from this Long-Term Investment
The last method is called air layering, and it’s the one we’ll be talking about. Remove a Croton stem from the main plant and make a diagonal cut in its middle, removing a third to half of its diameter. Apply rooting hormone to the wound and use a toothpick or wooden match to hold it open.
Wrap the area with plastic wrap, then gently pile moist sphagnum moss over it. Ensure it stays damp; if the moss turns tan, it requires more water. New root systems will develop at the site of the injury. Once the roots have established themselves, remove the plastic wrap, cut the stem to the desired length, and repot the plant in a soilless mixture.
How to repot croton plants?
Your Croton plant will outgrow its current container as it matures. Repotting is one of the most crucial aspects of caring for a Croton plant. Pick a container that’s just 1-2 inches wider in the base than the one it’s currently in, then fill the bottom with potting soil. Then, gently and carefully remove your Croton plant from its old container.
It can be root-bound; gently loosen the roots with your fingertips. Using a potting knife, softly score the roots if they are entangled. The Croton plant should be planted with just enough potting soil underneath it to reach the top of the container, plus an inch. To help the soil settle, fill up any gaps around the plant’s perimeter with more potting soil, and give the pot a good soaking until water drains out the bottom.
Pruning croton plants
Though crotons aren’t often trimmed frequently, doing so can promote new growth, alter the plant’s structure, and help it retain a thick, bushy appearance. Wear gardening gloves to avoid irritating your skin with the sticky, milky sap that drips from cuts before you make any. Remove any withering or dead leaves from the branch by cutting them off at the bud. Pinch off the new growth at the top of your croton plant to keep it short and bushy. To promote maximum growth, croton should be pruned in the spring.
Common problems while growing crotons
Keeping your Croton plant green is perhaps the most frequent issue individuals have when cultivating it. If your Mammy or Magnificent plant, or any other plant that should have red, orange, and yellow leaves, instead has all green foliage, the problem is likely caused by improper or inadequate lighting.
In case you missed it: How to Grow Rajnigandha (Tuberose): Soil, Propagation, Flowering Season, Planting, and Care
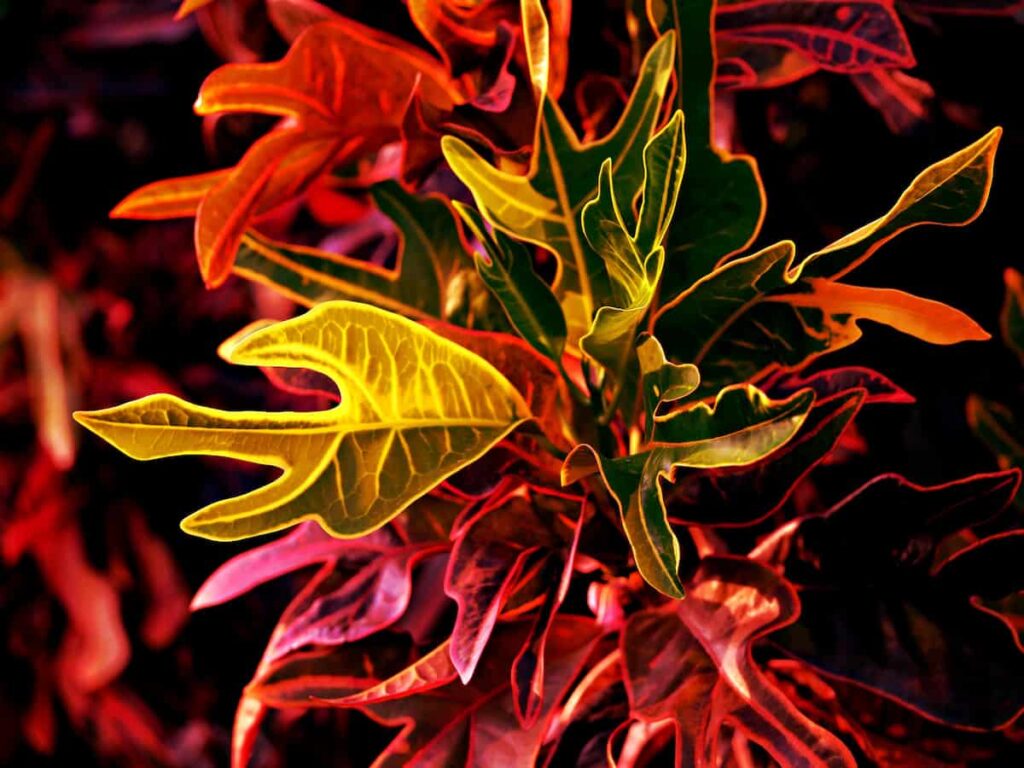
Although crotons can tolerate some shadow (in fact, some croton plant kinds even thrive in it), if the plant isn’t showing any signs of color, it’s probably not receiving enough light to develop those colors. Bright light and 60–80 degree temps are ideal for croton plants. There should be consistently beautiful colors if you can give that setting. Croton leaves can become spotted with grey in the summer if the plant is in full light.
This is a common sign that the leaves wither from overexposure to the sun’s rays. If your Croton plants are suffering in the heat of the day, try covering them with shade fabric or moving them to a shadier spot. Over-fertilization is the likely cause of twisted leaves on your Croton plant unless it is a naturally twisting variety like the Mammy. Most of the time, this happens in the summer when you shouldn’t fertilize your plant. Hold to two spring feedings (early and late) and skip the rest of the year.
Pest control for your croton plants
In most cases, spider mites will attack houseplants of the croton genus more often than any other. This is common in India. They create yellow spots on your plant’s leaves, could limit development (not always obvious in certain Croton kinds!), and lead to leaf loss. Remain gently and wipe your Croton plant’s leaves with a damp cloth to eliminate these pests. Raising the relative humidity in the air can help. When you move outside, you’ll likely encounter a wider variety of insects.
The Croton scale is one of them; it’s a peculiar bug that blends in so well with the plant that it’s almost impossible to distinguish it from the rest of the foliage. Scale insects that infest Croton plants are shown in this video. If your plant is in trouble, brush off the scales with a soft toothbrush after treating it with neem oil or similar horticultural oil every 5-7 days for 3-4 treatments. Leaf drop is one symptom of a mealybug infestation on your plants. Dab them with rubbing alcohol and a cotton swab to eliminate tiny colonies.
Heavy water sprays, neem oil, or insecticidal soap can be used to eliminate bigger populations. It is well knowledge that Petra Crotons are very sensitive to thrips that burrow through their leaves. When dealing with thrips, it is best to spray them off with cold water first thing in the morning while they are still sleeping. For best results, keep at it for a few days. Keep some time in your morning schedule free for washing your Petras for a week.
If they continue to bother you, try treating the area with insecticidal soap or neem oil. At last, we have Achaea Janata, the Croton caterpillar. These creatures consume the Croton plant’s leaves, leaving behind just the stalks and veins. Spraying the plants with BT (Bacillus thuringiensis) can be done if the caterpillars continue after regular neem oil treatments fail to control their leaf-eating. The caterpillars become sick and die from it, but the plant, other animals, and people are safe from danger.
Disease control for your croton plants
Your Croton plants can become sick from one of many diseases. The most typical plant diseases include crown gall, root rot, leaf spot, edema, and white powdery mildew. Oedema, which appears as blistering on the leaves, is brought on by giving your Croton plant more water than it can tolerate. The Croton plants should be watered less often until the scorching stops, and overwatering should be avoided. However, be sure to maintain wet soil. Overwatering, particularly clipped stems, can also promote root rot.
The bacteria responsible for crown gall cause your plant to develop enlarged growths along the veins of its stems and leaves. Roses, apples, blackberries, raspberries, and even Crotons aren’t immune to its damaging effects. It’s also extremely hard to counter. Galls on a stem can be removed using a sharp knife and a pruning sealer applied to the incision. Even if you remove an affected plant, the bacteria that causes galls can remain in the soil for about two years.
Preventative measures are preferable to the chemical treatments available for crown gall since they are ineffective on Croton. Croton plants are susceptible to anthracnose, a fungal disease that frequently causes leaf spots and blight in India. This condition is characterized by water-soaked fungal patches of dark brown to black on the plant’s leaves. A copper spray or neem oil should be used for treatment.
Bacillus subtilis, a specialized bacillus that will eat most fungal developments, can be released using a unique spray formula to fight this issue. Finally, Croton plants that have their leaves consistently wet can get powdery mildew. Water plants from below to avoid this. Applying neem oil on a daily basis helps stop mildew from forming on the leaves and helps get rid of any existing mildew.
In case you missed it: How to Grow Columbine Flowers: A Guide to Propagation, Planting, and Care
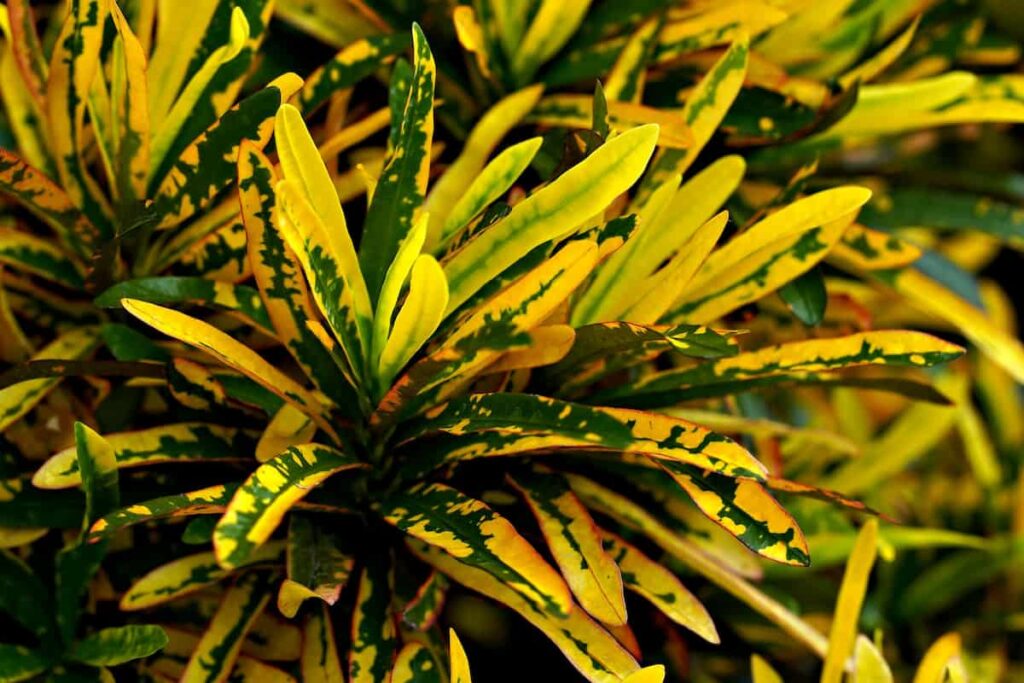
Croton plant care leaves falling off
Crotons want their soil to be somewhat damp all the time, but you shouldn’t ever let it become too wet. Maintain a regular watering schedule when the top two to three inches of soil are dry. Some leaf loss is normal if the soil around your Croton is too dry. To rehydrate the soil, give it a thorough soak in the sink or tub. Remember that severe soil moisture changes, such as drought to flooding, can stress your Croton and induce leaf drop. Please give it some time to readjust.
The increased humidity will benefit your Croton, which is a tropical plant. Misting the leaves, a pebble tray, or a humidifier can all be used to raise the humidity level surrounding your plant. Houseplants are notoriously resistant to change. New pets are very uncommon to be grumpy for many days or weeks when they first move into a new home or after being relocated inside the same house.
If you give your plant time and attend to its other needs, it will probably recover independently. Put your Croton in direct sunlight, as it enjoys it. It will begin to drop its leaves if you put it somewhere dark. Another way to see whether your Croton is getting enough light is by looking at the color of its leaves. If you plant a Croton in a dimly lit area, it will develop green leaves instead of the bright reds, oranges, and yellows for which the species is renowned.
How do you make crotons grow faster?
Crotons have a growth rate that is slow to moderate, reaching a maximum height of 12 inches in a single growing season. Consistently warm temperatures, consistent amounts of watering, and strong light that is filtered enhance rapid plant development.
- Broccoli Varieties: Choosing the Right Cultivars for Your Farm
- How to Raise Pigs in Your Own Backyard: A Comprehensive Guide
- Budget Friendly Sheep Shed Ideas: Cheap and Low-Cost Tips
- How Much Do Cattle Farmers Make: Revenue Streams in Cattle Farming
- Management Pests and Diseases in Your Cotton Field
- Sheep Farming Business Plan for Beginners
- Aquaponic Farming at Home: A Step-By-Step Guide
- Profitable Village Farming Business Ideas in 2024
- High-Yield Aquaculture: Fast-Growing Fish for Farming
- Effective Fish Pond Construction Techniques for Beginners
- Irrigation and Water Management in Pineapple Farming
- Blossom to Harvest: Mastering Flowering and Pollination in Papaya Farming
- Pig Fattening Essentials: From Selection to Sale for Beginners
- Raising Wagyu Cattle: A Complete Guide for Premium Beef Production
- Soil Types and Their Water Holding Capacity
- Optimizing Irrigation Schedules for Coconut Groves for Enhanced Yield
- Espresso Your Garden: Coffee Grounds for Healthier Acid-Loving Plants
- The Best Soil Mix for Snake Plants: How to Mix Your Own Snake Plant Soil
- Green Thumb Success: Expert Tips for Cultivating Greenhouse Beans All Year Round
- Bloom All Year Round: The Ultimate Guide to Indoor Hyacinth Care
- Eco-Friendly Gardening: How to Make Liquid Fertilizer from Kitchen Waste
- Ultimate Guide to Grow Anise in Pots: Explore Seed Propagation to Harvesting
- Guide to Raising Chester White Pigs: Discover Breed Facts to Growth Management
- Mastering the Elegance: The Ultimate Guide to Weeping Cherry Tree Care, Planting, and Maintenance
- Ultimate Guide to Planting Garlic in Grow Bags: Growing Strategies for Beginners
- How to Fix Spider Plant Leaf-Related Problems: Natural and Organic Remedies
- 10 Reasons Why Your Tulsi Plant is Shedding Leaves: Home Remedies and Solutions
- Optimizing Growth and Yield: The Advantages of Palm Bunch Ash Fertilizer
- Utilizing Neem Oil Extract as a Natural Pesticide for Hydrangea
- From Soil to Harvest: Various Ways in Which Farmers Can Use AI Tools
- Steps to Encourage and Induce Citrus Flowers: A Comprehensive Guide
- How to Fix Snake Plant Leaf-Related Issues: Natural and Organic Remedies
- Transform Your Garden into a Fragrant Oasis with Raat Ki Rani (Night Blooming Jasmine)
- Discover the Ideal Chicken Breeds for Philippine Farms
- How to Create a Poultry Egg Farm Business Plan for Profits
- Grow Lemon Cucumbers Like a Pro: Insider Techniques for Bountiful Yields
