Rajnigandha, called Tuberose in English, is a bulbous perennial flower belonging to the Agavaceae family. It is also known as Nishigandha. The semi-hardy flower produces highly fragrant, waxy flowers on a long spike. The leaves are long, spreading, and grass-like. It is cultivated both as a cut and loose flower.
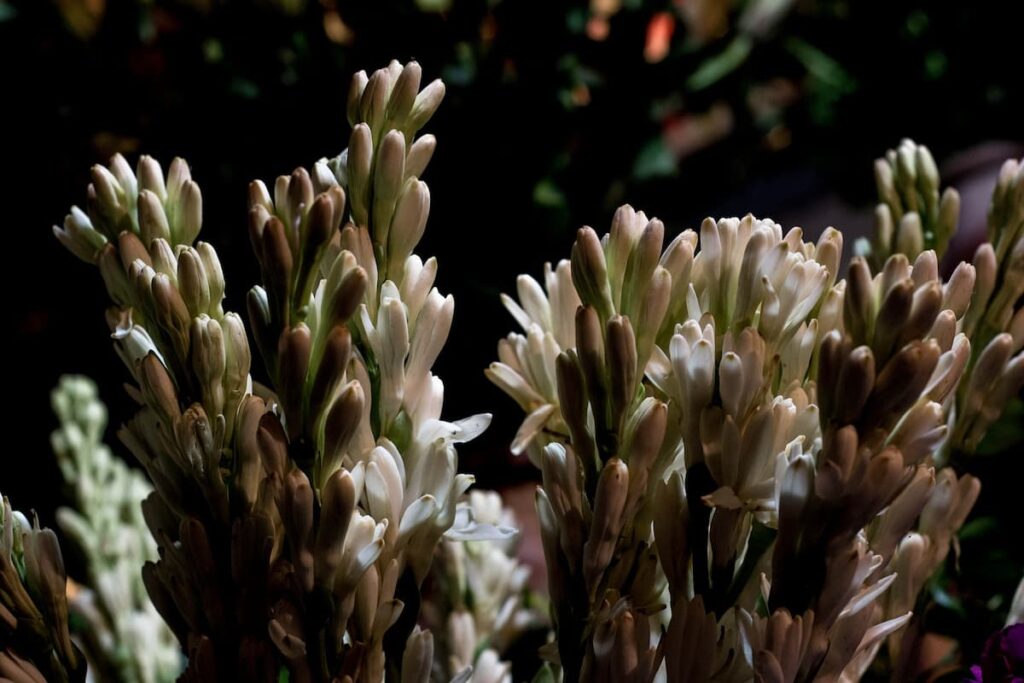
Rajnigandha grows in tall spikes up to 45 cm, producing clusters of fragrant waxy white flowers that open from the bottom upwards. It has long, bright green leaves clustered at the base of the plant and smaller, attached leaves along the stem.
| Name | Tuberose/Rajnigandha Plant |
| Type | Flower |
| Flower Color | White |
| Life Cycle | Annual Plant |
| Suitable Location | Outdoor |
How to grow Rajnigandha (Tuberose)
Rajnigandha Cultivars
Three major varieties of Rajnigandha are common, single flower, double flower, and semi-double flower are available separately for the summer and winter seasons. Rajnigandha bulbs from West Bengal (Kolkata) are best known for their exotic fragrance. When it comes to planting any flower, we always wanted plant varieties. Choose the best among many. Well, Rajnigandha flower offers you three different types;
Single flowered Rajnigandha – This has a single row of petals and is mainly used as loose flowers for making garlands. For example, Mexican Single, Calcutta Single.
Semi-double flowers Rajnigandha – This variety has (2-3) rows of petals. For example, Mexico Hybrid, Latent.
Double Flowered Rajnigandha – This variety has more than three rows of petals. They are cut flowers because they bloom slowly and last a long time. Like: Calcutta Double, Rajat Rekha, Swarna Rekha, Pearl.
In case you missed it: How to Propagate Peace Lily: Flowering Stages, Planting, Growing, and Care for Indoors and Outdoors
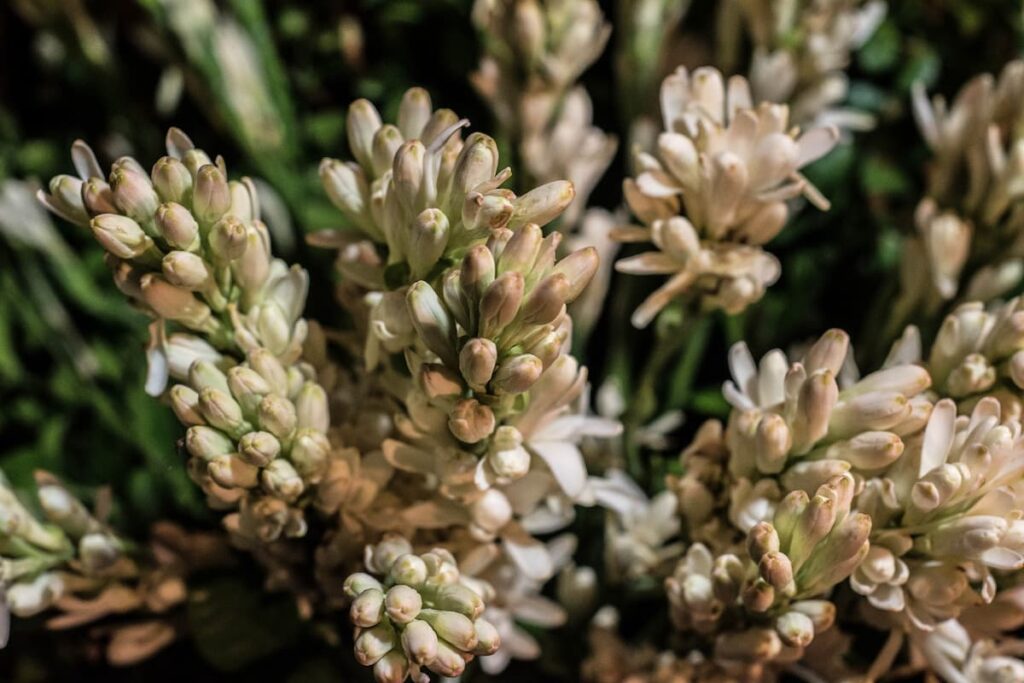
Soil requirement for growing Rajnigandha
Rajnigandha plant needs well-drained soil. If you have regular garden soil at home, mix it with peat moss, compost, or other organic material. Then pile the mixture about 3 inches above the soil surface. Finally, make sure the pH is between 6.5 and 7. Keep the soil consistently moist before and during the late summer bloom period. Enrich poor soil with compost and organic amendments to increase drainage and structure for the best display of tuberose blooms.
Where to plant Rajnigandha
Whether planting in the ground or containers, ensure your tuberose bulbs get well-drained soil, and the full-day sunlight shade is fine in hot, dry areas. If you see puddles 5-6 hours after heavy rain, find another location or amend the soil to raise the surface 2-3 inches. These plants are easy to produce but will not thrive in waterlogged soil.
Growing methods/propagation of Rajnigandha
The planting time for this flower is spring. It can grow Rajnigandha flowers by seeds and using vegetative bulbs. Methods of propagation are described below;
Rajnigandha propagated by seeds
seeds are found only in single-flowered cultivars, and should make a seed bed and sow the seeds. After sowing, germination starts within (10-15) days. The optimum temperature for the germination of Rajnigandha seeds is 21 to 26°C.
Rajnigandha propagated from bulbs
As Rajnigandha is a bulbous plant, bulbs are the primary source of growth. Bulbs are modified stems that are usually round and remain underground. The most common method of growing this flower is using bulbs.
Rajnigandha propagated from the division
Division means cutting the bulb into (2-3) individual pieces. In Rajnigandha, large-sized (>2 cm) bulbs are divided into (2-3) vertical segments, each having bud and basal segments. After that, the bulbs are treated with fungicide and planted vertically in the ground.
Micropropagation
This is a more modern and scientific method of producing several plants from one bulb. It is done in a laboratory and requires advanced knowledge.
In case you missed it: Rose Flower Growing Tips and Tricks
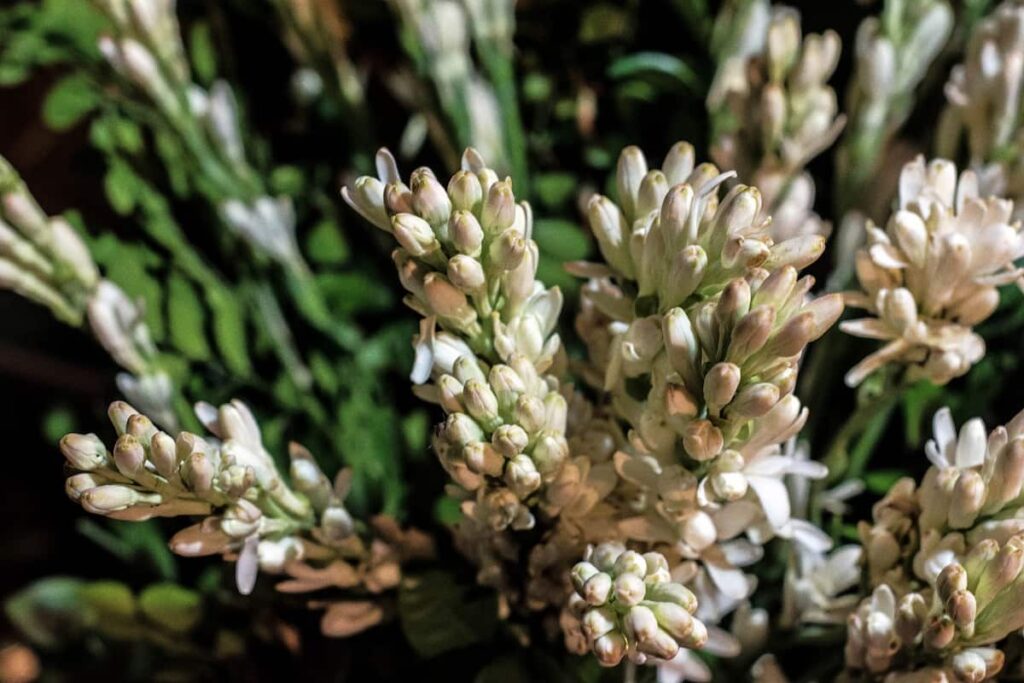
When to plant Rajnigandha
Tuberose bulbs are planted outdoors in the early spring season after the danger of frost has passed and daytime temperatures. These plants usually bloom mid to late summer or 90 to 120 days after planting.
Why should you grow Rajnigandha?
Scientifically, Rajnigandha belongs to the Asparagaceae family and is called Polyanthus Tuberosa. Although indigenous to Mexico, Rajnigandha plants can easily be grown in most parts of India due to suitable climate and growing conditions. Rajnigandha flowers can be used as garlands and bouquets in many weddings and are even extracted for essential oils. These oils are very popular in the perfume industry. Their fragrance is one of the main reasons they are an excellent choice for your gardens.
Things required for growing Rajnigandha flowers in pots
Rajnigandha bulbs
The first thing you need to develop a Rajnigandha plant at home is its bulb. Rajnigandha bulb looks a little like ginger in shape and color. You can get good quality bulbs from any nearby nursery or order them online from Amazon.
Ideal size pot (container)
You will need a pot or container, a pot or a grow bag at least 6 inches deep. Since Rajinigandha bulbs are deep in the soil, they need a lot of space to grow freely.
Potting soil
The potting soil for Rajnigandha should be rich in nutrients and have good drainage so that it can drain excess water out of the drainage holes. Rajnigandha is a heavy feeder and requires enough nutrient-rich elements for flower production and healthy growth.
Growing Rajnigandha in pots
For outdoor landscape planting, find a location where your plants will get plenty of suns and well-drained soil. Dig holes and plant bunches of bulbs 8 to 10″ apart with 2 to 3 inches of soil on top. To grow the Rajnigandha flower in pots, you need to prepare nutrient-rich soil, fill it inside the pot, plant the bulbs, water it lightly to moisten the soil, and place it in indirect sunlight. Keep till the leaves come out. This is once it moves into direct sunlight.
For container planting, start with good-quality containers, well-draining potting soil, and suitable drainage holes. Dig holes and plant bunches of bulbs 8 to 10 inches apart with 2 to 3 inches of soil on top. Water well after planting, letting the soil soak and settle around the bulb.
In case you missed it: How to Propagate Peace Lily: Flowering Stages, Planting, Growing, and Care for Indoors and Outdoors
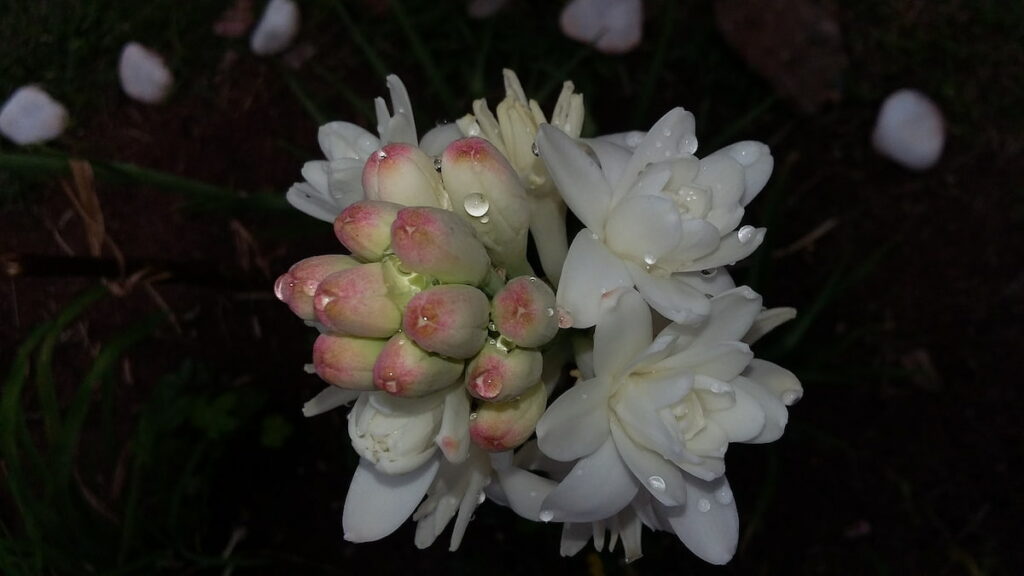
Growing Rajnigandha from bulbs
Prepare well-draining and nutrient-rich soil or coco peat, as tubers require a rich potting mix and will not thrive if waterlogged. Add organic material such as vermicompost, cow dung compost, other compost, or rotted manure to enrich the soil or coco peat. Find a spot that gets 5-8 hours of full sun during the day, and do not forget to choose a spot where you and the rest of the family can enjoy the pleasant fragrance after the flowers bloom.
Dig a few inches or centimeters deep to put the bulbs in. If you have a clump of bulbs, plant the entire clump, leaving 2-3 inches of soil above the clump. Space bulbs 8-10 inches apart for proper growth. Water generously and regularly as the tuber is establishing itself in the initial week. Rajnigandha requires frequent deep watering during the growing season from when the first growth appears. A few weeks after planting, roots and shoots will form. If it rains regularly, it will provide enough water for the day.
Rajnigandha thrives with generous feeding during the active growth stage; add a complete plant food when growth first appears and repeat fertilization every 4-6 weeks. Flowers will appear about 90-120 days after planting, usually in late summer or early fall; removing the flowers for indoor display will not harm the plant. Enjoy bringing fragrance into your home. The leaves can only be removed when they are entirely yellow and late in the season; if you are going to dig up tubers for the next season, remove the bulbs and let them dry in the shade for a few days.
Growing Rajnigandha on the ground
Now, if you want your Rajnigandha plants to grow in the ground rather than in a pot, the process is quite simple, just like you would for planting bulbs in pots. Find a suitable place to grow these plants and dig a hole. Before planting bulbs inside, mix the soil with equal parts vermicompost and bone meal. A bone meal is very good and important for the plant as it provides essential calcium, phosphorus, and protein. Also, Rajnigandha bulbs love calcium.
Immerse the bulb into the soil an inch deep with the pointed end facing up and bury it completely. Repeat the process for the other bulb. Since you are grounding them, there is no need to stick with just two bulbs. Leave about a foot between each bulb to allow the roots to grow freely, and plant as many bulbs as possible in the garden space you have allocated for these plants.
Mulching for Rajnigandha plant growth
Mulch is a layer of various materials (often organic) applied over the potting soil. Covering the top layer of potting mix with mulch helps retain moisture, as the Rajnigandha plant likes. You can use dry leaves or small sticks of wood to mulch your plant. Mulching also prevents the topsoil from drying out too quickly and is very favorable in the case of Rajnigandha.
| Planting Depth | 2-3 inches |
| Water | Moderate |
| Sunlight | Full to partial sun |
| Bloom Season | Summer-Fall |
| Hardiness Zones | Zones 9-11 |
| Temperature | 21 to 26°C |
| Fertilizer | Apply any organic liquid fertilizer |
Why is my Rajnigandha not flowering?
Lack of sunlight
If your Rajnigandha plant is not getting enough sunlight, it may be the reason why it is not flowering. So, after the summer season is over, you should give it direct sunlight. It should be exposed, and if summers are not too harsh in your area, you can place it in direct sunlight. Only move it to shade if its leaves start to brown.
Root-bound condition
Your plant is root bound, meaning it has outgrown its current container. One of them had stopped flowering and producing. If this is the case, you will notice that the root has started to come out of the holes in the tubes, the pot becomes much harder than before, and the plant stops growing. So, you will need to transfer it to a bigger container, and you will see that it will start to return to normal within a week.
Not giving it enough fertilizer
A Rajnigandha plant needs a good amount of nutrients to bloom; if you fail, it will not flower. Be sure to feed it with a quality fertilizer during its flowering season, and recommend this fertilizer for Rajnigandha plants. Also, water it after applying the fertilizer.
Fertilizer management for growing Rajnigandha
Fertilizer is essential for all flowers. Growth rate, flower size, and spike length depend on the nutrients supplied to the flowering plant. For Rajnigandha flowering, (20-50) tonnes of FYM and leaf mold are applied during land preparation. Nitrogen, phosphorus, and potassium are essential for flowering. The recommended N:P:K dose for Rajnigandha is 200:400:200 kg/hectare. Excessive application of nitrogen only increases plant growth resulting in long, soft, and weak flower spikes and insect attacks. So, add fertilizers in proper quantity.
Rajnigandha Flower Pests and Diseases
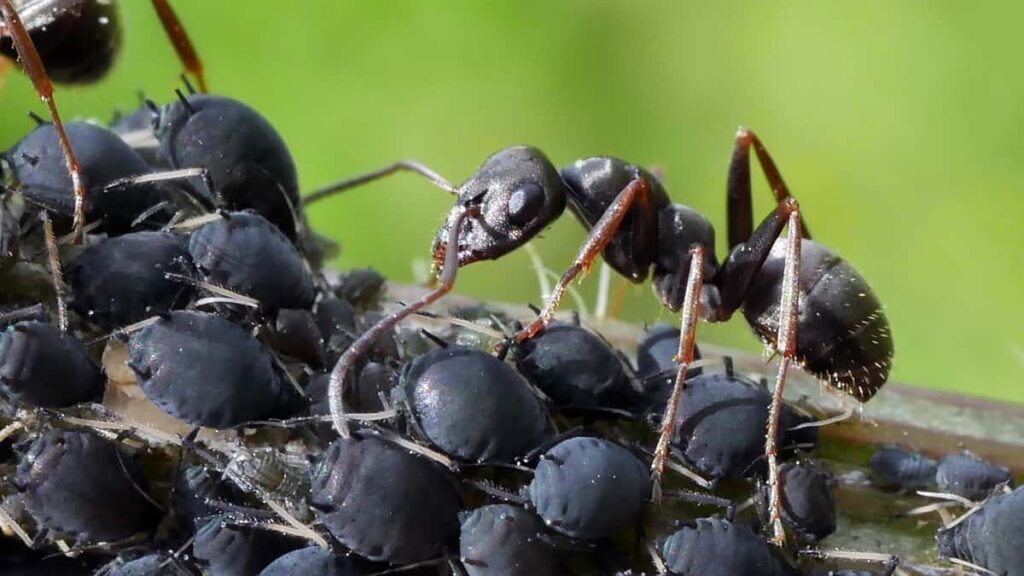
Aphids – Sometimes, you may see clusters of these tiny insects feeding on your tuberose plants and flower buds. Spray your plant with an appropriate insecticide to get rid of these organisms.
In case you missed it: How to Make Rose Plants Bushy and Flowers Bigger: Propagation, Fertilizers, Pruning, Planting, and Care
Stem rot – If your plant is suffering from this fungal disease, you will see mycelial masses on the plant surface near the ground level. When the rot starts, you will see the light green spots spread all over the leaves. Affected leaves will drop from the plant, becoming weak and unable to produce flowers.
Bud rot – In this case, the stem turns brown after the flower buds dry up. The only thing you can do is destroy the infected plants.
Red spider mites – These creatures appear under plants when the weather is hot and dry. They suck the juice from the leaves and develop yellow stripes on them. As a result, the leaves become distorted and yellow. Use a soapy spray to get rid of these pests.
Grasshoppers – They feed on flower buds and young plants, causing damage to flowers and leaves. The problem is compounded during the rainy season when your plant may wilt.
Thrips – These needle-like insects attack all parts of the plant and suck its sap. You will see discolored spots on the surface of the plants—spread aluminum foil between plants to keep insects away.
Sclerotinia (white mold) – Fungus forms a spider web on the growing medium and can climb onto your plant. Once they appear, they will kill your Tuberose. Avoid overcrowding when planting. This way, you will reduce humidity and increase airflow.
Bud borer – These insects lay their eggs on growing insects. The mature larvae feed on the buds and flowers and eventually damage them. To reduce the damage, try to collect the affected flowers and spray the plant with neem oil.
Root-knot nematodes – These insects cause leaf spotting (swelling) on the roots. The result is a wilted plant. All you can do is avoid planting Rajnigandha in infected soil.
Slugs – They feed the leaves of plants, make large holes in them, and leave a trail of slime everywhere. Hand-picking at night and using beer or corn traps are standard methods of getting rid of these creatures. You can also keep slugs from getting close to your tubers by placing coffee grounds or diatomaceous earth around the stem.
Rodents – They make burrows in the field and damage the planted tuber. Use poison bait to kill these threats effectively.
When and how to harvest Rajnigandha?
After the spike is formed, the flower buds open from the lower part of the spike and gradually move upwards. For cut flowers, Rajnigandha is harvested when the first two lower flowers are fully open. The spike is placed on the vase, and the flowers bloom for about a week. For loose flowers, fully bloomed flowers are chosen. Flowers should be harvested in the morning or evening.
Tips & tricks for growing Rajnigandha plant
- Do not forget to fertilize your plants, as these beauties are heavy feeders.
- Amend the soil with ground bark, rotting compost, or compost to improve drainage and encourage healthy starts.
- Expect your plant to arrive as substantial clumps of multiple bulbs.
- Ensure your containers have drainage holes, as tuberoses should never sit in waterlogged soil.
- After the first frost, protect your tubers for next year by digging up the plant bulbs.
- Allow the flower bulbs to air dry for several days in a cool and dry place. Cut the stems of fragrant summer bouquets when they bloom, as doing so will not harm your plants and will encourage the production of new flower spikes.
- Control weeds during the growing season of the tuber. Weeds compete with these plants for space, water, and nutrients, so they either control them by cultivating them more frequently or using mulch to prevent their growth.
- Monitor annual flowers for pests and diseases. Contact your local cooperative extension service for recommended pest controls for your area.
Frequently asked questions about Rajnigandha (FAQ)
Can we plant the Rajnigandha plant at home?
Generally, this plant needs temperatures of 21 to 26°C. Regarding soil, Rajnigandha needs well-drained soil for growing at home.
In case you missed it: Growing Calla Lily in Your Garden: A Guide to Propagation, Planting, and Care

How long does Rajnigandha take to flower?
Bulbs bloom 90 and 120 days after planting if they require adequate sunlight and fertilizer.
When should I plant Rajnigandha bulbs?
Growing Rajnigandha bulbs from seed bulbs are quite easy. It is best to sow these bulbs just as the spring season begins in March. Good growth requires a good amount of sunlight and about four months of warm weather.
How to grow Rajnigandha at home?
The Rajnigandha plant is usually grown from seeded root bulbs.
Conclusion
Rajnigandha is a perennial plant. It is a nocturnal plant, which means it becomes active at night. If you are a gardener who loves sweet, floral-scented flowers, you must plant Tuberose. Rajnigandha flowering plant is a low-maintenance plant that is relatively easy to grow, and its beautiful white flowers have a fragrance that is very pleasant and relieves all your stress.
- Aquaponic Farming at Home: A Step-By-Step Guide
- Profitable Village Farming Business Ideas in 2024
- High-Yield Aquaculture: Fast-Growing Fish for Farming
- Effective Fish Pond Construction Techniques for Beginners
- Irrigation and Water Management in Pineapple Farming
- Blossom to Harvest: Mastering Flowering and Pollination in Papaya Farming
- Pig Fattening Essentials: From Selection to Sale for Beginners
- Raising Wagyu Cattle: A Complete Guide for Premium Beef Production
- Soil Types and Their Water Holding Capacity
- Optimizing Irrigation Schedules for Coconut Groves for Enhanced Yield
- Espresso Your Garden: Coffee Grounds for Healthier Acid-Loving Plants
- The Best Soil Mix for Snake Plants: How to Mix Your Own Snake Plant Soil
- Green Thumb Success: Expert Tips for Cultivating Greenhouse Beans All Year Round
- Bloom All Year Round: The Ultimate Guide to Indoor Hyacinth Care
- Eco-Friendly Gardening: How to Make Liquid Fertilizer from Kitchen Waste
- Ultimate Guide to Grow Anise in Pots: Explore Seed Propagation to Harvesting
- Guide to Raising Chester White Pigs: Discover Breed Facts to Growth Management
- Mastering the Elegance: The Ultimate Guide to Weeping Cherry Tree Care, Planting, and Maintenance
- Ultimate Guide to Planting Garlic in Grow Bags: Growing Strategies for Beginners
- How to Fix Spider Plant Leaf-Related Problems: Natural and Organic Remedies
- 10 Reasons Why Your Tulsi Plant is Shedding Leaves: Home Remedies and Solutions
- Optimizing Growth and Yield: The Advantages of Palm Bunch Ash Fertilizer
- Utilizing Neem Oil Extract as a Natural Pesticide for Hydrangea
- From Soil to Harvest: Various Ways in Which Farmers Can Use AI Tools
- Steps to Encourage and Induce Citrus Flowers: A Comprehensive Guide
- How to Fix Snake Plant Leaf-Related Issues: Natural and Organic Remedies
- Transform Your Garden into a Fragrant Oasis with Raat Ki Rani (Night Blooming Jasmine)
- Discover the Ideal Chicken Breeds for Philippine Farms
- How to Create a Poultry Egg Farm Business Plan for Profits
- Grow Lemon Cucumbers Like a Pro: Insider Techniques for Bountiful Yields
- Ultimate Guide to Caring for Your Pink Princess Philodendron: Tips for Thriving Variegation
- Areca Nut Profit Per Acre: Calculating Yield and Cost of Cultivation
- How Kaveri Chicken is Becoming a More Profitable Breed in Indian Backyards
- Transform Your Barn: 9 Steps to Convert a Horse Stall into a Chicken Coop
- Exploring Suffolk Sheep Disadvantages with Limitations and Challenges
- Guide to Solving Potted Lemon Tree Problems: How to Revive Lemon Tree in Containers
