The Calla Lily is an extraordinary flower that has long been associated with rebirth and resurrection despite not being considered a true lily. Modern hybrids come in a wide array of colors and traditional white flowers. A vase of spathes can be filled with long-lasting color for weeks, adding a splash of color to a container, border, mass planting, or cut flower arrangement.
Rhizomes grow from this beautiful plant, which is ideal for beds and borders. It is possible to grow Calla Lilies as houseplants in containers outdoors or under a sunny window. There is no difficulty in growing Calla Lilies. In general, these plants do not require a lot of attention. Planting Calla Lilies in the right location and properly spacing them are the most important factors to consider when growing them. It is important to plant Calla Lilies in loose, well-drained soil to ensure their success.
They should be placed in full sun or partial shade in warmer climates for best results. In the spring, Calla Lilies are typically planted. Calla Lilies should not be planted until the threat of frost has passed and the soil has warmed sufficiently. Plant Calla Lilies in the spring if you want them to grow well. By the end of the summer, they are often blooming and producing flowers throughout the fall season. Tropical climates support Calla Lilies, which are native to Africa. They are sometimes invasive, however.
Growing Calla Lily in your garden
Sunlight requirement to grow Calla Lily
Due to their tropical nature, Calla Lilies thrive in a warm environment with plenty of light. However, it is important to remember that they will burn in full sun, so choose a spot carefully. As a result, you might want to plant your Calla Lilies in a partial shade area during the hot and humid summer months. Growing Calla Lilies in full sunlight is possible if your summer climate is more temperate. It is recommended that Calla Lilies be placed in a location where they can receive about six hours of sunlight each day in containers.
In case you missed it: How to Grow Oregano from Seed to Harvest: Check How this Guide Helps Beginners
Type of soil and soil preparation to grow Calla Lily
The best soil for growing Calla Lilies is rich, moist, and well-drained. A moist soil location is ideal for Calla Lilies, which often grow well alongside ponds. Avoid allowing these plants to become waterlogged, which can cause root rot. Before planting these flower plants, amend the soil with organic matter to increase its nutritional density. When selecting a container, consider the number of tubers you intend to plant and the number of drainage holes.
Types of Calla Lily
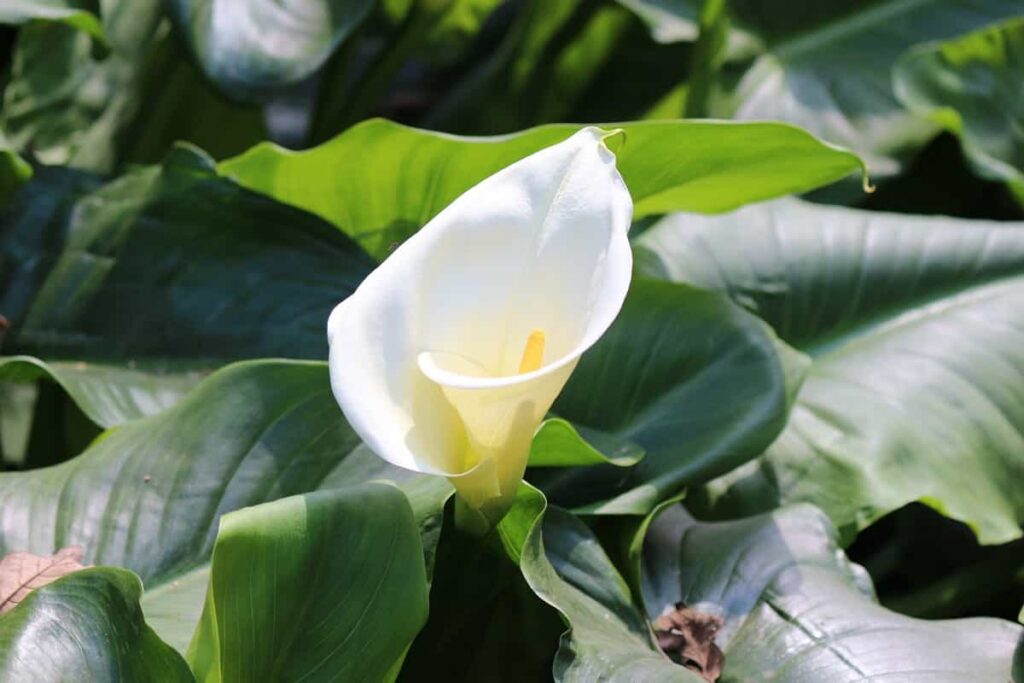
The common Calla Lily flower has yellow spadix and white petals. Several cultivars of this plant have been developed with different colors and slightly smaller statures. There are a variety of Calla Lily types and varieties, ranging in height from about 1 foot to about 3 feet, and many colors to choose from:
Acapulco Gold
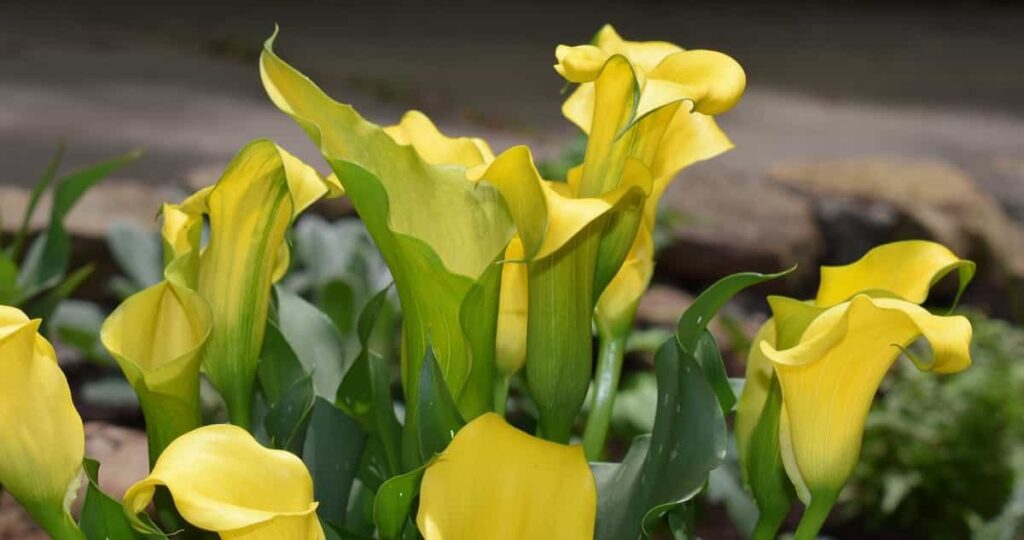
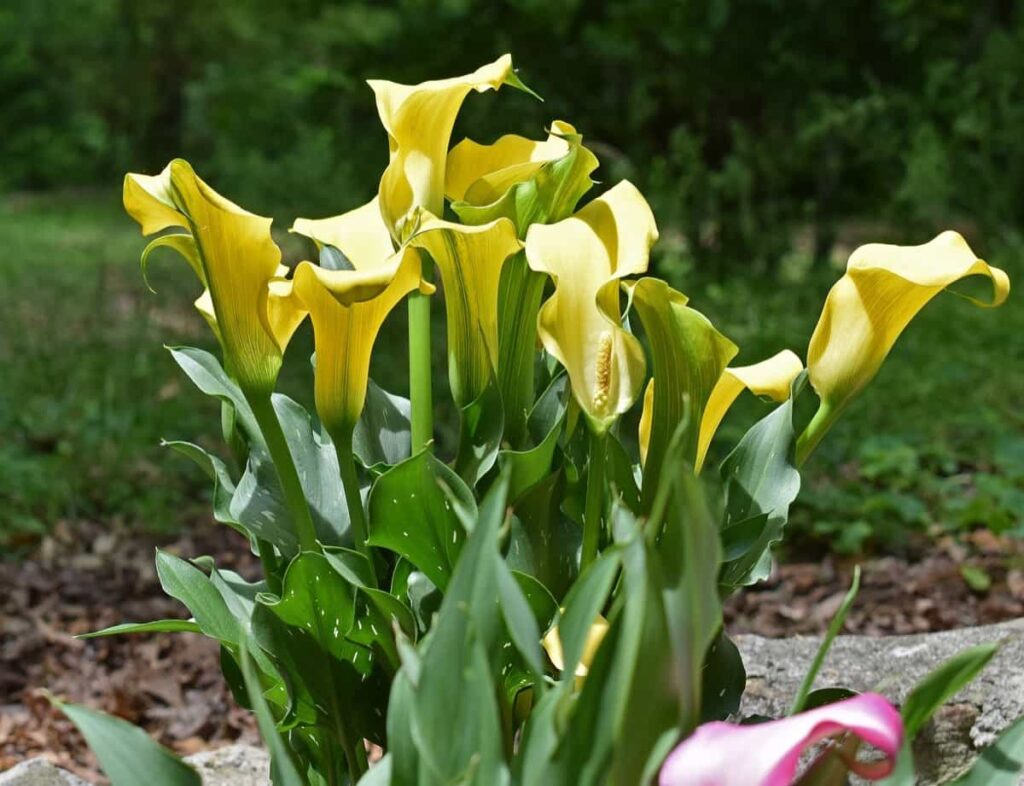
The yellow flowers of the Acapulco Gold variety contrast beautifully with the green arrow-shaped leaves. As well as moist soil, this variety prefers partial shade to full sun.
Flame Calla Lily
There are many types of Calla Lilies, but the Flame variety is one of the most interestingly colored. Adding a pop of color to your garden or potted plant can be as easy as planting flames with bright, trumpet-shaped flowers. There are rich red, orange, and yellow tones reminiscent of a fire in their coloring.
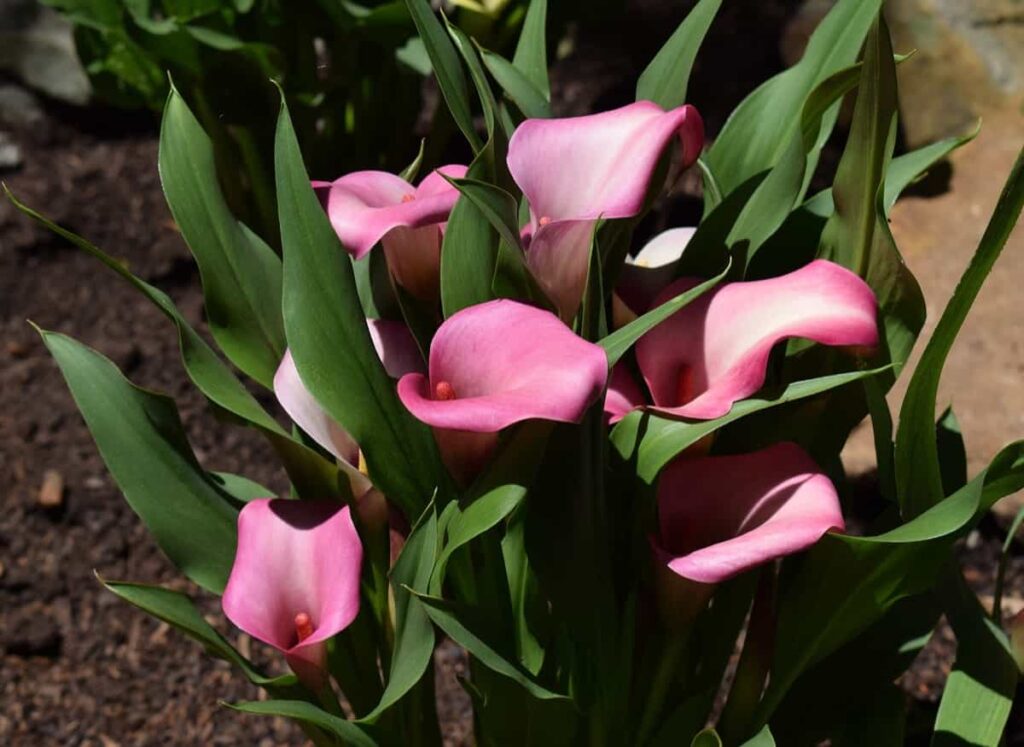
Pink Melody Calla Lily
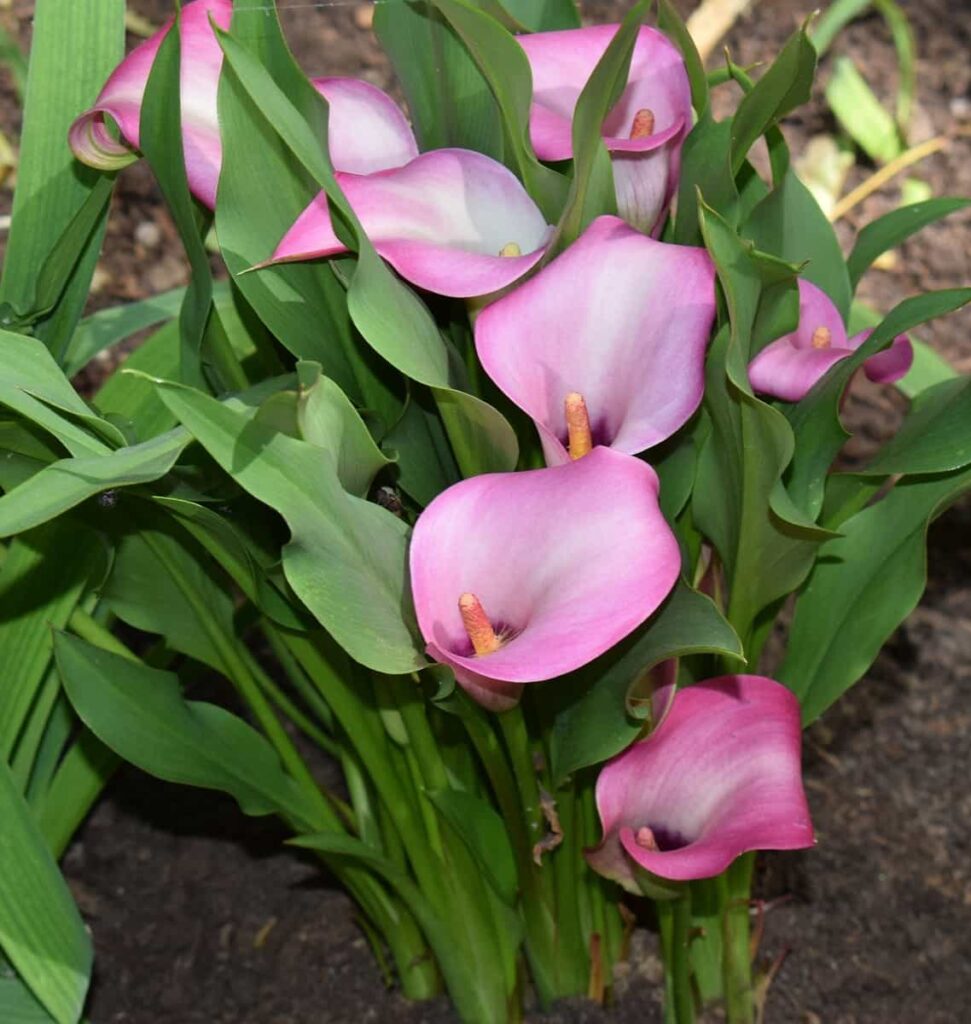
Calla Lilies of the Pink Melody variety is unique in their three-toned flowers ranging from green to white to pink. In addition, it is one of the tallest varieties of Calla Lilies. With its ability to grow up to two feet tall, it looks all the more elegant.
Red alert Calla Lily
There is nothing more dramatic than a red Calla Lily called Red Alert. Something incredibly striking about these flowers is bound to add excitement to any perennial bed. They are particularly effective along garden borders. Besides its speckled foliage, Red Alert Calla Lilies also have a light green foliage color.
In case you missed it: How to Make Rose Plants Bushy and Flowers Bigger: Propagation, Fertilizers, Pruning, Planting, and Care
California ice dancer Calla Lily
Like California Ice Dancer, Calla Lilies with unique names produce large, creamy white flowers. Unlike most other varieties of Calla Lily, the stalks of this plant grow up to 18 inches tall, and the leaves are a darker shade of green.
Pink mist Calla Lily
Pink Mist Calla Lilies are considered a gardener’s and florist’s favorite. There are beautiful pure white trumpet-shaped flowers with delicate, pastel pink eyes on this flower. A medium shade of green covers the leaves of this plant, and they have an arrow-shaped shape.
| Calla Lily variety | Soil type | Moisture | Mature height |
| Acapulco Gold | Sandy Loam | Average – Well drained | 14 to 18 inches |
| California | Loam | Moist – well Drained | 16 to 24 inches |
| Pink melody | Sandy Loam | Average – Well Drained | 16 to 28 inches |
| Red Alert | Loam | Average, Moist / Wet | 16 to 20 inches |
How to propagate and grow Calla Lily
Despite their versatility, Calla Lilies thrive in beds, borders, planters, and containers. Some varieties will grow up to two feet tall, so planting them at the back or in the middle is a good idea if you intend to plant them in beds or borders. Even after the plant has stopped blooming, its distinctive speckled foliage remains attractive all season long. However, a Calla Lily planted in a pot or container will perform better on its own than a Calla Lily plant in a container.
Although they can be planted along with other annuals, Calla Lilies prefer to be on their own for the best results. Calla Lilies can be propagated by dividing their rhizomes, rooting structures, or planting seeds. In addition, it is possible to divide large clumps of Calla Lilies into individual plants. The flowers of rhizome-grown plants will appear much sooner than those grown from seeds. To propagate a Calla Lily rhizome, follow these instructions:
- The rhizome of your Calla Lily needs to be pulled up with a shovel or pitchfork if it is in the ground. In addition, it will be necessary to provide the plant with clean pots and potting soil to keep it warm indoors.
- Make it easier to pull up the root by cutting a circle around it with a shovel or pitchfork.
- After pulling up the clump of roots, brush the rhizome off and place it in a shady, well-ventilated area for several days. It should not be watered or wet.
- After the rhizomes have dried, separate them with a sharp knife. Separate them at any point where they connect, but ensure each piece of rhizome has at least one root or eye.
- Soft, squishy, or smelly parts should be thrown out, as well as old sections that no longer produce viable eyes.
- Place the rhizome in a compost-enriched garden bed at least six inches from other plants or in a potting container filled with moist, well-draining soil. You can also store the rhizomes over the winter.
- The hole should be dug around 3-4 inches deep, and bone meal should be added to encourage healthy root growth.
- Cover the rhizome with soil after dropping it into the hole. It is recommended that the growing tips face upwards.
- Ensure the soil is sufficiently warm before you plant them so that frost is no longer a threat. Calla Lilies are recommended to be planted quite deep and approximately one foot apart.
In case you missed it: How to Propagate Peace Lily: Flowering Stages, Planting, Growing, and Care for Indoors and Outdoors
How to Grow Calla Lily from Seed
A Calla Lily can take up to three years from seed to bloom. Seeds of Calla Lilies must be pre-grown by spreading them out on a damp paper towel and covering them. Make sure the paper towel is in a cool location, like a basement or cellar. Once a few days have passed, check for growth.
Those that don’t appear to be alive should be discarded. Plant the seed in a well-draining pot with a high-quality soilless medium. Make sure the soil is moist and watch for growth. Remove the weakest shoots from each pot after watching the plants for a couple of weeks. Each pot should contain only one seedling.
Potting and repotting Calla Lily
It is a sign that the Calla Lilies are ready for a larger pot when their roots appear crowded. If you notice that your Calla Lily plants have problems with their roots, replant them. Replace the old pot with one two inches deeper and three inches wider. Take care not to damage the roots when you repot Calla Lilies. Lift them out of their smaller pot and place them gently in the larger one. Soil should be filled into the new pot.
It is important to keep the soil consistently moist after repotting. Don’t let the soil become soggy or waterlogged. A terracotta pot is a great choice for this plant because its porous walls allow air and water to pass through, promoting healthy plants by preventing overwatering. Clay pots, however, have one downside: the soil dries out quicker, so watering needs to be done more frequently.
Calla Lily care
Plants such as Calla Lilies grow easily outside in tropical climates. During the summer, Calla Lilies die and regrow, but in colder zones, they are planted as annuals. Keep this plant healthy by recreating its natural habitat with warmth, light, and moisture. Their growth is from a rhizome, not a bulb, which is a key indication that they are not true lilies. Fertilizer promotes the growth of flowers, just as it does with other flowering plants.
Watering for Calla Lily
As soon as the rhizomes are established, you can water them once a week or more frequently if the weather is particularly hot or drought-like. Indoor Calla Lilies require constant moisture since pots dry out more quickly than ground plantings. The first inch or two of the soil must be watered when calla plants are grown in containers. The plants should then be watered thoroughly and deeply.
In case you missed it: How to Grow Watermelon Faster: Best Tips to increase Flowering, Fruiting, and Production Yield
Required temperature and humidity for growing Calla Lily
Cala lilies prefer temperatures between 17°C and 27°C in a fairly warm environment. Additionally, they enjoy a decent amount of humidity and moisture, so humid summers keep the flowers blooming. The plants enter a dormant state when the temperature drops below 10°C. Rhizomes should be dug up before freezing temperatures occur so they can overwinter. These ideal temperatures should be maintained if potted Calla Lilies are grown as houseplants through the winter. The plant can die from frost.
Fertilizer application for Calla Lily
Calla Lilies require feeding during planting and every spring at the beginning of the growing season to produce bountiful blooms. Well-balanced fertilizers will work just fine. It is best not to use a blend with a lot of nitrogen; it will reduce the plant’s flowering.
Overwintering of Calla Lily
If you live in a cooler climate, you can dig up and overwinter the rhizomes or buy new ones each year. Gently brush off any dirt that remains after digging up a rhizome. Rhizomes of the Calla Lily should not be washed or watered since that can lead to fungal root rot. The foliage should be cut off the tops of the rhizomes. It is recommended that rhizomes be left to dry for four to seven days in a well-ventilated, warm location.
In winter, the Calla Lily rhizome’s outer skin toughens up or cures, which is important for its health. Once the Calla Lily rhizomes have dried, please place them in a paper bag or wrap them separately in the newspaper. Then, store these rhizomes in a cool, dry place between 10°C and 15°C. Garages and basements are usually suitable.
Deadheading Calla Lily
Enhance the plant’s appearance by removing the blossoms. Next, cut the stem near the base with a pair of garden shears or scissors. Leave a small stub of the stem near the base of the plant if any bare stems are sticking out through the leaves.
Pruning Calla Lily plants
It is unnecessary to prune Calla Lilies regularly, but you can remove wilted flower parts. If you remove parts of it, there is no danger of killing this plant. The stems should be pinched just below the base of the flower with your fingertips, or sterilized pruning shears should be used. As soon as it dies back at the end of the growing season, cut it down to the soil level and dispose of any plant debris. There will be a return of it in the spring. When working with this plant, gloves should be worn to avoid touching the sap.
In case you missed it: How to Grow Green Chilli Peppers Faster: Best Tips to Increase Flowering, Fruiting, and Production Yield
Common pests and diseases in Calla Lily
Diseases
| Disease | Cause and Symptoms | Control |
| Soft rot | Caused by Erwinia Carotovora. The soft rot infection begins in the upper portion of the corm and progresses upward into leaf and flower stalks or down into roots. Affected plants appear stunted, and leaves turn yellow. | Adding calcium to the media and avoiding excessive use of nitrogen fertilizer may help reduce the severity of soft rot. |
Botrytis | A fungal disease causes a filmy grey mold to grow plants’ petals, stems, and leaves. | To reduce the risk of this disease, don’t overwater the plants, and make sure to plant your Calla Lilies far enough apart, so they have ample air circulation. |
Pests
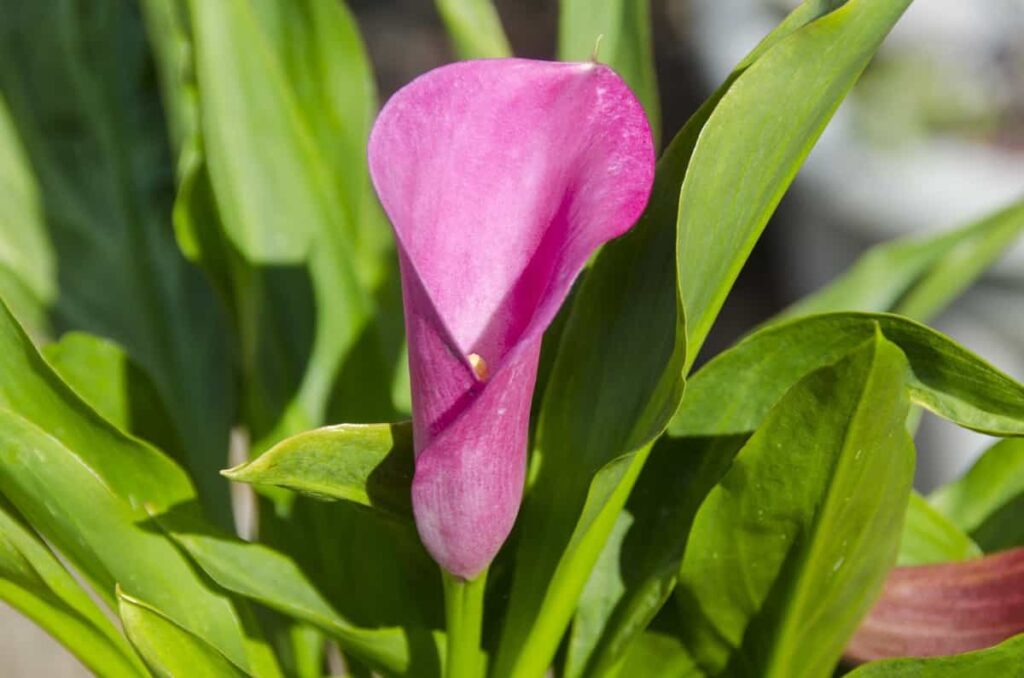
Various pests can attack Calla Lilies, including aphids, slugs, and spider mites. You can combat these problems using horticultural oils such as neem oil or mild insecticidal soap.
Common problems with Calla Lily
The cultivation of Calla Lilies is generally easy. Other than regular watering, they don’t require much attention. Nevertheless, they can suffer if they do not receive the nutrition they need.
A. Brown edges of leaves
A brown leaf edge may indicate that your fertilizer contains too much nitrogen. If your plant grows fast and looks lush, but the leaves have brown edges, a nitrogen-rich fertilizer may be the cause. You will also likely not see blooms on your plant. Floppy stems can be prevented by choosing a fertilizer that is well-balanced and does not contain an excessive amount of nitrogen. A 5-10-5 or 5-10-10 NPK product should be used to overcome this problem.
B. Yellowing leaves, wilting, or stunted growth
Water is a favorite of Calla Lilies. If they don’t get enough water, they may not bloom, look stunted, and have yellowed and wilted leaves. Maintain healthy foliage and encourage flowering by watering Calla Lilies consistently. Lack of sunlight can also stunt growth. Planting them somewhere shady is not a good idea. The flowers will not bloom. The growth of Calla Lilies will be stunted if they receive too little light. You will need to transplant your Calla Lilies if you think they are not blooming because they are getting too little light.
C. Drooping stems and flowers
Too little or too much water can cause plants to droop. In addition, too much nitrogen in fertilizer can cause stems and flowers to droop. Water will help it perk up if it does not have enough water.
How long do potted Calla Lilies last
It is easy to grow Calla Lilies, yet they are so elegant. They can be grown indoors during winter and outdoors during summer so that we can grow them all year round. In an active growth state, Calla Lilies can last approximately four months. The first six weeks are spent growing foliage, followed by six to eight weeks blooming. As the plant becomes dormant, the foliage begins to yellow and fade
After a period of dormancy, the Calla Lily rhizome will rebloom. They are sleek, elegant cut flowers with pliable stems that are easily curved into graceful silhouettes. Handling their delicate blooms with care is important since they bruise easily. Calla Lilies are available year-round and should stay fresh for 7 to 10 days.
Conclusion
As a cut flower, the Calla Lily makes a strong statement. Plants like Calla Lilies flower for a long time and can make wonderful indoor and outdoor plants. So gifting them is also a great idea. With the right care, these beautiful flowers can be kept for many years after they are done blooming.
- Profitable Village Farming Business Ideas in 2024
- High-Yield Aquaculture: Fast-Growing Fish for Farming
- Effective Fish Pond Construction Techniques for Beginners
- Irrigation and Water Management in Pineapple Farming
- Blossom to Harvest: Mastering Flowering and Pollination in Papaya Farming
- Pig Fattening Essentials: From Selection to Sale for Beginners
- Raising Wagyu Cattle: A Complete Guide for Premium Beef Production
- Soil Types and Their Water Holding Capacity
- Optimizing Irrigation Schedules for Coconut Groves for Enhanced Yield
- Espresso Your Garden: Coffee Grounds for Healthier Acid-Loving Plants
- The Best Soil Mix for Snake Plants: How to Mix Your Own Snake Plant Soil
- Green Thumb Success: Expert Tips for Cultivating Greenhouse Beans All Year Round
- Bloom All Year Round: The Ultimate Guide to Indoor Hyacinth Care
- Eco-Friendly Gardening: How to Make Liquid Fertilizer from Kitchen Waste
- Ultimate Guide to Grow Anise in Pots: Explore Seed Propagation to Harvesting
- Guide to Raising Chester White Pigs: Discover Breed Facts to Growth Management
- Mastering the Elegance: The Ultimate Guide to Weeping Cherry Tree Care, Planting, and Maintenance
- Ultimate Guide to Planting Garlic in Grow Bags: Growing Strategies for Beginners
- How to Fix Spider Plant Leaf-Related Problems: Natural and Organic Remedies
- 10 Reasons Why Your Tulsi Plant is Shedding Leaves: Home Remedies and Solutions
- Optimizing Growth and Yield: The Advantages of Palm Bunch Ash Fertilizer
- Utilizing Neem Oil Extract as a Natural Pesticide for Hydrangea
- From Soil to Harvest: Various Ways in Which Farmers Can Use AI Tools
- Steps to Encourage and Induce Citrus Flowers: A Comprehensive Guide
- How to Fix Snake Plant Leaf-Related Issues: Natural and Organic Remedies
- Transform Your Garden into a Fragrant Oasis with Raat Ki Rani (Night Blooming Jasmine)
- Discover the Ideal Chicken Breeds for Philippine Farms
- How to Create a Poultry Egg Farm Business Plan for Profits
- Grow Lemon Cucumbers Like a Pro: Insider Techniques for Bountiful Yields
- Ultimate Guide to Caring for Your Pink Princess Philodendron: Tips for Thriving Variegation
- Areca Nut Profit Per Acre: Calculating Yield and Cost of Cultivation
- How Kaveri Chicken is Becoming a More Profitable Breed in Indian Backyards
- Transform Your Barn: 9 Steps to Convert a Horse Stall into a Chicken Coop
- Exploring Suffolk Sheep Disadvantages with Limitations and Challenges
- Guide to Solving Potted Lemon Tree Problems: How to Revive Lemon Tree in Containers
- Steps to Encourage Female Pumpkin Flowers: Best Strategies for More Flowers and High Yields
