Microgreens have several advantages over other homegrown vegetables. Your meals will taste, look better, and have more nutrition when growing alfalfa microgreens. There are endless possibilities with these flavorful greens, from salads to sandwiches. Aside from that, they are packed with vitamins and minerals that can boost your health. You should consider growing alfalfa microgreens if you have a garden or home.
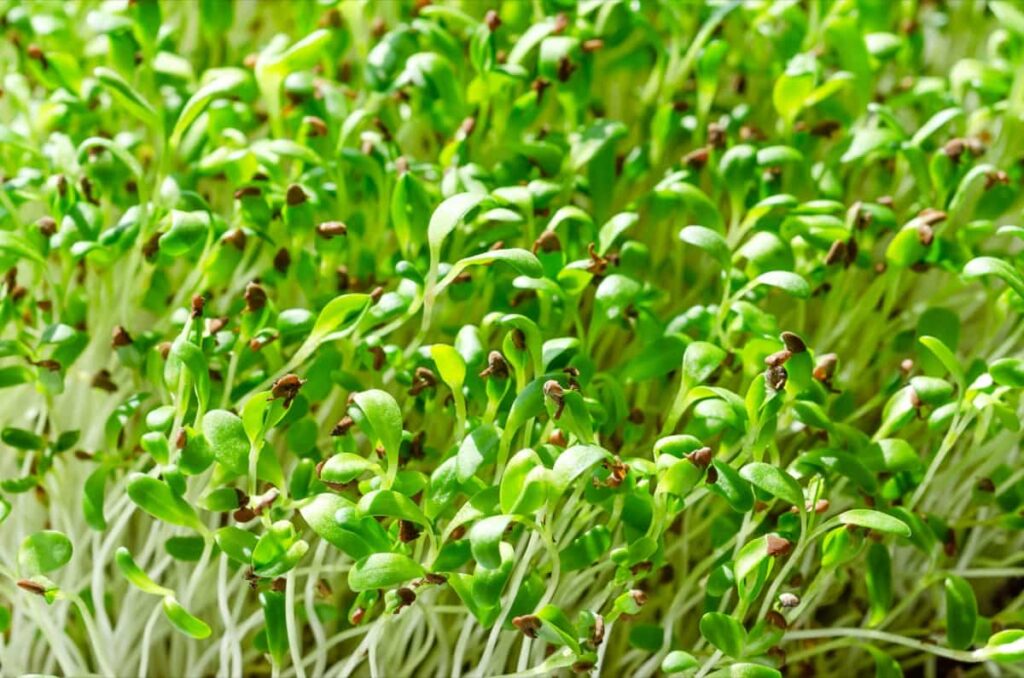
It is incredibly easy to grow alfalfa microgreens. You can have fresh greens ready for harvest in as little as two weeks with some soil, water, and sunshine. There’s no need to weed or fertilize – just let nature take care of it. In addition, Alfalfa microgreens require very little maintenance; once planted, they will continue to produce until harvested.
How to Grow Alfalfa Microgreens from Seed
Alfalfa Microgreen growers should remember these nine valuable instructions when growing microgreens. It will be easy for you to grow microgreens at home that are fresh, tasty, and nutritious.
- The first step is to choose a container, tray, or pot to grow your Alfalfa Microgreens, then fill it with three to four inches of soil. As the roots of the microgreens are small, this amount of soil is sufficient.
- Sow the seed in the container after you fill it with soil. Seeds need only be sprinkled on the soil’s surface; an uneven sprinkle works fine. All that needs to be done is for the soil to catch and absorb the seed, and the plant will do the rest.
- Spreading a thin layer of soil on top of the seed in the container should cover it. You can settle seeds in the soil by gently stroking your palm over it.
- You should avoid overwatering the soil, but it needs good moisture. There should not be any overflow of water from the container. It is enough to sprinkle water. It does not require heavy pouring pressure.
- The temperature at which microgreens grow should be moderate to ensure their success. The temperature should not fall below room temperature until the germination process begins. The microgreens should be kept in the sun for 3-4 hours each day after the germination process begins.
In case you missed it: How to Start and Succeed with Microgreens Business Plan
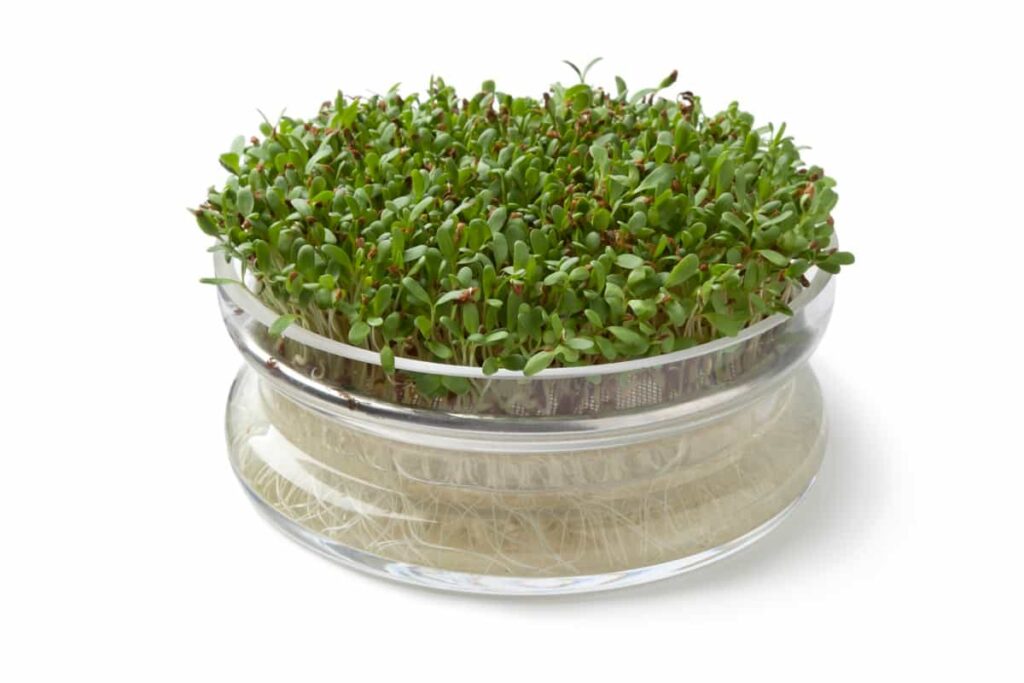
- For alfalfa microgreens to grow successfully, water them twice daily. Three to four days after planting, small leaves appear on the soil’s surface, along with tiny buds.
- Your microgreens will take one week to grow. In a week, the container will be filled with alfalfa microgreens. Then, you can either cut them immediately or let them grow longer for a few days.
- Your hasty cutting can destroy microgreens. Harvesting microgreens requires a great deal of care. A pair of scissors can be used to cut them. When you cut them, make sure you hold them at the roots. A second method for harvesting microgreens is to carefully pluck them out with intact roots, although this could damage them if not handled carefully.
- If you have reached this point, you have successfully completed the microgreen growing process. Now you can thoroughly wash them with cold, clean water. Let them dry out in the sun. You can wrap them in kitchen paper and store them in the refrigerator.
In case you missed it: How to Start Microgreens Vertical Farming: For Indoors, Greenhouse, Growing Tips, Cost, and Benefits
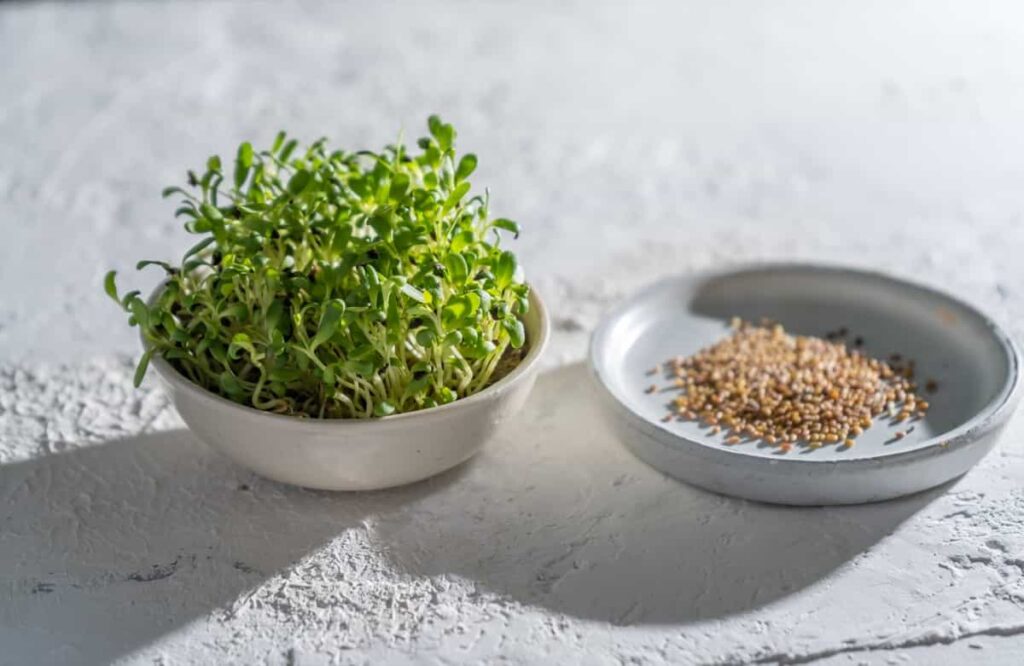
Troubleshooting Tips In Growing Alfalfa Microgreens
Growing alfalfa microgreens can be tricky, even when you think it’s as easy as it sounds. Challenges can always derail the process and leave you frustrated. Your efforts won’t be wasted if you follow these troubleshooting tips:
- Ensure proper temperature – For optimal growth, alfalfa microgreens should be kept at 18-24°C.
- Monitor air circulation – The air movement ensures mold and mildew do not build up on the soil surface.
- Check water level regularly – Overwatering, or underwatering will cause germination not to take place, so maintain a moist but not soggy soil.
- Thin seedlings, if necessary – Overcrowded plants should be thinned to allow others to grow properly without competing for nutrients.
What Pests/Diseases Can Damage Microgreens And How To Stop Them?
Botrytis
The fungus botrytis causes a gray mold on the leaves, damaging them. Wet and cold conditions are to blame for this. Instead of watering directly on the plant, you can water the tray side. It is important to ensure good air circulation to prevent the growth of fungi.
Root Rots
The cause of root deterioration on seeding is pathogens. Remove the plant if you notice root deterioration, and ensure the soil is well drained.
In case you missed it: How to Grow Microgreens from Seed to Harvest: Check How this Guide Helps Beginners

Damping-Off
When starting, damping-off is a common problem. It looks healthy at first, but eventually, it droops and dies. In moist environments, it grows vigorously due to the fungus. Water less often if the soil is excessively wet.
Flea Beetles
The flea beetle eats up the foliage. Rotating crops with other plants can prevent flea beetles from damaging your crops. If you want to protect the plants from damage, you can use a floating row.
Danger of Slugs
Slugs eat plants’ foliage and create holes in them. When the weather is wet, they usually appear at night. Making holes in the ground, filling them with beer, and putting a cup or bowl in the holes could attract them to traps.
Aphids
Under the leaves, aphids remain hidden from view, and the disease spreads. As a result of the residues left behind by aphids, ants are attracted to the plants. To combat aphids, beetles, and wasps need to develop natural resistance. In any case, you can spray strong insecticides.
What Do Alfalfa Microgreens Taste Like?
Due to their mild flavor, they make a good accompaniment to almost any dish or can even be eaten on their own. You can harvest alfalfa microgreens a little later when you grow them. Each day has a different flavor; choose the day that suits your taste buds best.
In case you missed it: Optimizing Coconut Orchard Operations: A Comprehensive Management Guide for Month-wise Planning
Conclusion
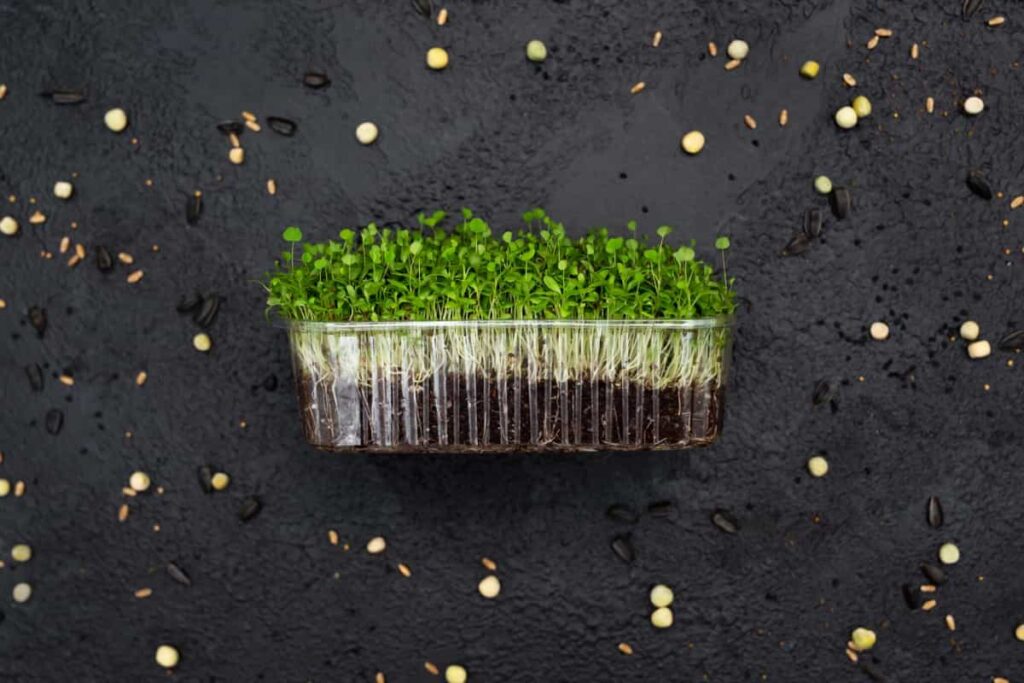
Microgreens made from alfalfa are incredibly healthy. Alfalfa microgreens are easy to grow, so you shouldn’t have too many problems. The plants need to be tended to every 12 hours for six days, but this shouldn’t be a problem for most people. The result will be an incredibly nutritious salad leaf that you can use in a wide range of dishes if you are willing to put in the effort.
- Profitable Village Farming Business Ideas in 2024
- High-Yield Aquaculture: Fast-Growing Fish for Farming
- Effective Fish Pond Construction Techniques for Beginners
- Irrigation and Water Management in Pineapple Farming
- Blossom to Harvest: Mastering Flowering and Pollination in Papaya Farming
- Pig Fattening Essentials: From Selection to Sale for Beginners
- Raising Wagyu Cattle: A Complete Guide for Premium Beef Production
- Soil Types and Their Water Holding Capacity
- Optimizing Irrigation Schedules for Coconut Groves for Enhanced Yield
- Espresso Your Garden: Coffee Grounds for Healthier Acid-Loving Plants
- The Best Soil Mix for Snake Plants: How to Mix Your Own Snake Plant Soil
- Green Thumb Success: Expert Tips for Cultivating Greenhouse Beans All Year Round
- Bloom All Year Round: The Ultimate Guide to Indoor Hyacinth Care
- Eco-Friendly Gardening: How to Make Liquid Fertilizer from Kitchen Waste
- Ultimate Guide to Grow Anise in Pots: Explore Seed Propagation to Harvesting
- Guide to Raising Chester White Pigs: Discover Breed Facts to Growth Management
- Mastering the Elegance: The Ultimate Guide to Weeping Cherry Tree Care, Planting, and Maintenance
- Ultimate Guide to Planting Garlic in Grow Bags: Growing Strategies for Beginners
- How to Fix Spider Plant Leaf-Related Problems: Natural and Organic Remedies
- 10 Reasons Why Your Tulsi Plant is Shedding Leaves: Home Remedies and Solutions
- Optimizing Growth and Yield: The Advantages of Palm Bunch Ash Fertilizer
- Utilizing Neem Oil Extract as a Natural Pesticide for Hydrangea
- From Soil to Harvest: Various Ways in Which Farmers Can Use AI Tools
- Steps to Encourage and Induce Citrus Flowers: A Comprehensive Guide
- How to Fix Snake Plant Leaf-Related Issues: Natural and Organic Remedies
- Transform Your Garden into a Fragrant Oasis with Raat Ki Rani (Night Blooming Jasmine)
- Discover the Ideal Chicken Breeds for Philippine Farms
- How to Create a Poultry Egg Farm Business Plan for Profits
- Grow Lemon Cucumbers Like a Pro: Insider Techniques for Bountiful Yields
- Ultimate Guide to Caring for Your Pink Princess Philodendron: Tips for Thriving Variegation
- Areca Nut Profit Per Acre: Calculating Yield and Cost of Cultivation
- How Kaveri Chicken is Becoming a More Profitable Breed in Indian Backyards
- Transform Your Barn: 9 Steps to Convert a Horse Stall into a Chicken Coop
- Exploring Suffolk Sheep Disadvantages with Limitations and Challenges
- Guide to Solving Potted Lemon Tree Problems: How to Revive Lemon Tree in Containers
- Steps to Encourage Female Pumpkin Flowers: Best Strategies for More Flowers and High Yields
