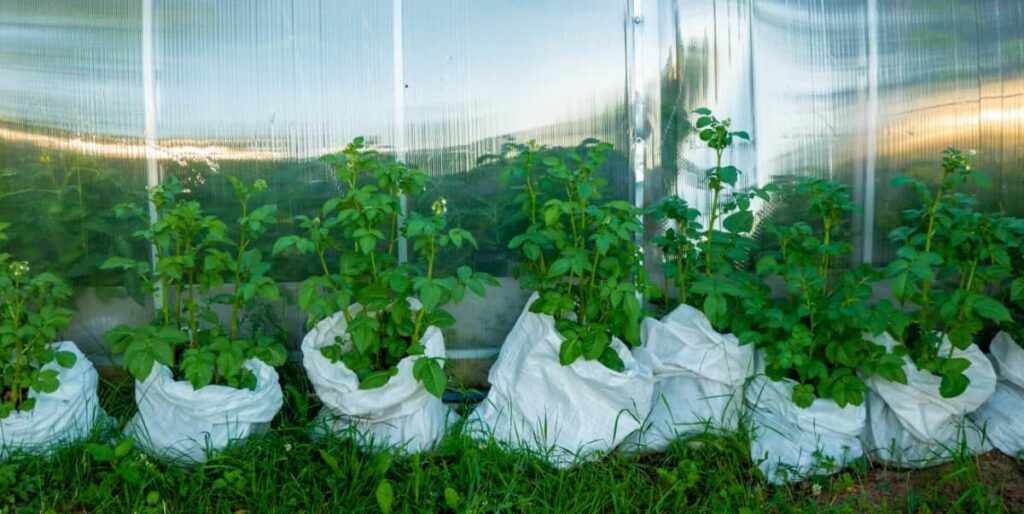
Growing potatoes in grow bags is a convenient and space-efficient way to cultivate this versatile vegetable, especially for those with limited garden space or poor soil conditions. Grow bags are portable containers made of sturdy, breathable fabric that allow for proper aeration and drainage, which are vital for healthy root development. Here is how to grow potatoes in bags.
Introduction to Growing Potatoes in Grow Bags
Benefits of Using Grow Bags
- This is particularly advantageous for urban gardeners or those with limited gardening space.
- Grow bags are portable, making them easy to move around as needed to optimize sunlight exposure or protect plants from adverse weather conditions.
- Grow bags typically have superior drainage compared to traditional garden beds, reducing the risk of waterlogging and associated issues such as root rot.
Types of Potatoes Best Suited for Grow Bags
- Early Varieties: Early potato varieties such as ‘Yukon Gold,’ ‘Red Norland,’ and ‘Russian Banana’ are the best potatoes for grow bags.
- Compact Varieties: Choose potato varieties that produce smaller plants and compact tubers, such as ‘French Fingerling,’ ‘Adirondack Blue,’ and ‘German Butterball.’
- Determinate Varieties: Potatoes categorized as determinate produce a compact bush-like plant, which is advantageous for grow bags. Varieties such as ‘Yukon Gem’ and ‘Red Pontiac’ are well suited for grow bag gardening for potatoes.

Choosing the Right Grow Bags
Size and Material Considerations: Grow Bag Sizes For Potatoes
Opt for bags with a capacity of at least 5 gallons to accommodate the potato plant’s root system adequately with potato grow bags with side opening. Fabric grow bags made from breathable materials like geotextile fabric or felt are ideal. Ensure the material is durable and UV-resistant to withstand outdoor conditions. Avoid plastic bags, as they can trap excess moisture and lead to root rot.
Drainage and Aeration Features
Choose bags with drainage holes at the bottom to prevent water accumulation and ensure excess moisture can escape freely. Some grow bags feature additional side or bottom vents to enhance aeration and root oxygenation. These features facilitate the exchange of gases and prevent the soil from becoming compacted, promoting robust root development.
Soil and Compost Mix for Potatoes
Preparing the Perfect Soil Mix
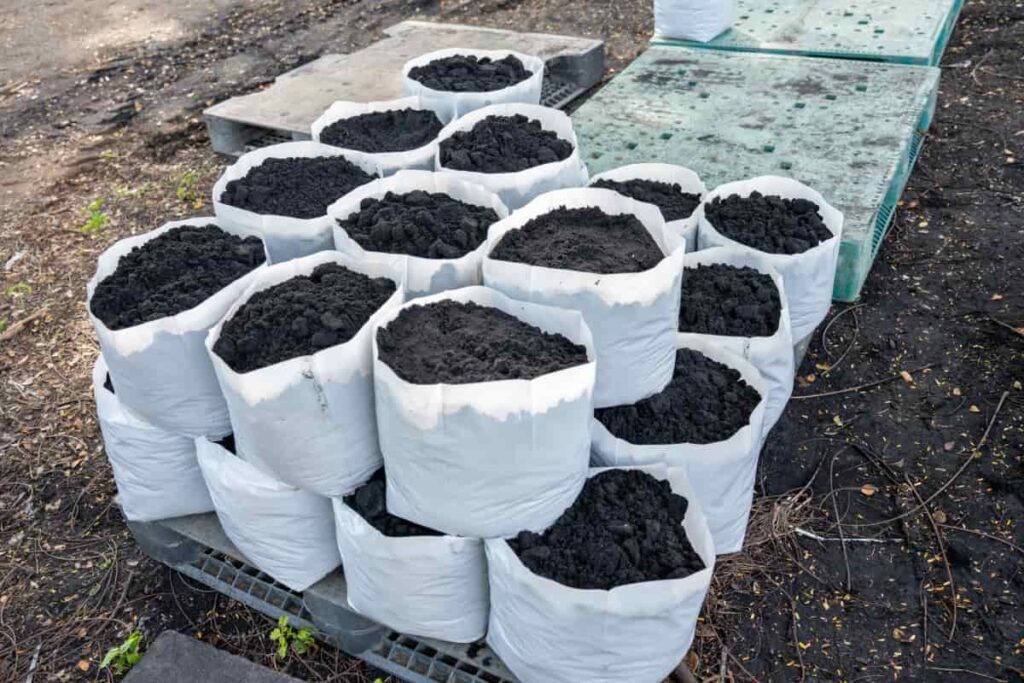
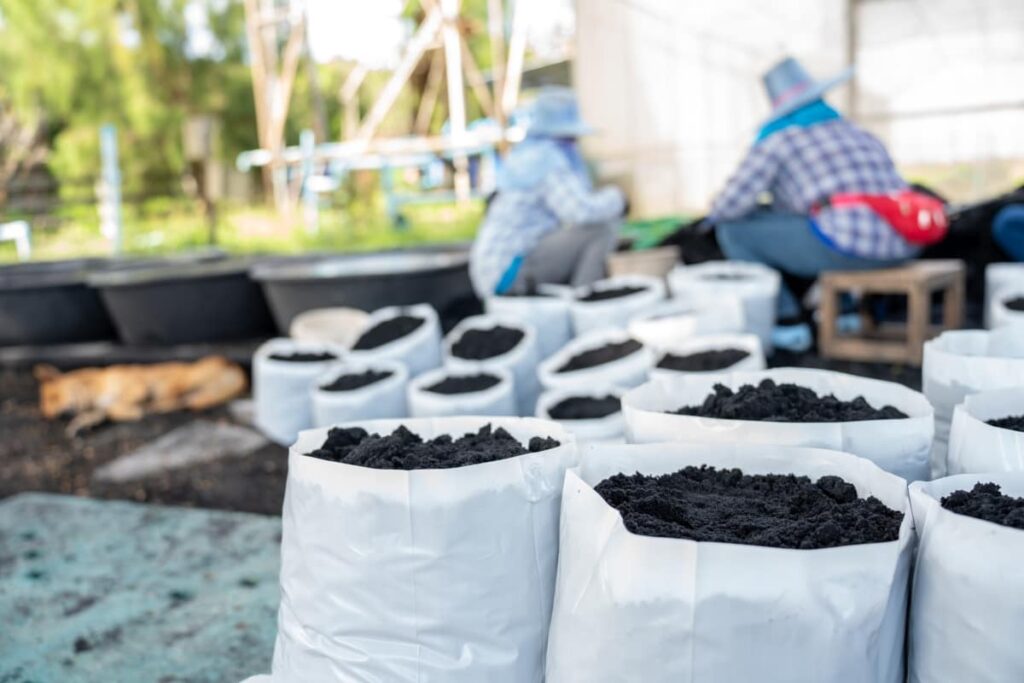
A well-draining, nutrient-rich soil mix for potatoes in bags by mixing equal parts of high-quality garden soil, compost, and aged manure or composted chicken litter. Add perlite or else coarse sand to improve soil structure and aeration, ensuring optimal root growth. For the best soil mix for growing potatoes in bags, aim for a loose, crumbly texture that allows for easy root penetration and water movement.
Nutrient Requirements for Potatoes
Potatoes require a balanced supply of nitrogen (N), phosphorus (P), and potassium (K), with additional micronutrients such as calcium, magnesium, and sulfur. Incorporate a balanced fertilizer with an N-P-K ratio of around 5-10-10 or similar into the soil mix before planting.
Planting Process
Chitting Potatoes Before Planting
Potato chitting for grow bags, or pre-sprouting, planting potatoes in grow bags indoors before planting can help jumpstart their growth and lead to earlier harvests. To chit potatoes, place them in a cool, bright location with the eyes facing upward in egg cartons or trays. Allow the potatoes to develop short, sturdy sprouts, typically 1-2 inches in length, over 4-6 weeks before planting.
How Deep to Plant Your Potatoes
While Planting potatoes in grow bags, the depth at which you plant your potatoes depends on the type of potato and the stage of growth. Generally, grow bag potato planting depth 3-4 inches deep in the soil. Place the chitted seed potatoes with the sprouts facing upward and cover them with soil. As the plants grow, gradually mound soil around the stems, leaving only a few inches exposed.
In case you missed it: How to Grow Potatoes in Raised Bed Trenches: A Step-by-Step Guide

Watering and Moisture Management
Ideal Watering Schedule
As a general rule, aim to keep the soil evenly moist but not waterlogged. Water thoroughly whenever the top soil is dry, typically every 2-3 days during warm weather. Adjust the frequency of watering potatoes in grow bags based on rainfall and humidity levels, ensuring the soil remains consistently moist throughout the season. Avoid allowing the soil to dry completely between successive watering sessions, as this can stress the plants and lead to reduced yields.
Tips for Preventing Overwatering and Underwatering
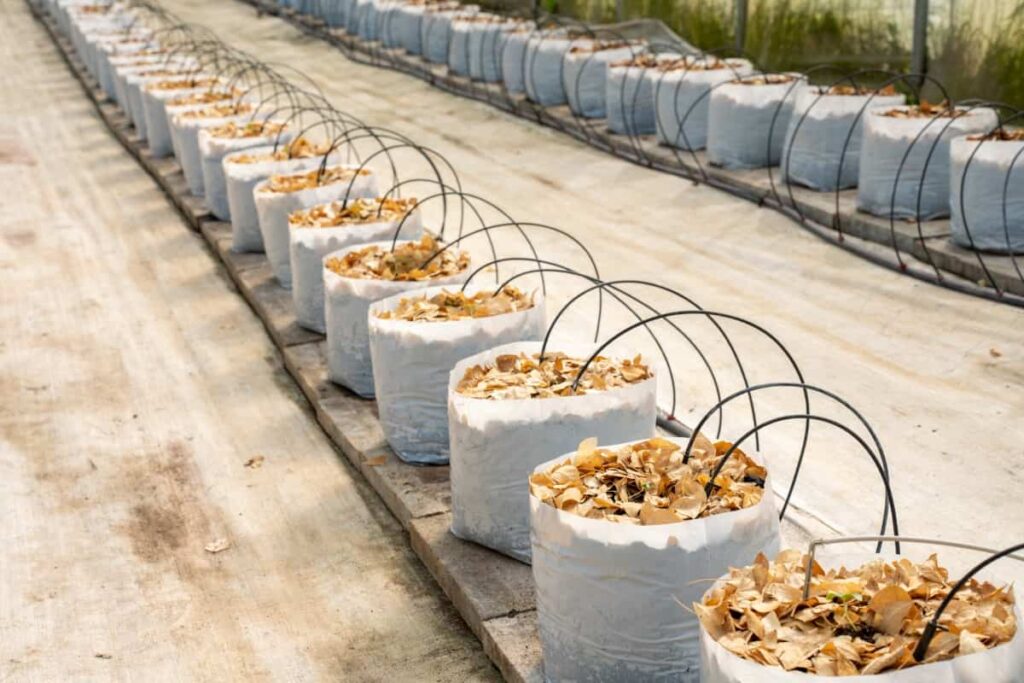
Allow excess water to escape freely to prevent waterlogging and root rot. Use a moisture meter to know the soil moisture levels before watering, avoiding unnecessary irrigation if the soil is already adequately moist. To prevent underwatering, monitor plants regularly for signs of wilting or drooping foliage, which indicates dry soil conditions. Adjust the potato grow bag watering schedule accordingly to maintain optimal moisture levels. Mulch the plant’s base to retain moisture and reduce evaporation.
Fertilization and Feeding
Choosing the Right Fertilizer
For fertilizing potatoes in grow bags, opt for a balanced, all-purpose fertilizer with a formulation such as 5-10-10. Alternatively, choose a fertilizer specifically formulated for root crops or potatoes with higher potassium content to support tuber development. Organic options such as compost, well-rotted manure, or fish emulsion are also suitable for feeding potatoes.
Feeding Schedule for Optimal Growth
Apply fertilizer or compost when planting, mixing it thoroughly into the soil or grow bag. Side-dress additional fertilizer or compost around the base of the plants once they begin actively growing, typically 3-4 weeks after planting and again at mid-season. Water-soluble fertilizers can also be applied as a foliar spray every 2-4 weeks during the growing season.
Staking and Supporting Potatoes in Grow Bags
The Importance of Support
Staking and supporting potato plants in grow bags is essential for preventing them from sprawling or toppling over as they grow. Proper support helps keep the plants upright, maximizing sunlight exposure to the entire plant and promoting even tuber development. Staking also facilitates better air circulation around the plants, reducing the risk of late blight.
DIY Support Structures
Simple support options for DIY potato grow bags include inserting sturdy wooden or bamboo stakes into the soil near the edges of the grow bag and tying the plants to the stakes using garden twine or soft ties. Alternatively, create a cage-like support structure using wire mesh or chicken wire, forming a cylinder around the plants and securing it to the edges of the grow bag.
In case you missed it: Unlocking the Secrets of Optimal Fertilizer Requirements for Potato Crop

Pest and Disease Management
Common Pests and Diseases
Common pests include potato beetles, aphids, and slugs, which feed on foliage and tubers, causing damage. Diseases such as late blight, early blight, and potato scab can also impact potato plants, leading to leaf discoloration, wilting, and reduced tuber quality. Proper identification of pests and diseases is essential for effective management and prevention of damage to potato crops.
Organic Control Methods
Encourage natural predators like ladybugs, lacewings, and parasitic wasps to control pest populations. Handpick and remove pests like potato beetles and caterpillars from plants, especially during the early stages of infestation. To prevent pests in potato grow bags, use barriers like row covers to protect your potato plants from pests such as aphids and flea beetles. Apply organic insecticidal soaps or neem oil to control soft-bodied pests while minimizing harm to beneficial insects.
Problems with Growing Potatoes in Bags
Grow bags may require more frequent watering than traditional garden beds due to their limited soil volume and increased evaporation. Additionally, nutrient depletion can occur more rapidly in confined spaces, necessitating regular fertilization. Adequate support is crucial to prevent bags from toppling over as plants grow. Vigilance against pests and diseases is essential, as grow bags may offer less protection compared to raised beds.
Harvesting Potatoes from Grow Bags
Signs Your Potatoes Are Ready to Harvest
Monitor the plants for signs of maturity, including yellowing and dying foliage, which indicates that the potatoes are ready to harvest. Additionally, gently probe the soil around the base of the plants to feel for mature tubers. Harvest potatoes when they reach the desired size for eating or storage, typically 2-3 weeks after the foliage has died back completely.
How to Harvest without Damaging the Plant
For harvesting potatoes from grow bags, carefully loosen the soil around the base of the plants using a garden fork or trowel. Work gradually to avoid puncturing or slicing tubers with the tool. Once the soil is loosened, gently reach in and lift the tubers from the soil by hand, being careful not to pull or tug excessively on the stems. Shake off excess soil and inspect the tubers for damage or disease before storing or consuming.
In case you missed it: How to Grow Potato Plants Faster: Best Tips to Increase Flowering, Fruiting, and Yield

Conclusion
Growing potatoes in grow bags presents a convenient and space-saving option for home gardeners. By following this guide, you can enjoy a bountiful harvest of homegrown potatoes even in limited gardening spaces. With care and attention to detail, success is achievable in maximizing potato yield in grow bags.
- Profitable Village Farming Business Ideas in 2024
- High-Yield Aquaculture: Fast-Growing Fish for Farming
- Effective Fish Pond Construction Techniques for Beginners
- Irrigation and Water Management in Pineapple Farming
- Blossom to Harvest: Mastering Flowering and Pollination in Papaya Farming
- Pig Fattening Essentials: From Selection to Sale for Beginners
- Raising Wagyu Cattle: A Complete Guide for Premium Beef Production
- Soil Types and Their Water Holding Capacity
- Optimizing Irrigation Schedules for Coconut Groves for Enhanced Yield
