Seaweed liquid fertilizer, also known as seaweed extract or kelp fertilizer, is a natural and organic plant food derived from various seaweed species. It is rich in essential nutrients, growth hormones, trace elements, amino acids, and vitamins that promote healthy plant growth. Using seaweed as fertilizer offers a sustainable, eco-friendly solution for nourishing your plants. It improves soil structure by enhancing microbial activity and nutrient availability.

14 Steps for Preparation of Seaweed Liquid Fertilizer
Selecting the Right Type of Seaweed for Liquid Fertilizer Preparation
Firstly, you must determine whether you want fresh or dried seaweed. Both options have their advantages. Fresh seaweed is rich in nutrients and enzymes, making it ideal for immediate use. It can be harvested from the beach or purchased from local suppliers. Look for seaweeds that are healthy and free from any signs of decay. On the other hand, dried seaweed is more convenient for long-term storage and transportation.
It also has a longer shelf life compared to fresh seaweed. You can easily make seaweed fertilizer from dried seaweed and find dried seaweed at garden centers or online stores. In terms of species, various types of seaweeds are available, such as kelp, bladderwrack, Irish moss, and dulse. Each species has its unique nutrient profile and benefits for plants. Consider your specific gardening needs when selecting the right type of seaweed.
Gathering Fresh Seaweed for DIY Liquid Fertilizer
Gathering fresh seaweed is crucial in preparing DIY liquid fertilizer for your plants and lawns. Not only is it cost-effective, but it also provides numerous benefits to your garden. Seaweed is rich in nutrients like nitrogen, phosphorus, potassium, and trace minerals that promote healthy plant growth. When collecting seaweed, choose a spot away from polluted waters or areas with heavy industrial activity. Look for beaches or rocky shores where seaweed tends to wash up naturally.
It’s important to be mindful of local regulations and permissions before harvesting natural resources. As you gather the seaweed, try to select various types, such as kelp, bladderwrack, or rockweed. Each type offers different nutrient profiles and can provide a well-rounded mix of beneficial elements for your homemade liquid fertilizer. Once you have collected enough fresh seaweed, rinse it with water to remove any salt or sand particles clinging to its surface. This will help prevent contamination when extracting the nutrients later on.
Preparing the Equipment and Materials Needed for Seaweed Liquid Fertilizer DIY
You’ll need a container or bucket that is large enough to hold the seaweed and allow room for fermentation. Make sure it has a tight-fitting lid to prevent any unwanted odors from escaping. You’ll require a grinder or blender to extract the seaweed’s nutrients effectively. This will help break down the dried seaweed into smaller pieces, allowing for better nutrient extraction during soaking.
In case you missed it: 10 Best Seaweed Fertilizers in India: Guide to Buy Seaweed Fertilizer at Best Price

A strainer or cheesecloth will be essential in filtering out solid particles from the fermented seaweed mixture. This step is crucial in obtaining a clear liquid fertilizer that can easily be applied to plants without clogging spray nozzles or irrigation systems. Make sure you have access to clean water for soaking and diluting purposes. It’s best to use filtered water, if possible, as tap water contains chlorine that could harm beneficial microorganisms in the fertilizer.
Harvesting and Drying Seaweed for Liquid Fertilizer Production
This process ensures that the seaweed retains its nutrients and can be efficiently extracted for use in the fertilizer. When harvesting, selecting healthy seaweed from clean waters is important. Once you’ve collected your fresh seaweed, it’s time to dry it. Drying helps preserve the nutrients and prevents spoilage during storage.
Lay the harvested seaweed on a clean surface under direct sunlight or use a dehydrator. Make sure to turn the seaweed regularly for even drying. The drying process can take several days, depending on weather conditions, so patience is key. After the dried seaweed has reached a crisp texture, store it in an airtight container away from moisture and sunlight until you’re ready to make your liquid fertilizer.
Cleaning and Washing Fresh Seaweed for Fertilizer Extraction
Cleaning the seaweed helps remove any debris or impurities that may affect the quality of the fertilizer. First, gather your fresh seaweed and rinse it thoroughly with clean water. After rinsing, fill a large container with water and submerge the cleaned seaweed. Allow it to soak for several hours or overnight. This soaking process helps further cleanse the seaweed by removing any remaining dirt or unwanted substances.
Once soaked, drain and rinse the seaweed again under running water. Gently squeeze out excess water from the seaweed, but be careful not to damage its structure. At this stage, you can extract whole pieces of washed seaweed or chop them into smaller pieces for better nutrient release during fermentation. Remember that properly cleaning and washing fresh seaweeds is crucial in ensuring a high-quality liquid fertilizer rich in nutrients for your plants and lawns.
Grinding or Chopping Dried Seaweed for Enhanced Extraction Efficiency
It is a crucial step in preparing seaweed liquid fertilizer, as it helps to enhance the extraction efficiency of nutrients from the seaweed. You can use a food processor or a mortar and pestle to grind or chop dried seaweed. The goal is to reduce the dried seaweed into fine particles that are easier to extract nutrients from.
By grinding or chopping dried seaweed before soaking it in water for extraction, you ensure that more of its beneficial compounds are released into the liquid fertilizer solution. This includes essential macronutrients like nitrogen (N), phosphorus (P), and potassium (K), as well as micronutrients such as calcium, magnesium, and iron. The liquid seaweed fertilizer NPK ratio is 1-0-4.
Soaking Seaweed in Water for the Initial Extraction Process
One crucial step in preparing seaweed liquid fertilizer is soaking the seaweed in water. This initial extraction process helps to release and dissolve the valuable nutrients present in the seaweed. To begin, gather your dried or fresh seaweed and place it into a container filled with water. Make sure to use clean, non-chlorinated water for better results. The amount of water needed will depend on how much seaweed you have.
In case you missed it: Seaweed Farming in the Philippines: Best Practices and Techniques

Allow the seaweed to soak in the water for at least 24 hours. During this time, the nutrients from the seaweed will start seeping into the water, creating a nutrient-rich solution. After 24 hours, you can strain any remaining solids from the mixture using a fine mesh sieve or cheesecloth. This will ensure a clear liquid extract free from debris or plant matter.
Fermenting the Seaweed Mixture to Enhance Nutrient Availability
During fermentation, beneficial microorganisms break down complex compounds in seaweed into simpler forms that plants can easily absorb. These microorganisms release enzymes that break down proteins, carbohydrates, and other organic matter present in seaweed. Keep the container at room temperature levels for about two weeks.
During this time, you may notice bubbling or foaming on top of the mixture, indicating fermentation. After two weeks, strain and filter the fermented mixture to remove any solid particles or debris. You are left with a concentrated liquid packed with essential nutrients ready for application.
Straining and Filtering the Fermented Seaweed Extract
This process removes any solid particles or impurities, leaving behind clean and concentrated liquid rich in nutrients. You will need a cheesecloth to strain the mixture. Place the strainer over a clean container and slowly pour the fermented seaweed extract. Once you have strained out the larger solids, it’s time to filter the liquid further.
Pour small amounts of the extracted liquid onto the filter, allowing it to seep through while slowly trapping any remaining tiny particles. It’s important to be patient during this process as it may take some time for all of the liquid to pass through. You can gently press down on the filtered material with a spoon to help speed up filtration.
Diluting the Concentrated Seaweed Extract with Water
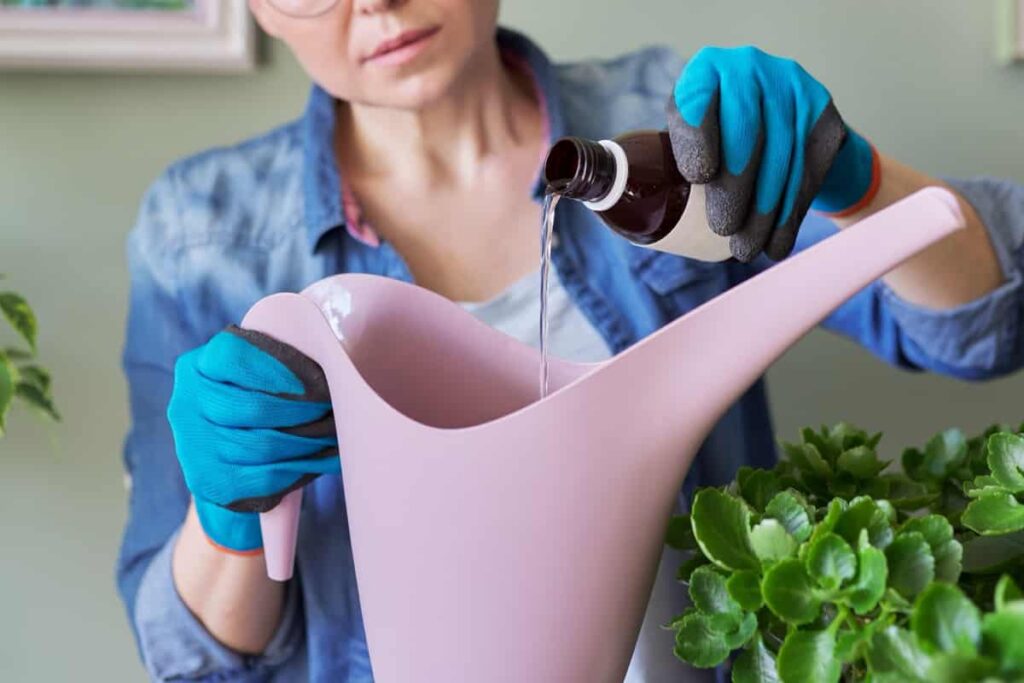
After fermenting the seaweed mixture to enhance nutrient availability, dilute it before applying liquid seaweed fertilizer to the lawn. To dilute the concentrated extract, you will need clean water. Filtered or distilled water is important to avoid impurities that could harm your plants. Fill a container with the desired amount of water based on your plant’s needs and the concentration of the extract. Next, slowly pour the concentrated seaweed extract into the water container while stirring gently.
In case you missed it: How to Start Seaweed Farming in India: Current Trend, Cost, Profits, Subsidy, Plant, and Companies

This ensures that both ingredients mix thoroughly and become well-distributed throughout the solution. The ratio for dilution may vary depending on factors such as plant type and growth stage. A 1:10 ratio is commonly recommended as a general guideline – one part concentrated extract mixed with ten parts water. After fully mixing the diluted solution, it’s ready for application using a watering can or sprayer. Remember to evenly distribute it over your plants’ foliage and root zone for maximum benefit.
Applying Seaweed Liquid Fertilizer to Plants and Lawns
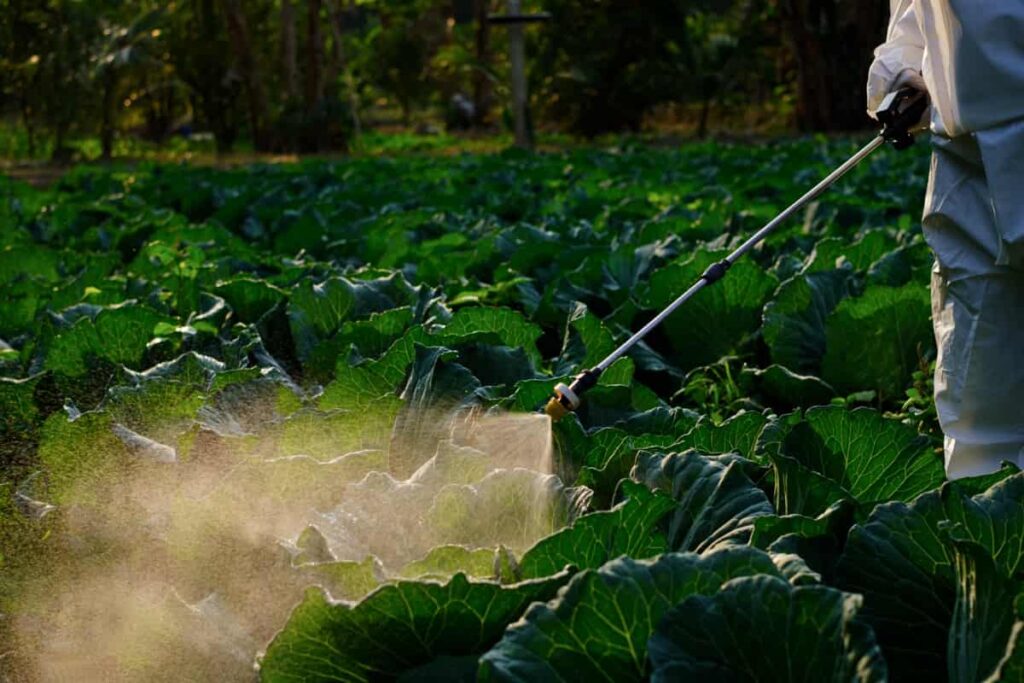
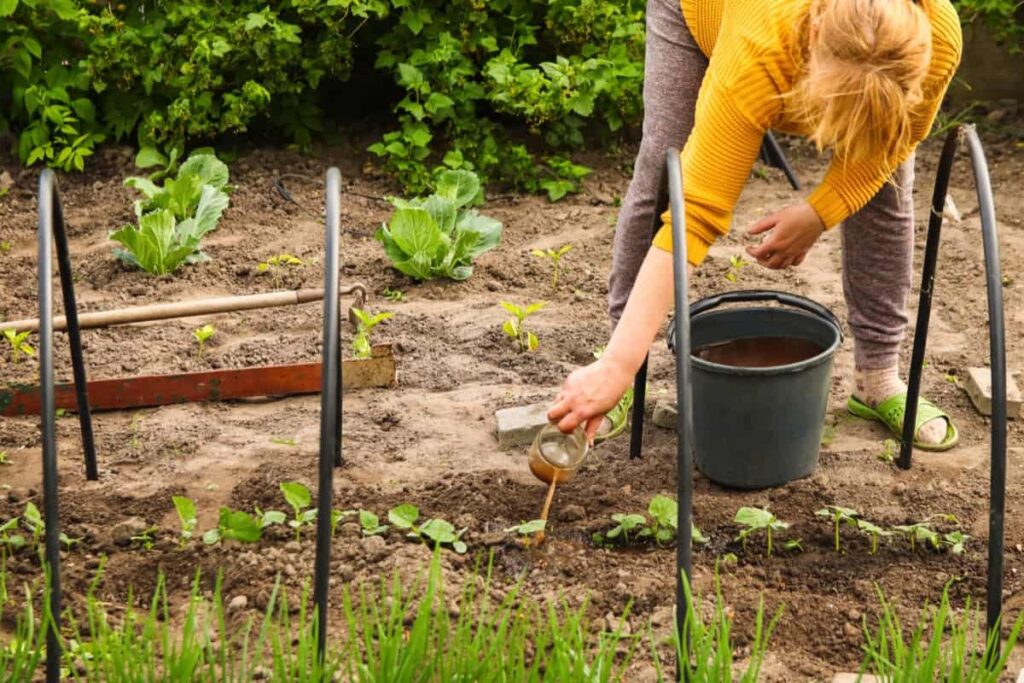
This natural and nutrient-rich solution can be applied to various plants and lawns, giving them the essential elements for healthy growth. To apply the seaweed liquid fertilizer for plants, dilute the concentrated extract with water. The ratio will depend on the specific instructions provided with your product, but typically, a 1:10 or 1:20 dilution is recommended. For best results, it is recommended to make seaweed liquid fertilizer for plants during periods of active growth, such as spring and summer.
Additionally, applying in the early morning or late afternoon when temperatures are cooler can help prevent evaporation and maximize absorption. Is seaweed liquid fertilizer good for all plants? Regular applications every two weeks or so will provide a steady nutrient supply throughout the growing season. However, always follow label instructions and adjust frequency based on plant needs. Which plants like seaweed fertilizer? Leafy greens like lettuce, spinach, and kale show improved growth and increased resistance to pests when treated with seaweed fertilizer.
Root crops like carrots, potatoes, and onions also respond positively to the added nutrients. Fruit-bearing trees like Apples, oranges, berries, and bushes love seaweed fertilizer. These plants often produce higher yields and more robust fruits when supplemented with this natural boost. Flowering plants like roses, lavender, and marigolds also appreciate the benefits of seaweed fertilizer. It helps stimulate blooming cycles while enhancing overall flower quality.
Storing and Preserving Seaweed Liquid Fertilizer for Long-Term Use
It’s important to store the seaweed liquid fertilizer in a cool and dark place. Exposure to sunlight can degrade the nutrients present in the fertilizer, reducing its efficacy. A storage area such as a cellar or garage would be ideal. Ensure the liquid containers are clean and tightly sealed to prevent contamination and spoilage. This will help retain its freshness and prevent unwanted odors from developing.
Labeling each container with the date of preparation can help keep track of when it was made. This way, you can prioritize using older batches before moving on to fresher ones, ensuring that none go to waste. Regularly checking stored batches for any signs of deterioration or mold growth is crucial.
Monitoring Plant Growth and Health after Applying Seaweed Liquid Fertilizer
It would help if you observed healthier leaves, stronger stems, and increased resistance to pests and diseases. The plants may also exhibit enhanced root development, leading to better nutrient absorption from the soil. Keep an eye on the coloration of the foliage as well. Seaweed liquid fertilizer has many advantages, and it can help promote vibrant green leaves, indicating optimal chlorophyll production.
In case you missed it: 15 Best Hydroponics Planter Outdoor Kits in India for Home Garden, Balconies, Outdoor and Office Spaces

If you notice browning of leaves after application, it could be a sign that the concentration or frequency of fertilization needs adjustment. Remember that each plant species has different requirements, so pay attention to specific signs associated with individual plants.
Troubleshooting Common Issues in Seaweed Liquid Fertilizer Preparation
One issue that may arise is an unpleasant odor during fermentation. This can happen if the seaweed is not properly cleaned or contaminants are present. To address this, thoroughly wash the seaweed before starting the extraction process and use clean equipment. Another problem could be a lack of nutrients in the final product.
If your plants show nutrient deficiency signs after applying the fertilizer, it may indicate that the extraction process was inefficient. To improve nutrient availability, consider fermenting the seaweed mixture for longer or grinding/chopping dried seaweed into smaller pieces before soaking.
Occasionally, you might notice mold growth on top of your fermented seaweed extract. This can occur if there is excess moisture or inadequate ventilation during fermentation. Cover your container with a breathable cloth instead of an airtight lid to prevent this issue and maintain proper air circulation around it. Following recommended guidelines for mixing concentrate with water is important to avoid over or under-fertilizing your plants.
Summary of Liquid Fertilizer Preparation
| Step-by-Step Process | Necessary information |
| Select the Right Type of Seaweed | Choose either fresh or dried seaweed based on availability and convenience |
| Gather Fresh Seaweed | Choose healthy-looking specimens |
| Harvest and Dry Seaweed | Harvest it from a sustainable source and dry it thoroughly before use |
| Prepare Equipment and Materials | Large container, water, grinder or chopper, fermentation vessel, strainer or cheesecloth, and storage bottles |
| Clean Fresh Seaweed | Rinse the collected fresh seaweed thoroughly to remove any dirt or debris |
| Grind Dried Seaweed | Make smaller pieces using a grinder or chop them finely with a knife |
| Soak in Water | Soak for 24-48 hours for initial extraction |
| Ferment the Mixture | Ferment for about three weeks to enhance nutrient availability |
| Strain and Filter Extracts | Separate liquid extract from solid parts like fibers |
| Dilute Concentrated Extracts | Mixing it with water at a ratio of 1 part concentrate: 20 parts water before application onto plants/lawns |
In case you missed it: Crop Harvest Calendar for Nevada: Fruits and Vegetables Season by Month Chart

Conclusion
Seaweed liquid fertilizer has gained popularity among gardeners and farmers due to its numerous benefits and importance in plant growth. One of the key advantages of using seaweed liquid fertilizer is its rich nutrient content. Seaweeds contain essential minerals, vitamins, amino acids, and hormones that promote healthy plant development. The advantage of using seaweed liquid fertilizer is its compatibility with various types of plants.
- Crops Grown in Summer Season: Best Choices for Summer Gardening
- Organic Pest Control for Tomato Farming
- How to Maximize Sheep Farming Profit
- Broccoli Varieties: Choosing the Right Cultivars for Your Farm
- How to Raise Pigs in Your Own Backyard: A Comprehensive Guide
- Budget Friendly Sheep Shed Ideas: Cheap and Low-Cost Tips
- How Much Do Cattle Farmers Make: Revenue Streams in Cattle Farming
- Management Pests and Diseases in Your Cotton Field
- Sheep Farming Business Plan for Beginners
- Aquaponic Farming at Home: A Step-By-Step Guide
- Profitable Village Farming Business Ideas in 2024
- High-Yield Aquaculture: Fast-Growing Fish for Farming
- Effective Fish Pond Construction Techniques for Beginners
- Irrigation and Water Management in Pineapple Farming
- Blossom to Harvest: Mastering Flowering and Pollination in Papaya Farming
- Pig Fattening Essentials: From Selection to Sale for Beginners
- Raising Wagyu Cattle: A Complete Guide for Premium Beef Production
- Soil Types and Their Water Holding Capacity
- Optimizing Irrigation Schedules for Coconut Groves for Enhanced Yield
- Espresso Your Garden: Coffee Grounds for Healthier Acid-Loving Plants
- The Best Soil Mix for Snake Plants: How to Mix Your Own Snake Plant Soil
- Green Thumb Success: Expert Tips for Cultivating Greenhouse Beans All Year Round
- Bloom All Year Round: The Ultimate Guide to Indoor Hyacinth Care
- Eco-Friendly Gardening: How to Make Liquid Fertilizer from Kitchen Waste
- Ultimate Guide to Grow Anise in Pots: Explore Seed Propagation to Harvesting
- Guide to Raising Chester White Pigs: Discover Breed Facts to Growth Management
- Mastering the Elegance: The Ultimate Guide to Weeping Cherry Tree Care, Planting, and Maintenance
- Ultimate Guide to Planting Garlic in Grow Bags: Growing Strategies for Beginners
- How to Fix Spider Plant Leaf-Related Problems: Natural and Organic Remedies
- 10 Reasons Why Your Tulsi Plant is Shedding Leaves: Home Remedies and Solutions
- Optimizing Growth and Yield: The Advantages of Palm Bunch Ash Fertilizer
- Utilizing Neem Oil Extract as a Natural Pesticide for Hydrangea
- From Soil to Harvest: Various Ways in Which Farmers Can Use AI Tools
- Steps to Encourage and Induce Citrus Flowers: A Comprehensive Guide
- How to Fix Snake Plant Leaf-Related Issues: Natural and Organic Remedies
- Transform Your Garden into a Fragrant Oasis with Raat Ki Rani (Night Blooming Jasmine)
