Coco peat, also called coconut coir, is a versatile organic substance derived from the husk of coconuts. It has gained immense popularity among gardening enthusiasts due to its incredible benefits and sustainable nature. Making coco peat at home can be a rewarding process that allows you to create your sustainable growing medium while reducing waste from coconut husks. One of the main reasons why making coco peat at home is important is because it allows you to customize its composition according to your specific plant needs.
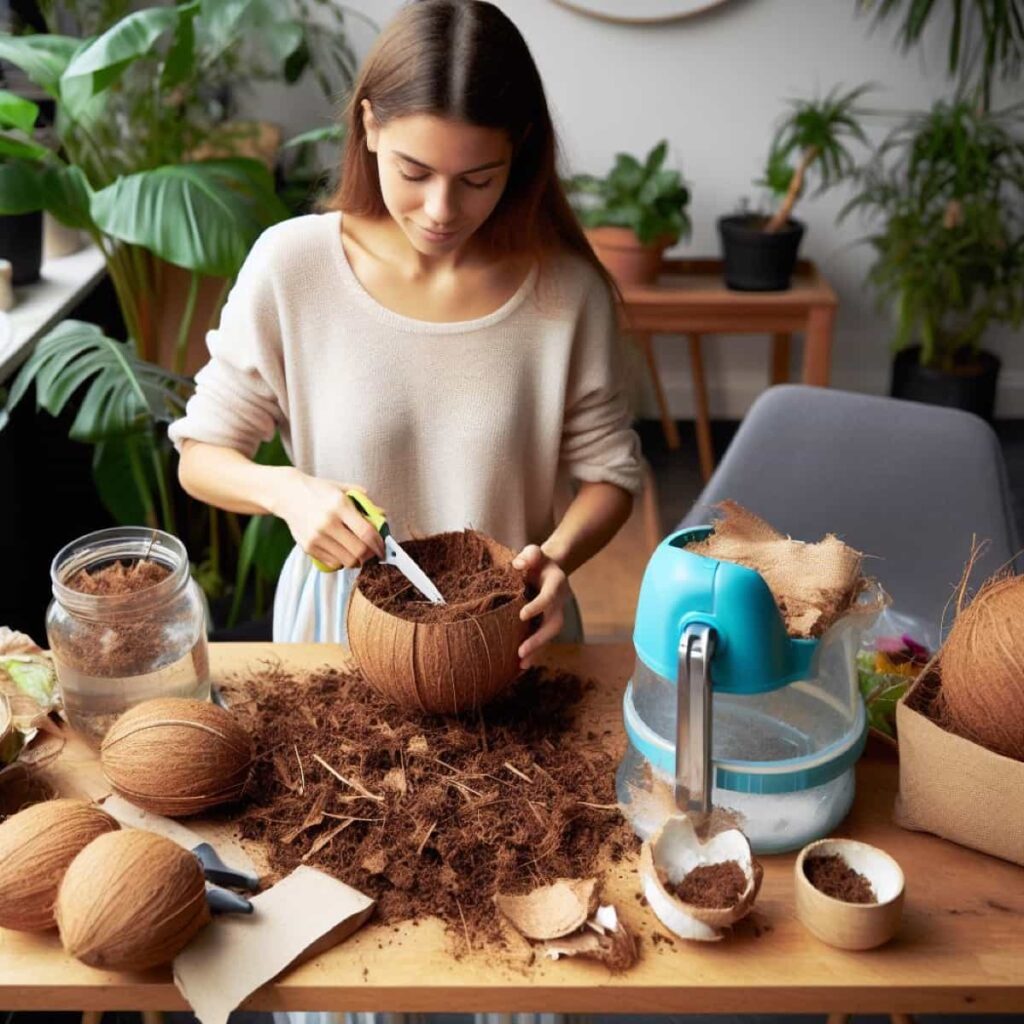
Commercially available coco peat products often contain additives or chemicals that may not be ideal for certain plants. By making your coco peat, you can ensure it is pure and free from harmful substances. Coco peat has excellent water retention properties, holding moisture much better than traditional soil alone. This ensures that plants receive adequate hydration while minimizing the risk of overwatering.
Understanding the Composition and Properties of Coco Peat
The composition of coco peat mainly consists of fibrous material obtained from coconut husks, broken down into small particles. These particles have excellent water retention capabilities while providing good drainage for plant roots. Moreover, coco peat has high porosity, allowing air circulation and preventing soil compaction. This promotes healthy root development and prevents root diseases. Additionally, it has a neutral pH level that makes it suitable for various plants’ requirements.
Furthermore, coco peat acts as an effective moisture regulator by absorbing excess water while releasing it slowly when needed by plants. This characteristic helps in maintaining optimal moisture levels in the root zone. Another property of coco peat is its ability to withstand microbial degradation for extended periods. This ensures the growing medium remains stable over time without breaking down or decomposing rapidly.
The Process of Making Coco Peat at Home: DIY Step-by-Step Guide
Sourcing Raw Materials for Coco Peat Production
Coconut husks are the outer layer of coconuts and are readily available as a byproduct from coconut farming or processing. One way to make coco peat at home from coconut to obtain coconut husks is by reaching out to local farmers or plantations who may have excess husks they are willing to sell or give away.
Another option is to visit your local market, where vendors often discard these husks after extracting the coconut meat and water. Before collecting the coconut husks, ensure they are free from mold, rot, or insect infestation. Fresh and healthy husks will yield high-quality coco peat that benefits your plants. It’s important to note that sustainability should be a consideration when sourcing raw materials for coco peat production.
In case you missed it: Best Natural Garden Pest Repellents: Homemade Organic and Natural Garden Pest Control Recipe
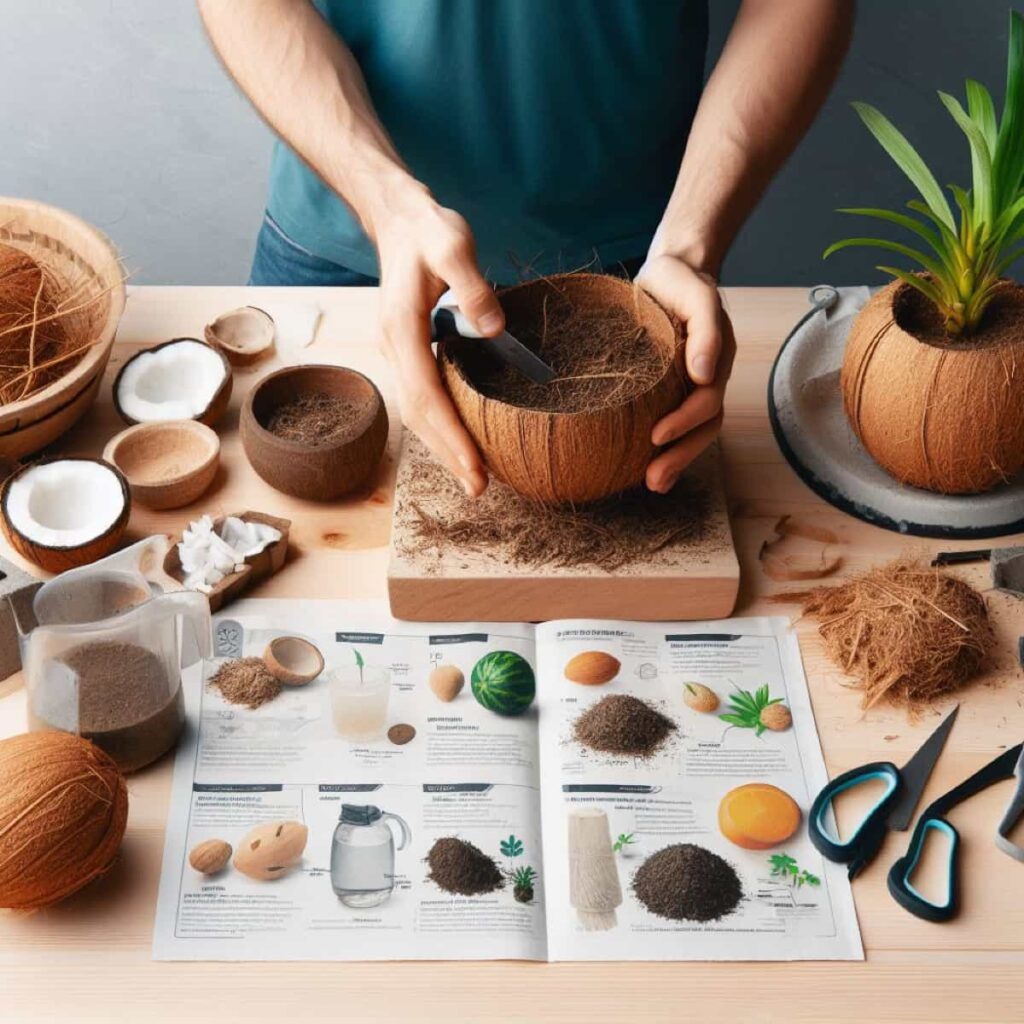
Opting for organic and locally sourced coconut husks can reduce environmental impact and support local economies. By sourcing responsibly harvested coconut husk waste from reliable sources, you can ensure that your homemade coco peat benefits your plants and contributes to sustainable gardening practices.
Preparing the Coconut Husks for Coco Peat Extraction
How to make coco peat at home? The first step in making coco peat at home is to gather coconut husks. These husks are the coconut’s outer layer and must be removed before extracting coco peat. Once you have enough husks, it’s time to start preparing them for extraction. To begin, remove the fibers from the coconut husks.
This can be done by carefully pulling or cutting them from the hard shell. The goal is to separate as much fibrous material as possible, leaving only the solid husk behind. Next, soak the husk fibers in water to make coco peat from the coconut husk. This helps soften them and makes it easier to break them down into smaller pieces later. Allow them to soak for a few hours or overnight. After soaking, break down the soaked fibers into smaller pieces.
You can use your hands or a tool like a hammer or mallet to accomplish this task. The idea here is to create smaller chunks that will eventually be ground into fine powder. Once broken down, dry these smaller pieces of coconut husk fibers thoroughly. Spread them in a well-ventilated area and let nature work until completely dry. This may take several days, depending on humidity levels.
When fully dried, grind these coconut husk fiber pieces into a fine powder using a blender or grinder. Make sure no large chunks are remaining – aim for consistency throughout. To remove impurities from your ground coco peat material, sift it through a sieve or mesh screen with small holes. This ensures that only pure coco peat particles pass while larger debris stays behind. Preparing coco peat for a vegetable garden is essential to ensure optimal plant growth conditions.
Breaking Down the Coconut Husks into Smaller Pieces
It is a crucial step in making coco peat at home. This process helps create a fine texture ideal for plant growth and allows for better water retention. Firstly, gather all the coconut husks you have collected for coco peat production. Ensuring the husks are clean and free from dirt or debris is important.
In case you missed it: 15 Best Hydroponics Planter Outdoor Kits in India for Home Garden, Balconies, Outdoor and Office Spaces
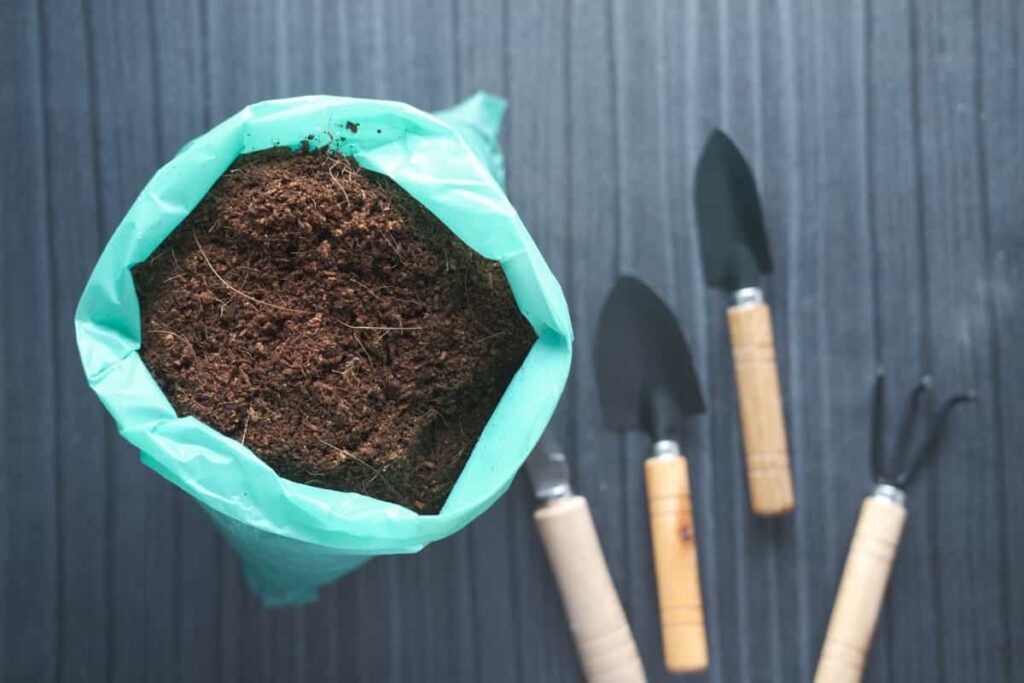
Next, cut the coconut husk into smaller sections using a knife or machete. This will make it easier to break them down further. You can use various methods, such as hammering them with a mallet or crushing them with heavy objects like rocks. The goal here is to reduce the size of the pieces as much as possible.
Soaking the Coconut Husks to Remove Impurities
To begin making coco peat at home, gather the coconut husks and place them in a container or large bucket. Fill the large bucket with water until it completely covers the husks. Allow them to soak for at least 24 hours, preferably up to 48 hours. During this soaking period, impurities such as dirt, dust, and salt residues are released from the coconut husks and dissolved into the water. Using clean water during this process is essential to avoid contaminating the coco peat further.
After soaking, you will notice that some of these impurities have settled at the bottom of your container, which is an important step to making coco peat. Carefully drain out this dirty water without losing valuable coco peat fibers. Repeat this rinsing until most impurities have been removed from the soaked coconut husks. This will ensure your final product is free from unwanted substances potentially harming your plants’ growth.
Drying the Coconut Husks for Coco Peat Production
Drying the coconut husks is essential in making coco peat at home. After soaking the husks to remove impurities, it’s time to dry them thoroughly. This ensures the final product is free from excess moisture and ready for preparing coco peat for your herb garden. To start, spread out the soaked coconut husks in a well-ventilated area or under direct sunlight. The drying process may take several days, depending on the weather conditions. Turning and flipping the husks regularly is important to ensure even drying.
During this stage, you’ll notice that the once dark brown husks will gradually lighten in color as they dry. This indicates that most of the moisture has been removed. It’s crucial to achieve complete dryness before proceeding with further processing. Once dried, you can break down the coconut husks into smaller pieces using a shredder or grinder. This will make it easier to extract fine particles of coco peat later on.
Shredding or Grinding the Dried Coconut Husks
Once the coconut husks are fully dried, they must be broken down into smaller pieces before further processing for making coco peat at home. This can be done using a shredder or grinder. A shredder or grinder ensures the coconut husks are finely chopped, making extracting the desired coco peat easier. The shredded or ground husks have a fibrous texture, ideal for retaining moisture and promoting healthy plant growth.
In case you missed it: How to Compost Kitchen Waste with Worms: A Guide to Kitchen Vermiculture
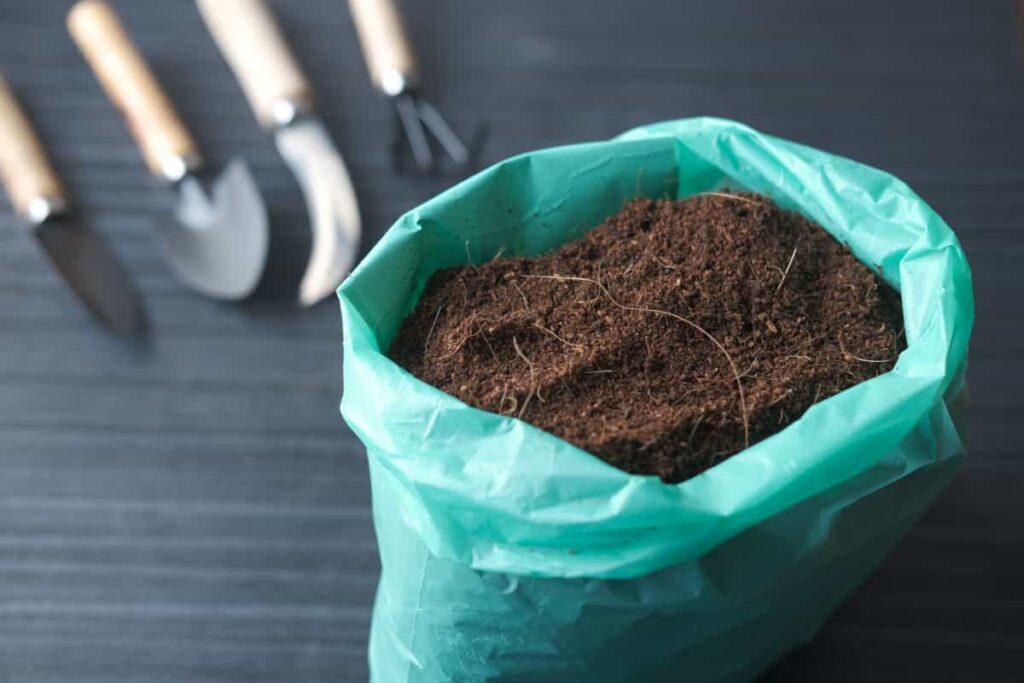
The size of the shredded or ground coconut husk particles can vary depending on personal preference and specific gardening needs. Some gardeners prefer larger pieces for better drainage, while others opt for finer particles for improved water retention. Despite particle size, shredding or grinding allows for easy separation of coco peat from other residues during subsequent steps. It also helps increase surface area, facilitating effective rehydration and expansion of coco peat when used in home gardens.
Sieving and Separating Coco Peat from Other Residues
After grinding the dried coconut husks into a fine powder, removing any impurities or unwanted materials is important before further making coco peat at home. To begin this step, you will need a sieve with small holes that can effectively separate the coco peat from larger particles. Place the sieve over a container and pour the coconut husk fibers onto it.
Gently shake and tap the sieve to allow the smaller particles, mainly coco peat, to pass through while retaining larger residues. This sieving process makes it easy to make coco peat at home and helps ensure that only pure coco peat is collected for further use. It removes debris, fibrous materials, or any foreign objects that may have been present in the original coconut husks.
Washing and Rinsing Coco Peat to Remove Excess Salts
To wash and rinse coco peat, begin by placing the desired amount of coco peat into a large container or bucket. Fill the container with water until the coco peat is fully submerged. Allow it to soak for several hours or overnight. After soaking, gently agitate the mixture with your hands or a wooden stick to loosen any trapped salts or impurities. Then, carefully pour off the water while holding back the Coco Peat using a sieve or mesh screen.
Next, refill the container with fresh water and repeat this rinsing process two or three times until no visible traces of salt remain in the Coco Peat. Once washed and rinsed thoroughly, allow excess water to drain from Coco Peat before proceeding further in its production process. This will help prevent over-watering when used as a growing medium.
Drying and Conditioning Coco Peat for Storage and Use
Spread the separated coco peat on a clean surface or tray to start drying for making coco peat at home. Ensure that it is evenly distributed to allow for proper air circulation. Depending on your preference and available space, the drying can be done indoors or outdoors. If you choose to dry it indoors, make sure there is good ventilation to prevent mold or mildew growth.
The coco peat may take several days to dry out completely, so patience is key during this stage. Once the coco peat has dried thoroughly, it’s time to condition it for optimal storage and use. Conditioning involves breaking up any clumps that may have formed during drying and ensuring the moisture content is consistent throughout.
You can achieve this by gently fluffing the dried coco peat with your hands or using a fork to break apart clumps. This will help improve its texture and make it easier to handle when mixing with other growing mediums. After conditioning, store your coco peat in airtight containers or bags to maintain its quality over time. Make sure they are labeled properly for easy identification later on.
How to Pack and Store Coco Peat for Longevity
Make sure that the coco peat is completely dry before packing it. Moisture can lead to a decrease in the shelf life of the coco peat. Spread the peat in a well-ventilated area and allow it to air dry thoroughly. Once dried, you can pack the coco peat into containers or bags. Use clean, breathable bags or containers that will allow for airflow.
In case you missed it: How to Build a Cheap Compost Tumbler: Requirements and DIY Organic Waste Compost Tumbler
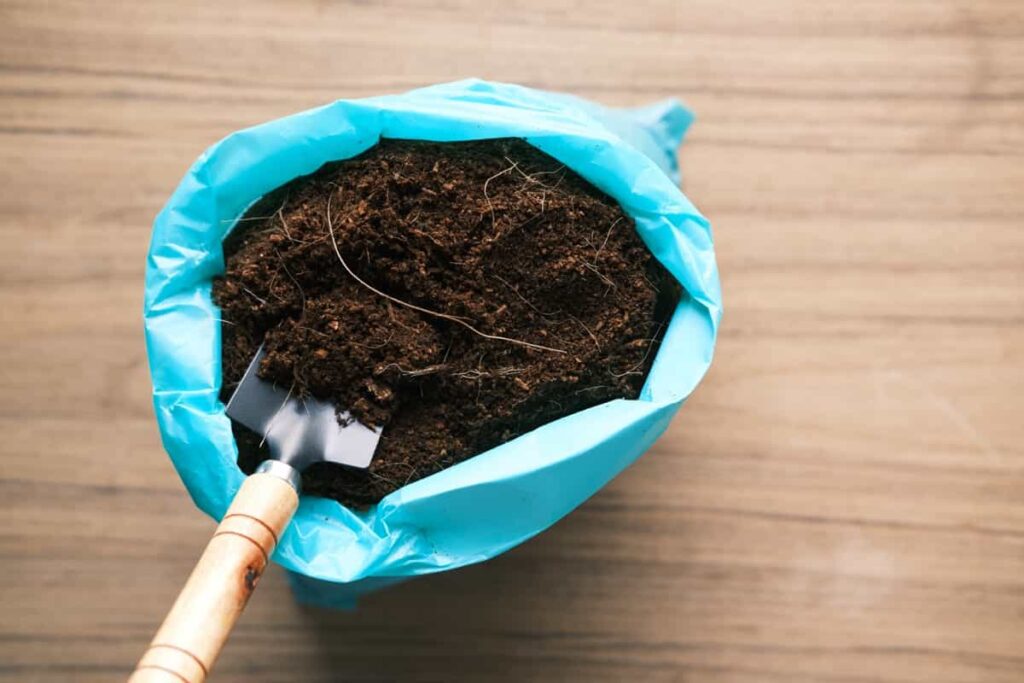
Ensure that the packed coco peat is tightly sealed to prevent any exposure to moisture or humidity in the coco peat manufacturing process. This will help maintain its quality over time. Store the packed coco peat in a cool, dry place away from direct sunlight. Extreme temperatures or exposure to sunlight can degrade its quality and effectiveness.
Rehydrating and Expanding Coco Peat Before Use in Home Gardens
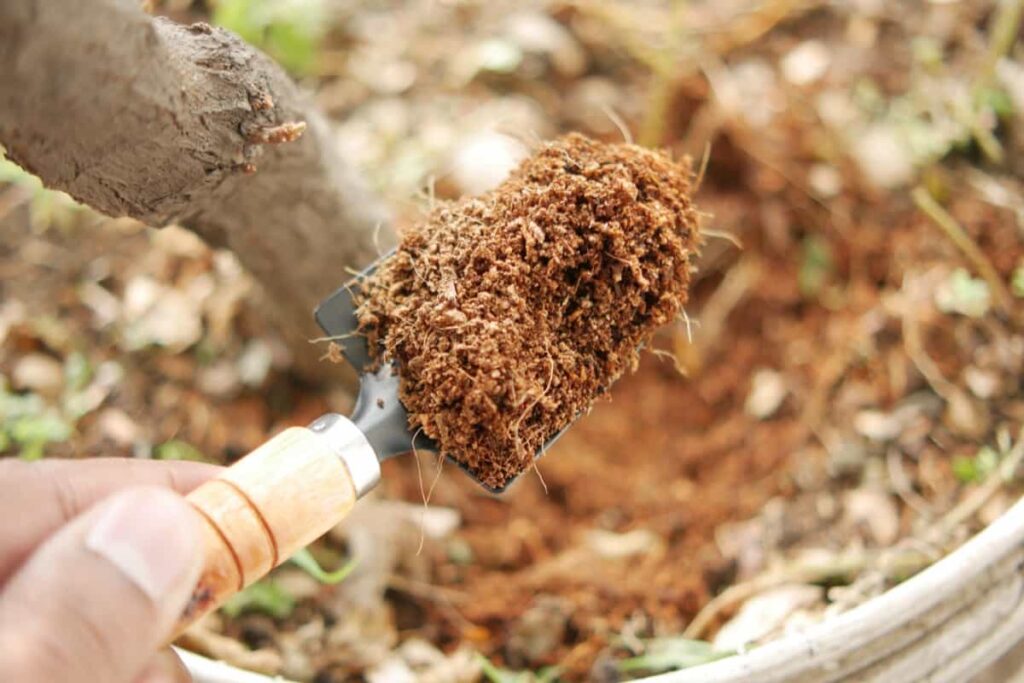
Rehydrating the coco peat is an important step for making coco peat at home; place the desired amount of dry coco peat in a container or bucket. Add water gradually while stirring continuously until the coco peat absorbs the water and expands. It’s best to add water slowly to avoid over-saturating the coco peat.
Mixing the water with the coco peat, you will notice it absorbing moisture and swelling. Keep adding small amounts of water until you achieve your desired consistency. The expanded coco peat should have a loose texture that retains moisture well without becoming overly compacted. How to prepare coco peat for seed germination? Preparing coco peat for seed germination is essential in ensuring successful plant growth.
To prepare coco peat for planting in pots, start by soaking it in water. This will rehydrate the dry coco peat and make it easier to work with. Once soaked, squeeze out excess water to achieve the desired moisture level. Once fully hydrated, use the expanded coco peat as a growing medium or mix it with other components like compost or perlite for added nutrients or improved drainage.
How to Mix Coco Peat with Other Growing Mediums for Optimal Plant Growth
Mixing coco peat with other growing mediums can greatly enhance the growth and health of your plants. To prepare coco peat for the flower garden, mix coco peat with other organic materials such as compost or worm castings to create an optimal growing medium for your plants. These additions will enrich the coco peat with essential nutrients and improve its texture.
One popular mixture is to combine equal parts of coco peat, compost, and perlite or vermiculite. The compost provides essential nutrients, while perlite or vermiculite improves aeration and drainage. Another option is to mix coco peat with garden soil in a 1:1 ratio. This blend combines the water-holding capacity of coco peat with the nutrient content of the soil.
DIY: How to Make Coco Peat at Home in 10 Steps
| Steps | Making Process |
| Step 1 | Gather Coconut Husks for Coco Peat Production |
| Step 2 | Remove the Fibers from the Coconut Husks |
| Step 3 | Soak the Coconut Husk Fibers in Water |
| Step 4 | Break Down the Soaked Fibers Into Smaller Pieces |
| Step 5 | Dry the Broken-down Coconut Husk Fibers |
| Step 6 | Grind the Dried Coconut Husk Fibers into a Fine Powder |
| Step 7 | Sift the Ground Coconut Husk Fibers to Remove Any Impurities |
| Step 8 | Moisten the Sifted Coco Peat Powder with Water |
| Step 9 | Pack the Moistened Coco Peat into Containers or Bags |
| Step 10 | Allow the Packed Coco Peat to Ferment for a Few Weeks |
Price Comparison of Different Coco Peats to Use in Your Garden
| Different Coco Peats | Price |
| Cocogarden Coco Peat Block | $15 Per Block |
| Mother Earth Coco Plus Perlite Mix | $20 for a 50-liter Bag |
| Hoffman Canadian Sphagnum Peat Moss | $10 for an 8-quart Bag |
| Coco Bliss Premium Coco Coir Brick | $12 Per Brick |
| Viagrow Vccb5 Coco Coir Brick | $10 Per Brick |
| Foxfarm Coco Loco Potting Mix | $15 to $50 Depending on the quantity |
| Canna Coco Brick | $25 for a 40-liter Bag |
| Roots Organics Ros Coco Soilless Mix | $20 to $60 |
| General Hydroponics Cocotek Bale | $30 |
| Hydrofarm Grow!t Jscpb Coco Coir Mix | $15 for a 5-kilogram Block |
These are the best coco peat to buy for your home garden. Some brands may offer enriched coco peat with added nutrients or beneficial microorganisms that can further enhance plant growth. Choose a reputable brand offering high-quality coco peat with excellent moisture retention, suitable texture, and optional enhancements for your gardening needs. Always read customer reviews and consult expert recommendations before making a purchase decision.
In case you missed it: 10 Best Seaweed Fertilizers in India: Guide to Buy Seaweed Fertilizer at Best Price
Conclusion
Coco peat is a natural and sustainable growing medium that has gained immense popularity among gardeners worldwide. It is derived from the fibrous husk of coconuts, making it an eco-friendly alternative to traditional soil. Making coco peat at home is an eco-friendly option as it reduces waste by utilizing coconut husks that would otherwise be discarded. Additionally, since you are producing it yourself, there is no need for transportation or packaging, further reducing your carbon footprint.
- Aquaponic Farming at Home: A Step-By-Step Guide
- Profitable Village Farming Business Ideas in 2024
- High-Yield Aquaculture: Fast-Growing Fish for Farming
- Effective Fish Pond Construction Techniques for Beginners
- Irrigation and Water Management in Pineapple Farming
- Blossom to Harvest: Mastering Flowering and Pollination in Papaya Farming
- Pig Fattening Essentials: From Selection to Sale for Beginners
- Raising Wagyu Cattle: A Complete Guide for Premium Beef Production
- Soil Types and Their Water Holding Capacity
- Optimizing Irrigation Schedules for Coconut Groves for Enhanced Yield
- Espresso Your Garden: Coffee Grounds for Healthier Acid-Loving Plants
- The Best Soil Mix for Snake Plants: How to Mix Your Own Snake Plant Soil
- Green Thumb Success: Expert Tips for Cultivating Greenhouse Beans All Year Round
- Bloom All Year Round: The Ultimate Guide to Indoor Hyacinth Care
- Eco-Friendly Gardening: How to Make Liquid Fertilizer from Kitchen Waste
- Ultimate Guide to Grow Anise in Pots: Explore Seed Propagation to Harvesting
- Guide to Raising Chester White Pigs: Discover Breed Facts to Growth Management
- Mastering the Elegance: The Ultimate Guide to Weeping Cherry Tree Care, Planting, and Maintenance
- Ultimate Guide to Planting Garlic in Grow Bags: Growing Strategies for Beginners
- How to Fix Spider Plant Leaf-Related Problems: Natural and Organic Remedies
- 10 Reasons Why Your Tulsi Plant is Shedding Leaves: Home Remedies and Solutions
- Optimizing Growth and Yield: The Advantages of Palm Bunch Ash Fertilizer
- Utilizing Neem Oil Extract as a Natural Pesticide for Hydrangea
- From Soil to Harvest: Various Ways in Which Farmers Can Use AI Tools
- Steps to Encourage and Induce Citrus Flowers: A Comprehensive Guide
- How to Fix Snake Plant Leaf-Related Issues: Natural and Organic Remedies
- Transform Your Garden into a Fragrant Oasis with Raat Ki Rani (Night Blooming Jasmine)
- Discover the Ideal Chicken Breeds for Philippine Farms
- How to Create a Poultry Egg Farm Business Plan for Profits
- Grow Lemon Cucumbers Like a Pro: Insider Techniques for Bountiful Yields
- Ultimate Guide to Caring for Your Pink Princess Philodendron: Tips for Thriving Variegation
- Areca Nut Profit Per Acre: Calculating Yield and Cost of Cultivation
- How Kaveri Chicken is Becoming a More Profitable Breed in Indian Backyards
- Transform Your Barn: 9 Steps to Convert a Horse Stall into a Chicken Coop
- Exploring Suffolk Sheep Disadvantages with Limitations and Challenges
- Guide to Solving Potted Lemon Tree Problems: How to Revive Lemon Tree in Containers
